 |
VOOZH | about |
|
VOOZH | about |
In modern web development, creating user-friendly and visually appealing forms is essential, especially for tasks like online purchases. In this article, we'll guide you through building a checkout form using two popular technologies: Tailwind CSS for styling and Vue.js for dynamic behaviour.
Output Preview:
👁 Screenshot-2024-04-23-155009
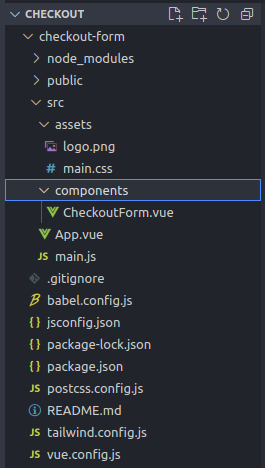
CheckoutForm.vue to contain the form.@submit.prevent and handle submission in a method, updating the submitted property.Step 1: Create the Vue project using the following command:
npx @vue/cli create checkout-formStep 2: Now follow the provided instructions and get into the project directory:
cd checkout-formStep 3: Install the necessary packages/libraries in your project using the following commands.
npm install -D tailwindcss@latest postcss@latest autoprefixer@latest
npx tailwindcss init -pThe updated dependencies in package.json file will look like:
"scripts": {
 "serve": "vue-cli-service serve",
 "build": "vue-cli-service build",
 "lint": "vue-cli-service lint"
 },
 "dependencies": {
 "core-js": "^3.8.3",
 "vue": "^3.2.13"
 },
 "devDependencies": {
 "@babel/core": "^7.12.16",
 "@babel/eslint-parser": "^7.12.16",
 "@vue/cli-plugin-babel": "~5.0.0",
 "@vue/cli-plugin-eslint": "~5.0.0",
 "@vue/cli-service": "~5.0.0",
 "autoprefixer": "^10.4.19",
 "eslint": "^7.32.0",
 "eslint-plugin-vue": "^8.0.3",
 "postcss": "^8.4.38",
 "tailwindcss": "^3.4.3"
 }
Example: Implementation to design the checkout form
Step to Run Application: Run the application using the following command from the root directory of the project
npm run serveOutput: Your project will be shown in the URL http://localhost:8080/