 |
VOOZH | about |
|
VOOZH | about |
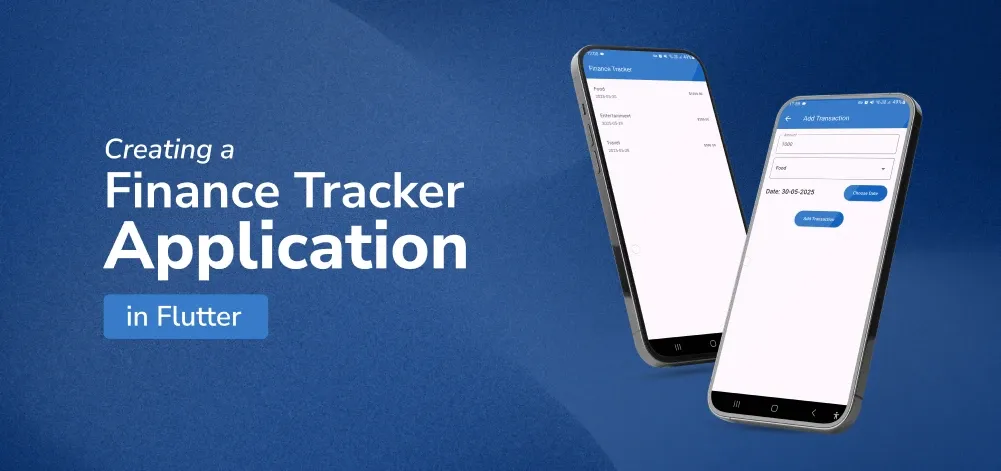
Developing a new tracker for finance is a good practice to improve your skills and build a helpful application. Through Flutter, an open-source UI toolkit developed by Google, it is possible to design for iOS/ Android, web, and desktop. Here you will find out the recipe of how to create a finance tracker application in Flutter, excluding UI components that are not essential to such an application. By the end, you should have a functional Android application with a feature for tracking expenses with a category, an amount, and a date, and the data is stored locally using SQLite.
To develop a finance tracker app using Flutter, follow these steps:
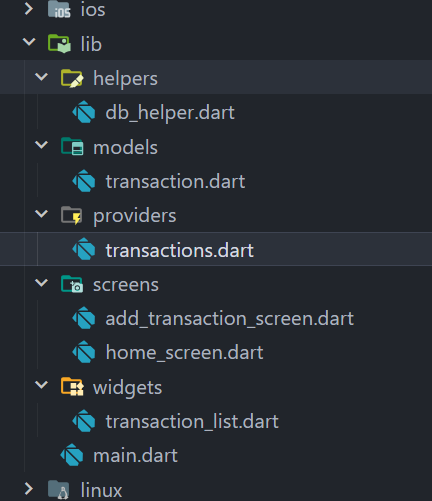
Before diving into the code, let's look at the directory structure of our project:
Create a new Flutter application using the command Prompt. To create a new app, write the following command and run it.
flutter create app_nameTo know more about it refer this article: Creating a Simple Application in Flutter
To add the dependency to the pubspec.yaml file, add provider and sqflite as a dependency in the dependencies part of the pubspec.yaml file, as shown below:
Now, run the below command in the terminal.
flutter pub getOr
Run the below command in the terminal.
flutter pub add provider sqfliteCreate a file lib/models/transaction.dart to define the Transaction data model:
Create a file lib/providers/transactions.dart to manage the state using the Provider package:
Update lib/main.dart to set up the main structure of the app:
Create a file lib/screens/home_screen.dart to display the list of transactions and provide a button to add new ones:
Create a file lib/widgets/transaction_list.dart to display the list of transactions:
Create a file lib/screens/add_transaction_screen.dart to add new transactions:
Create a file lib/helpers/db_helper.dart to set up SQLite for local storage:
Congratulations! You have created a simple but operational Finance Tracker Application in Flutter. This app enables users to enter transactions with categories, amounts, and dates, and downloads and stores the data with the use of a SQLite database. You can improve it by adding a feature to edit the transaction, filtering the data by date, and adding more useful tools to illustrate the data.
Git Application for the Finance Application : Finance Flutter Application
Of course, do whatever you need to do to develop and grow the app and its capabilities. Happy coding!