 |
VOOZH | about |
|
VOOZH | about |
In this tutorial, we will create a Flutter app that allows users to track their daily expenses and income, visualize spending patterns through charts, and store transaction data locally using Hive. This application will showcase how to handle user input, visualize data, and ensure local data persistence, providing users with a simple yet effective tool for managing their finances.
Application Features:
Below is the demo video for the app that we will be developing.
Create a new Flutter application using the command Prompt. To create a new app, write the below command and run it.
flutter create app_nameTo know more about it refer this article: Creating a Simple Application in Flutter
hive_generator and build_runner are the dev_dependencies to generate .g.dart files.
To add the dependency to the pubspec.yaml file, add hive_flutter, fl_chart and intl as a dependency in the dependencies and hive_generator and build_runner as dev_dependencies part of the pubspec.yaml file, as shown below:
Now run the below command in the terminal.
flutter pub getOr
Run the below command in the terminal.
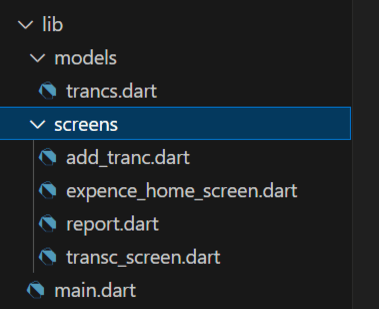
flutter pub add hive_flutter fl_chart intl Create the following folder structure for better organization of your files:
This structure keeps database logic, models, and UI separated, making the code modular and easy to maintain.
The Application is divided into the following packages:
Let's start by creating a transaction model for our transaction data in trancs.dart.
trancs.dart:
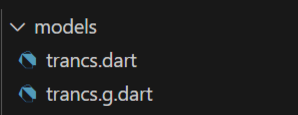
Now you need to generate trancs.g.dart file , for that run the command in your terminal :
dart run build_runner build
Our Application contains three main UI component screens as mentioned below:
Now let us Observe all of them.
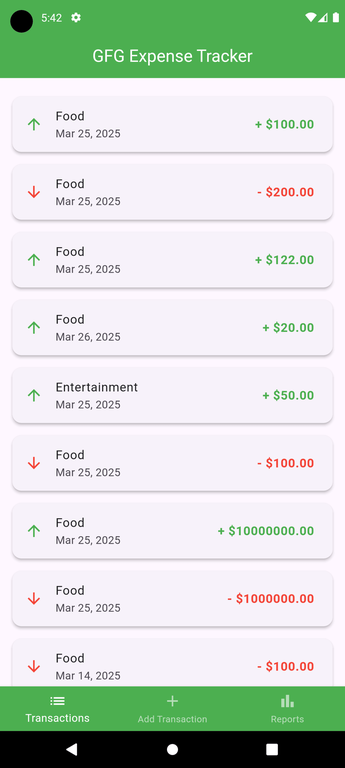
The tranc_screen.dart is where users will see the list of past transactions he/she made :
tranc_screen.dart:
Screenshot of the Transaction screen :
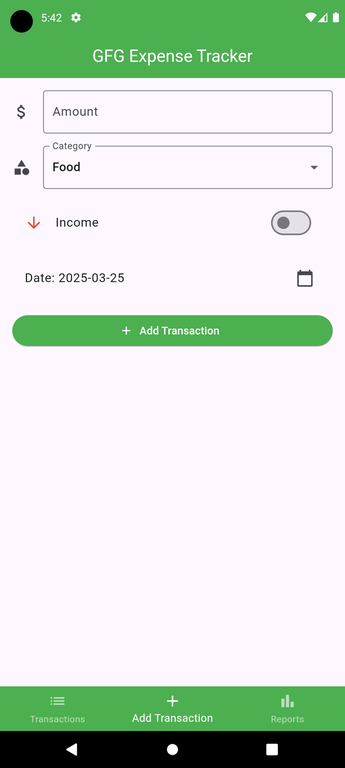
The add_tranc.dart is where users can add transactions by entering values like amount, category, Income/Expense, and date :
Screenshot of the Add Transaction Screen :
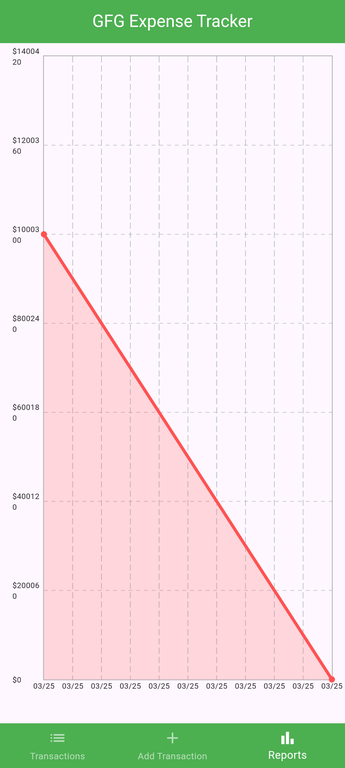
This report.dart screen displays a graph of Expenses,
This expence_home_screen.dart screen is called from the main.dart file, and shows a Bottomtab :
After successfully creating all the files mentioned above we can finally utilize them to create a fully functional Application.
Finally, let's Call Our ExpenseHomeScreen from the main.dart file