 |
VOOZH | about |
|
VOOZH | about |
Firebase helps developers to build and run their apps successfully; its backend is developed by Google. Firebase is very easy to use for beginners; it provides many functionalities like Firebase Authentication, Cloud Firestore, Realtime Database, Firebase Storage, etc, which help to build and optimize the application. In this article, we will learn about how to use the Firebase Realtime Database to read and write data in Flutter. This process includes three steps:
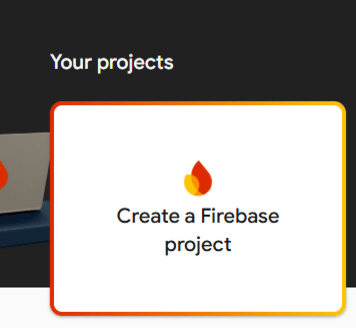
Step 1: Open Firebase-Google in our browser then click on ‘Go to console’ in the top rightmost corner of the page (Make sure that we must log in through our Google account in firebase) and then click on ‘Add project’.
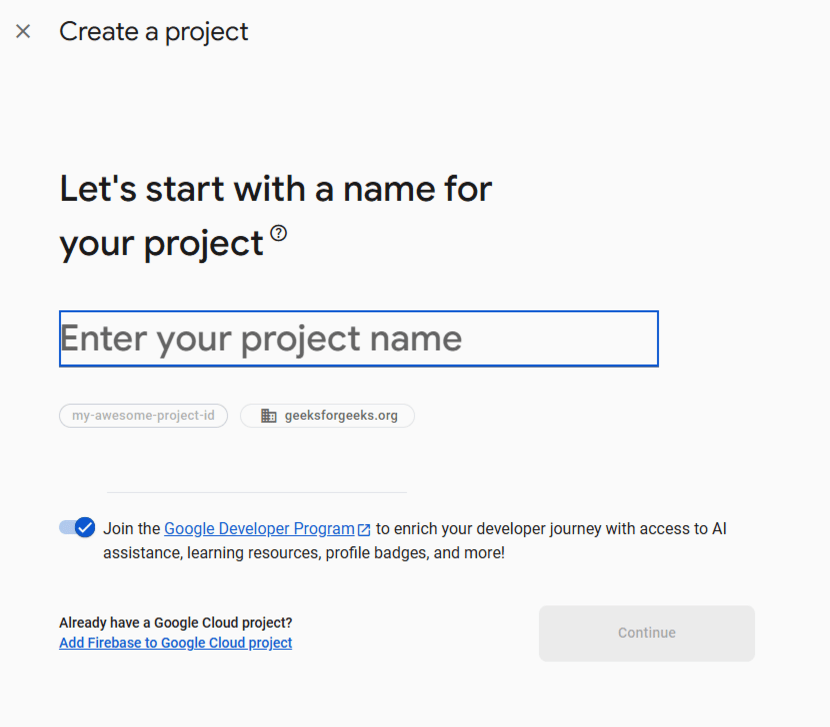
Step 2: Give a name to our project and click ‘Continue’.
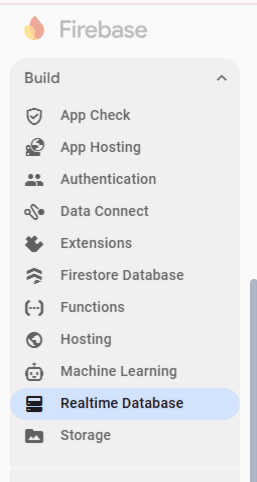
Step 3: After successfully creating the project, this screen will appear and there will be a lot of options on the left side of the page provided by firebase and then Select the Realtime Database option among these.
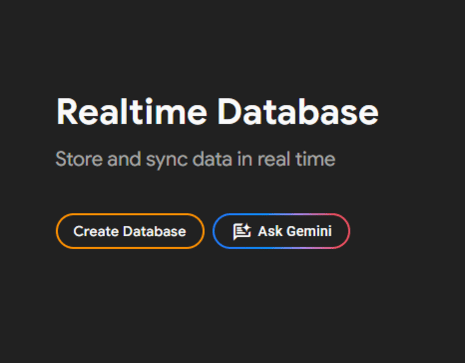
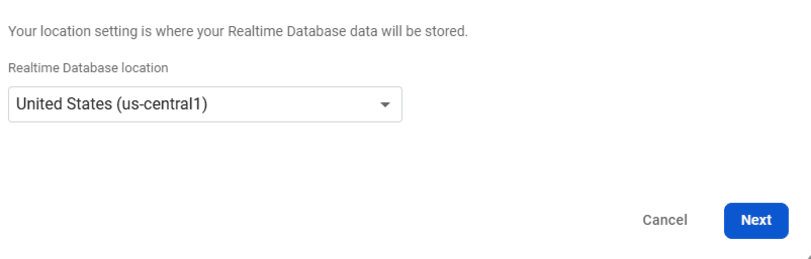
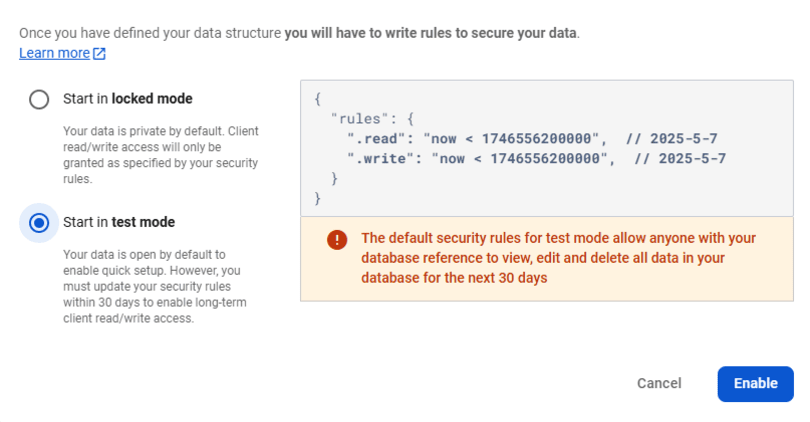
Step 4: Press the ‘Create Database’ button and then Select any location or keep it as it is and then click to ‘next’ and Select the test mode option which gives access to read and write data in the database and Press ‘enable’.
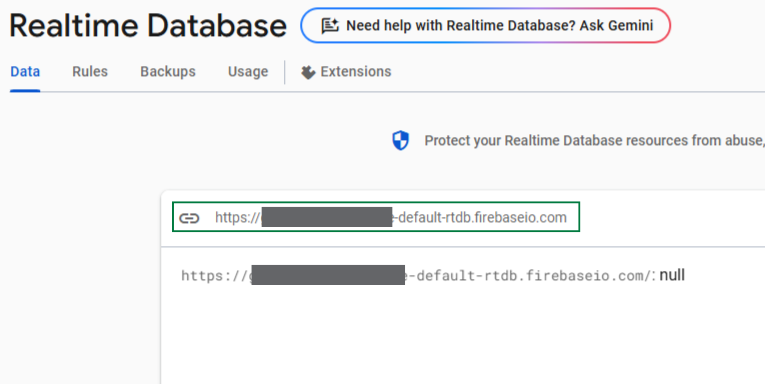
After that Firebase Realtime Database setup is done successfully.
Copy the Database URL from Firebase Realtime Database in the green box shown below and replace the URL with DatabaseURL in writeData() and readData() function in Add Data and Read Data code :
Step 1: Add HTTP package in the pubspec.yaml under dependencies in flutter project:
dependencies:
 flutter:
 sdk: flutter
 http: ^1.3.0
Save the above file.
Note: Please make sure that while adding the above code, it must be the same level as flutter.
After saving the file, if any error occurs then check the spacing of code with flutter and also check that you have added the correct version of the HTTP package.
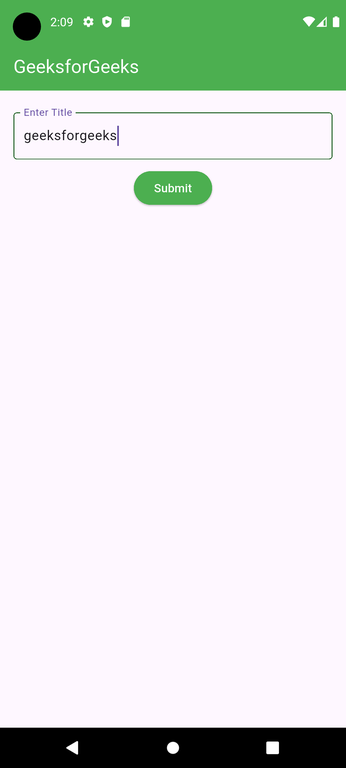
Step 2: Add Data.
Note: Please replace the Database URL which we will get in the “Add Realtime Database to application” step with DatabaseURL in the writeData() function.
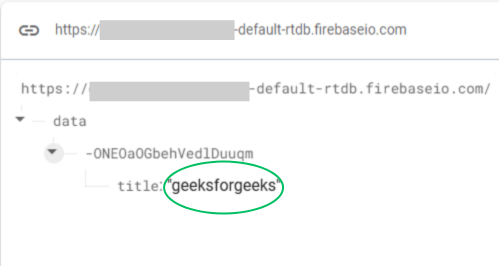
Output:
Realtime Database:
Explanation of the above Program:
In the above code, we have created a textformfield and submit button. TextformField to get title data from user and submit button to call a function which writes data in firebase i.e key-value pair of “title”- user input is pushed into a realtime database. If Button is pressed multiple times then Data is stored repeatedly.
Step 3: Read Data.
Note: Please replace the Database URL which we will get in the “Add Realtime Database to application” step with DatabaseURL in readData() function.
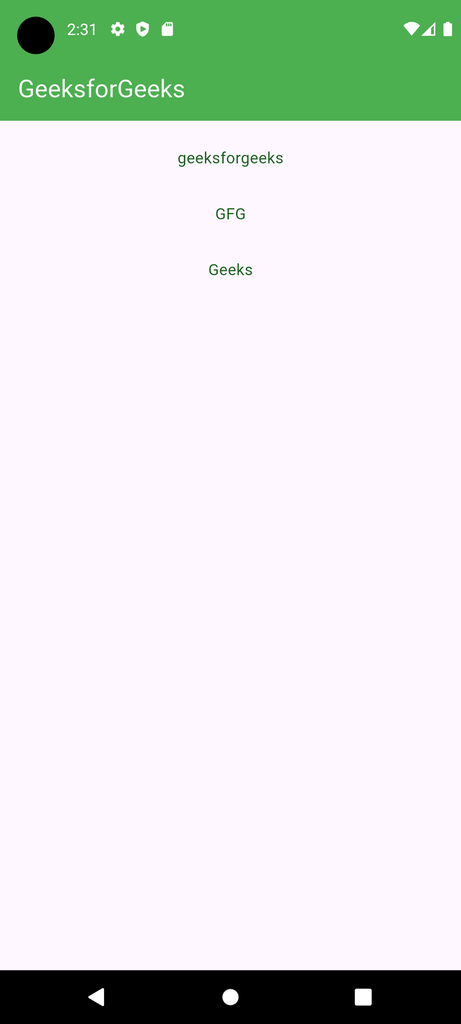
Output:
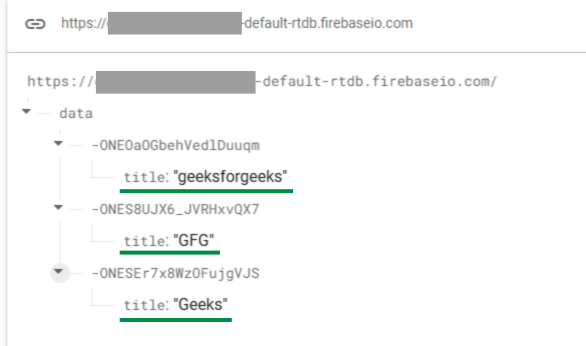
Realtime Database:
Explanation: In the above code, we create CircularProgressIndicator which will rotate until we fetch data from the firebase database and when we get data, it will show the list of data which we are in firebase in listview builder widget with green colored text data.