 |
VOOZH | about |
|
VOOZH | about |
In this article, we will learn how to measure our heart rate using the camera on our mobile phone in a Flutter app. To do this, we will use a special package called heart_bpm.
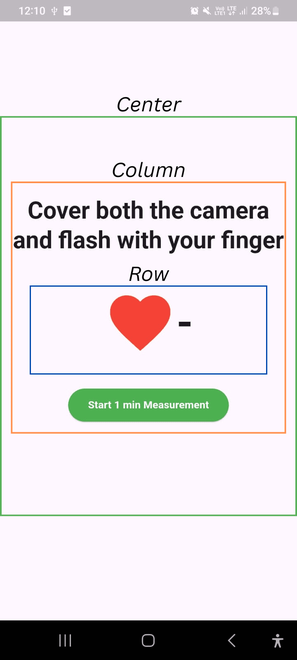
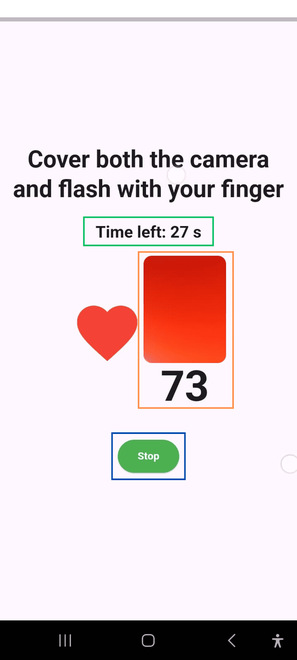
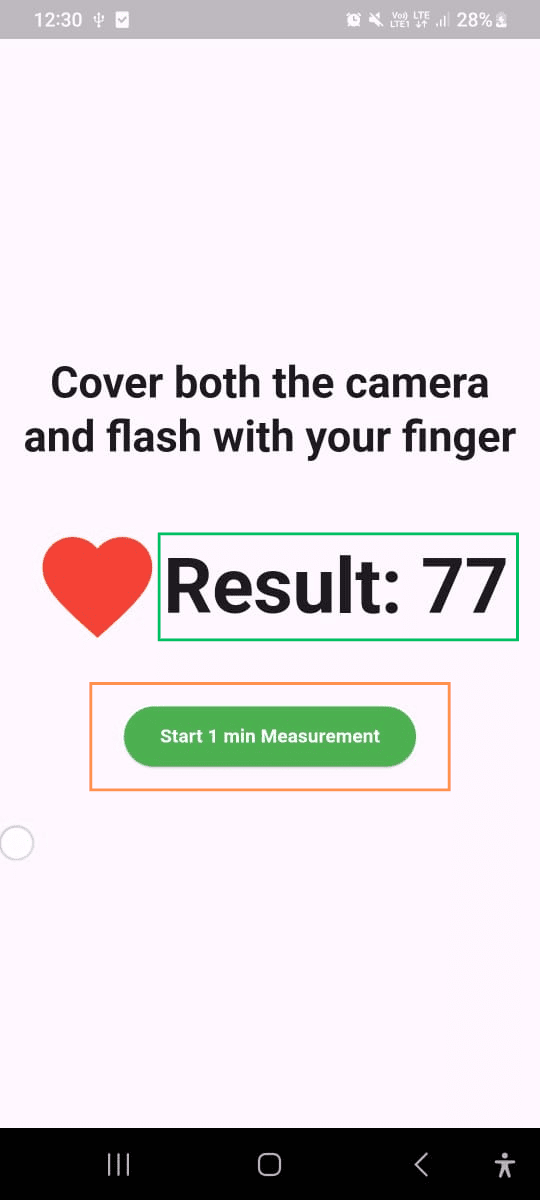
When you place your finger in front of the camera, the app will turn on the flash. The light from the flash helps the camera detect changes in the color of your finger as blood flows through it. These changes allow the app to calculate your heart rate.
We will go step by step to set up the Flutter app and use the heart_bpm package so you can easily track your heart rate anytime and anywhere. Let’s get started!
Let's watch a demo video to get a better idea of what we’re going to create.
Create a new Flutter application using the command Prompt. To create a new app, write the following command and run it.
flutter create app_nameTo know more about it refer this article: Creating a Simple Application in Flutter
To add the dependency to the pubspec.yaml file, add heart_bpm as a dependency in the dependencies part of the pubspec.yaml file, as shown below:
Now, run the below command in the terminal.
flutter pub getOr
Run the below command in the terminal.
flutter pub add heart_bpmTo use libraries, import all of them in the respective .dart file.
import 'package:heart_bpm/heart_bpm.dart'; Let's start writing code in the main.dart:
- : import required packages at the top of the file.
- : Define the main method and invoke a stateless widget using the runApp() method within it.
- : MyApp is a Stateless widget that returns a MaterialApp with a title, theme, debugShowCheckedModeBanner, and a home, which navigates to a Stateful widget called MyHomePage.
- : Define a MyHomePage stateful class and return a scaffold with some body.
- :
- : Write the required method inside the stateful class MyHomePage.
- : Use the below UI code inside the Scaffold body.
main.dart: