 |
VOOZH | about |
|
VOOZH | about |
In this article, we’ll guide you through building a Custom Linktree-style Portfolio using Flutter Web and deploying it on Firebase. A Linktree is a powerful tool to showcase your online presence - social media, projects, or professional links - all in one sleek, responsive page. With Flutter Web, you can design a visually stunning portfolio that works seamlessly across devices, while Firebase makes deployment and updates effortless.
Create a new Flutter application using the command Prompt. To create a new app, write the following command and run it.
flutter create app_nameTo know more about it refer this article: Creating a Simple Application in Flutter
To add the dependency to the pubspec.yaml file, add url_launcher as a dependency in the dependencies part of the pubspec.yaml file, as shown below:
Now, run the command below in the terminal.
flutter pub getOr
Run the command below in the terminal.
flutter pub add url_launcherTo use libraries, import all of them in the respective .dart file.
import 'package:url_launcher/url_launcher.dart'; -
After that, we need to collect all the necessary images and icons that will be used in our Flutter app. You can find all the required social media icons in the GitHub repository if you wish to use the same ones as me. Additionally, you will need to upload a single image of yourself to be displayed in the app.
You should also make the necessary changes to the project's 'pubspec.yaml' file to ensure these assets are recognizable. You need to add or uncomment the lines below:
 assets:
 - assets/
Make sure to use proper indentation.
Now we will start coding our web app. In the main.dart file the imports necessary dependencies, including the HomePage screen. The MyApp class, as the app's root, configures the app's title and theme. The theme's primary color is set to deep purple. The app's structure is defined using the MaterialApp widget, with a title and theme. The home screen is set to MyHomePage. This code showcases the fundamental setup of a Flutter web app, with a customized theme and a designated home page.
main.dart:
Now we will code the home page of our application. First, we'll create a 'MyHomePage' widget, which is a 'StatefulWidget'. Inside its state, we define the layout and components of our home page.
There are some points to understand for this application:
This comprehensive code snippet constructs a responsive Flutter web page with a visually appealing layout and interactive social media links, tailored to desktop and mobile devices.
home_page.dart:
The following functions efficiently create social media cards using the 'CustomAnimatedContainer' widget :
These functions create impactful, reusable, and visually appealing social media cards for a Flutter web app.
socialCards.dart:
Now, we shall see the code for the CustomAnimatedContainer, which is the widget that is used as the instance for each social media function above. The code below defines a 'CustomAnimatedContainer' widget, which is a stateful widget. This widget is designed to create interactive animated containers representing social media links. It takes several parameters for customization: 'containerColor' (background color), 'borderColor', 'imagePath' (path to the image), 'text' (displayed text), and 'linkUrl' (URL to be opened when clicked).
The content of the container is composed of a 'Row' with three main elements:
The code creates a highly customizable, interactive, and visually appealing social media link container that smoothly transitions between states when hovered over or clicked, enhancing the user experience of the Flutter web app.
animated_container.dart:
We also used a widget instance called Footer on our home page, so we shall see what its code looks like. The code defines a Footer widget for a Flutter web app. It features clickable icons and links. The _FooterState class manages its state, tracking hover, and containing a GitHub repository URL.
In the build method, an InkWell widget handles taps and hover events. Icons change color on hover. The footer displays "Made with" text, icons, and the developer's name.
The _launchUrl function launches URLs using url_launcher, handling launch success and errors. This interactive footer enhances user experience, providing GitHub attribution and easy URL access.
footer.dart:
Now that we are done we can use the command below to check our app, and before doing so select the device as Chrome or any other browser. But you can also check it on a mobile device.
flutter runTo make a build compatible with the web i.e. flutter web use the command below:
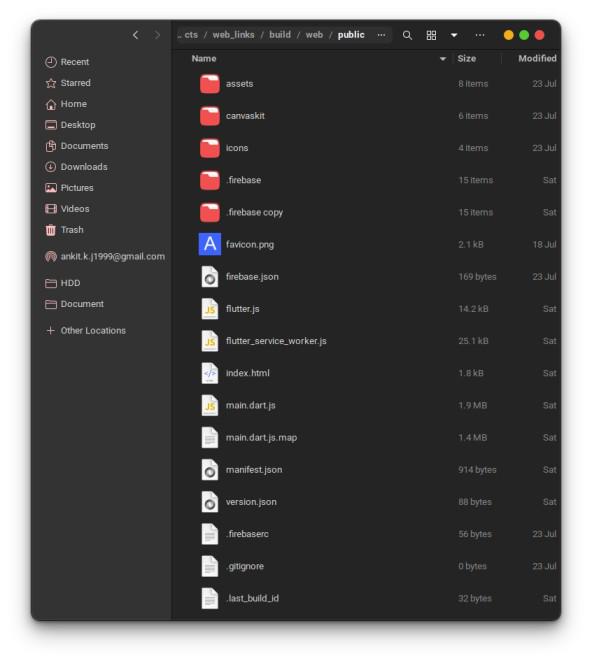
flutter build web --release -vYou can see the file in the build folder which would contain a folder named web. This is the content that will be uploaded to Firebase.
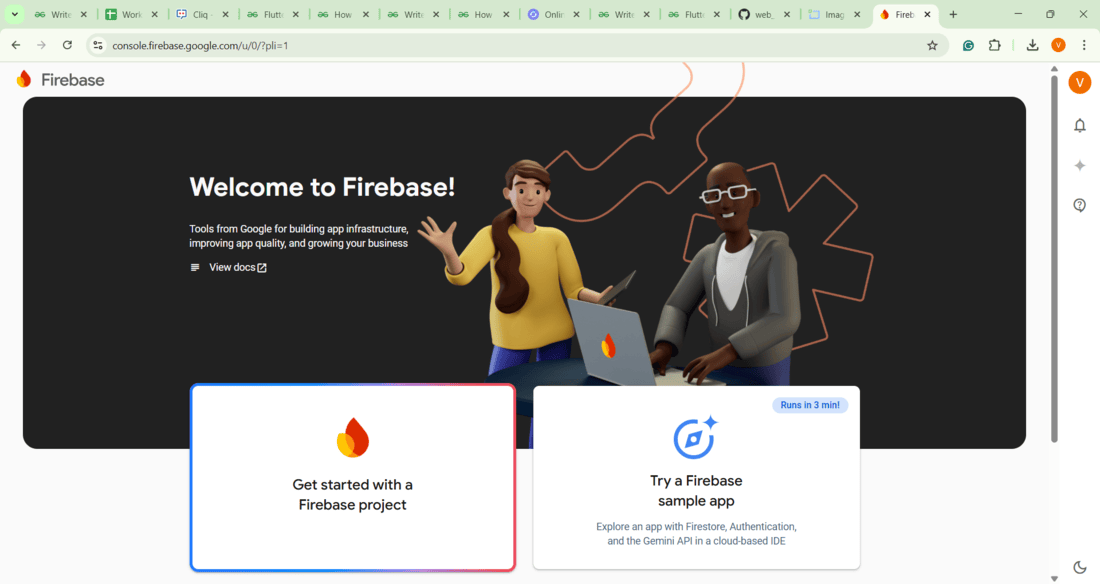
Here I will give a quick overview of how to deploy the app we have created on Firebase hosting. But for more details you can check out this article here: Hosting Flutter Website On Firebase For Free
1. Create a new project on the Firebase console.
2. Register the app using the preferred method. In my case, I have simply used the method of adding a script in my index.html file.
3. Install Firebase CLI using the command command:
npm install -g firebase-toolsJust make sure you have the proper version of node installed on your system.
4. Initiate Firebase by using the below command but make sure you are logged in to Firebase with the correct credentials:
// login
firebase login

// starting services
firebase init
Choose hosting with a spacebar and move forward with the project that you just created. It will ask to create a public folder and we need to put all the content of the Flutter web build in this.
And use the command below the deploy it to the firebase. When successful it would give you the URL where you can asses that!
// replace Project ID with your project ID
firebase deploy --only Project ID
It's all done! Now is the time to flaunt your newly custom-created weblinks with Flutter! Enjoy!
For the Complete Application code refer to this Link : Click Here