 |
VOOZH | about |
|
VOOZH | about |
In this article, we’ll explore the process of building an Event Booking System using NextJS. Event Booking System allows users to view, book, and manage events.
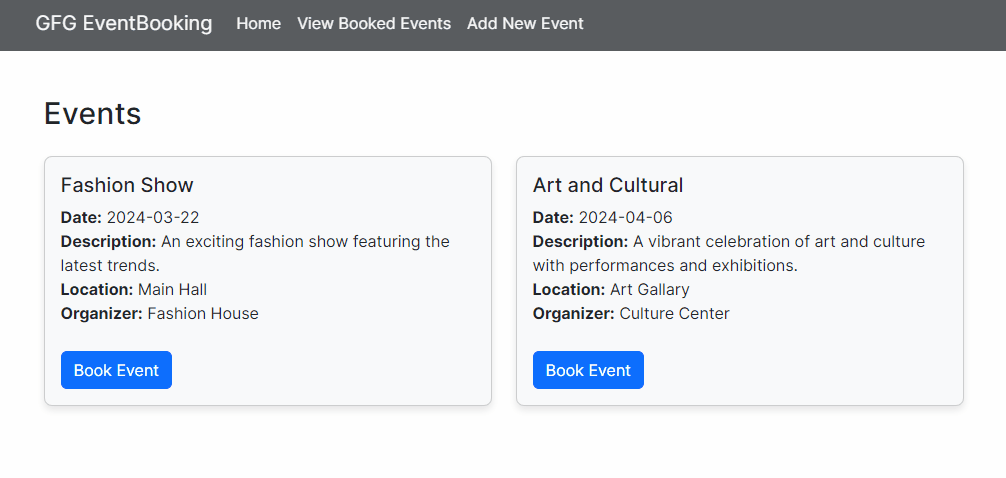
Output Preview: Let us have a look at how the final output will look like.
Step 1: Create a application of NextJS using the following command.
npx create-next-app event-booking-systemStep 2: Navigate to project directory
cd event-booking-systemStep 3: Install the necessary package in your project using the following command.
npm install bootstrap
npm install toastify
The updated dependencies in package.json file will look like:
"dependencies": {
 "bootstrap": "^5.3.3",
 "next": "14.1.3",
 "react": "^18",
 "react-dom": "^18",
 "react-toastify": "^10.0.5"
}
Example: Below are the components which describes the implementation Event Booking System
Start your application using the following command:
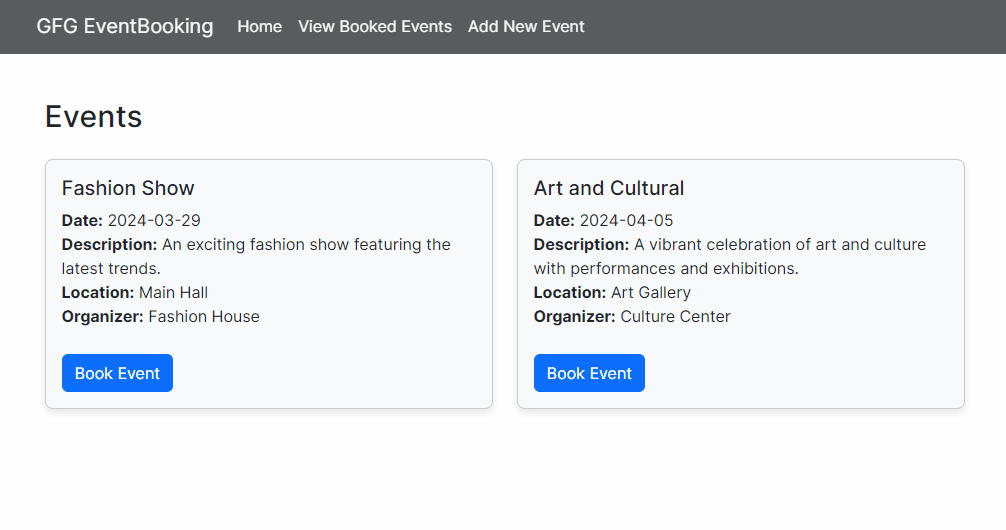
npm run devOutput: Naviage to the URL http://localhost:3000:
.png)