 |
VOOZH | about |
|
VOOZH | about |
One common effect is changing an image when the user hovers over it. We use Tailwind CSS, a utility-first CSS framework, to accomplish this without any additional JavaScript logic for the hover effect. By utilizing Tailwind's built-in classes we can create smooth transitions between two images where one image is displayed by default and another appears on hover.
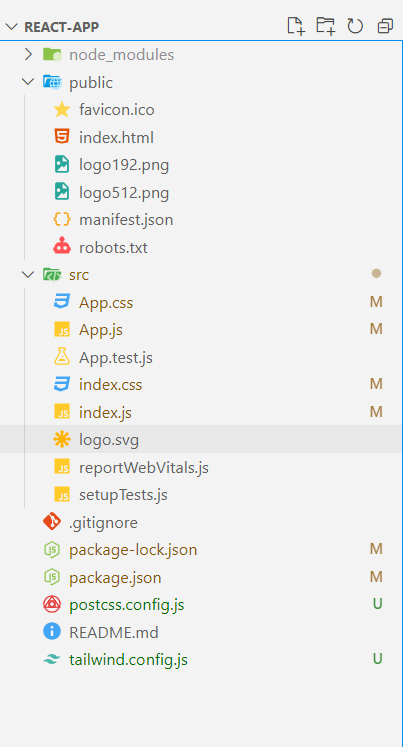
Step 1: Set up the project using the command
npx create-react-app react-app
cd react-app
Step 2: Install Tailwind CSS using the command
npm install -D tailwindcss postcss autoprefixer
npx tailwindcss init -p
Step 3: Configure the tailwind paths in your tailwind.config.js file
module.exports = {
 content: ["./src/**/*.{js,jsx,ts,tsx}"],
 theme: {
 extend: {
 colors: {
 primaryGreen: "#4CAF50", // Green
 primaryBlack: "#000000", // Black
 primaryWhite: "#FFFFFF", // White
 }
 },
 },
 plugins: [],
}
Step 4: Add tailwind directives to your index.css file.
@tailwind base;
@tailwind components;
@tailwind utilities;

body {

 margin: 0;
 font-family: 'Times New Roman', Times, serif;
 -webkit-font-smoothing: antialiased;
 -moz-osx-font-smoothing: grayscale;
}

code {
 font-family: source-code-pro, Menlo, Monaco, Consolas, 'Courier New',
 monospace;
}
"dependencies": {
 "@testing-library/jest-dom": "^5.17.0",
 "@testing-library/react": "^13.4.0",
 "@testing-library/user-event": "^13.5.0",
 "react": "^18.3.1",
 "react-dom": "^18.3.1",
 "react-icons": "^5.3.0",
 "react-scripts": "5.0.1",
 "web-vitals": "^2.1.4"
 }
Example: This example demonstrates the creation of a change image on hover using React and Tailwind CSS.
npm startOutput:
This simple implementation demonstrates how to change an image on hover using Tailwind CSS without requiring JavaScript. By using utility classes for styling and transitions you can easily create interactive components for your web applications.