 |
VOOZH | about |
|
VOOZH | about |
JSX is an extension of the JavaScript language which is useful to write React applications. JSX consist of tags, attribute, and children. We can also create our own custom elements in React.
A custom element gives us a new HTML tag in the JSX file that we can control through a native browser API.
Initially, what we have to do is to define and form a custom element. To do so we create a class that extends the HTMLElement class and then give the name of the element with customElements.define(). We have three methods to expand the functionality of this element created using custom. There are two lifecycle-like methods that are useful to us the disconnectedCallBack and the connectedCallback and since this is a class, it comes with a constructor.
Constructor: An instance of the element being created or upgraded. Useful for initializing state, setting up event listeners, or creating Shadow DOM. See the spec for restrictions on what you can do in the constructor.
connectedCallback: The element is inserted into the DOM. Useful for running setup code, such as fetching resources or rendering UI. Generally, you should try to delay work until this time
disconnectedCallback: When the element is removed from the DOM. Useful for running clean-up code.
Step 1: Create a React application using the following command:
npx create-react-app example
Step 2: After creating your project folder i.e. example, move to it using the following command:
cd example
Step 3: Create a folder component inside the src folder of reacting project directory and inside the components folder create files Counter.jsx and ImperativeCounter.jsx
Project Structure:
👁 ImageExample: This example implements custom JSX element in the imparativeCounter.jsx file
Step to Run Application: Run the application using the following command from the root directory of the project:
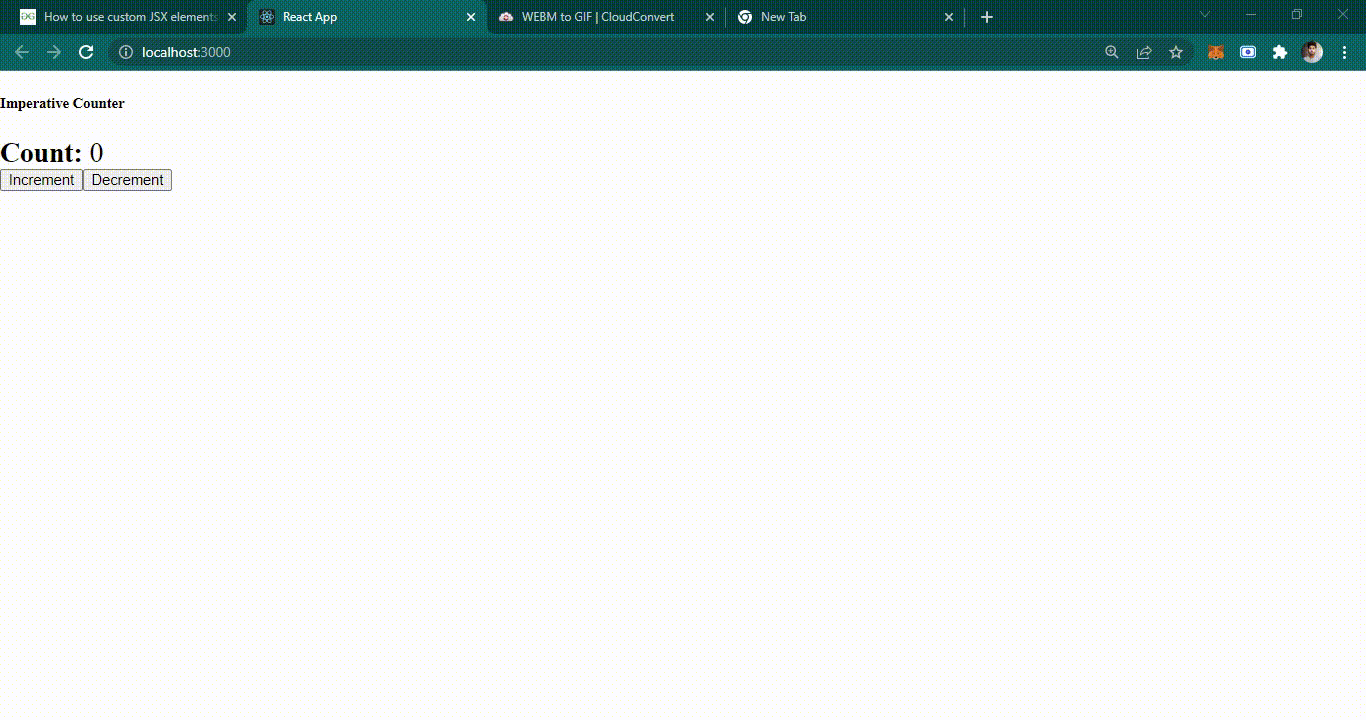
npm startOutput: This output will be visible on the http://localhost:3000/ on the browser window.
There we have created a custom element that manages its own state and reflects that state back to the user while giving us an HTML element to use in our JSX.