 |
VOOZH | about |
|
VOOZH | about |
The Social Networking Platform built with NextJS is a web application that provides users the functionality to add a post, like a post, and be able to comment on it. The power of NextJS, a popular React framework for building server-side rendered (SSR) and statically generated web applications, this platform offers a seamless user experience with fast loading times and smooth navigation.
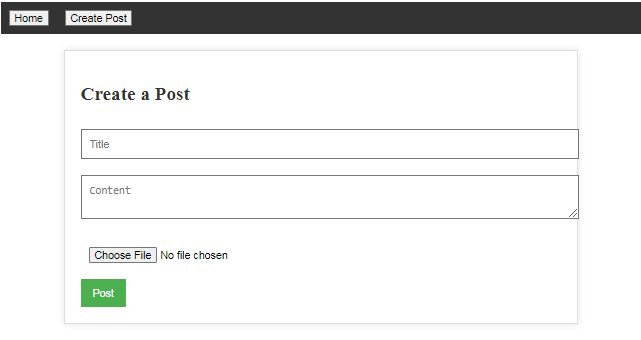
Output Preview: Let us have a look at how the final output will look like
👁 Screenshot-2024-03-20-000330
Step 1: Set up a NextJS project using the following command.
npx create-next-app next-mern-project
cd next-mern-project
Step 2: Install required dependencies.
npm install axios mongoose 👁 Screenshot-2024-03-19-235202
The updated dependencies in package.json file will look like:
 "dependencies": {
 "axios": "^1.6.8",
 "mongodb": "^6.5.0",
 "mongoose": "^8.2.2",
 "multer": "^1.4.5-lts.1",
 "next": "14.1.3",
 "next-connect": "^1.0.0",
 "react": "^18",
 "react-dom": "^18",
 "uuid": "^9.0.1"
 }
Step 3: Creating a required files.
Example: Below is an example of creating a Social Networking Platform with NextJS.
Start your application using the following command.
npm run devOutput:
Database records:
👁 Screenshot-2024-03-20-000736