 |
VOOZH | about |
|
VOOZH | about |
Wishlist is one of the important concepts of an E-commerce platform. In this article, we are going to learn how to implement Wishlist functionality using React JS and Redux Toolkit.
Preview of final output: Let us have a look at how the final output will look like.
npm install @reduxjs/toolkit or yarn add @reduxjs/toolkit.createSlice to define a Redux slice for the Wishlist.Specify the initial state and create reducers for actions like addToWishlist and removeFromWishlist.combineReducers.configureStore to set up the Redux store and pass the combined reducer.useDispatch and useSelector hooks from react-redux in components.Dispatch actions (e.g., addToWishlist, removeFromWishlist) based on user interactions.Step 1: Create a react app using command "npx create-react-app app-name".
npx create-react-app app-nameStep 2: Install the required dependencies
npm install react-redux @reduxjs/toolkit
npm install react-hot-toast
npm i react-router-dom react-icons
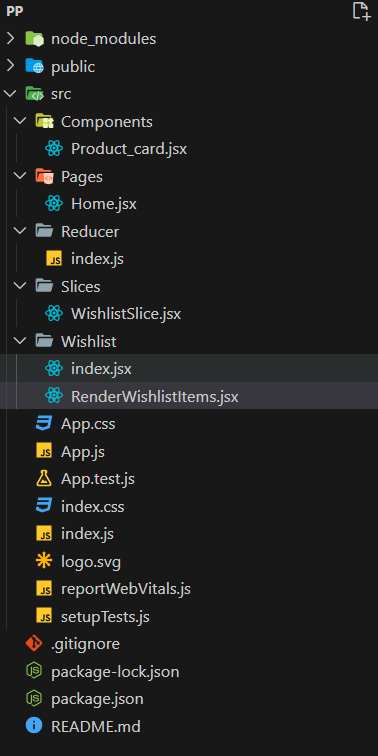
Project Structure:
The updated dependencies in package.json file will look like:
 "dependencies": {
 "@reduxjs/toolkit": "^2.0.1",
 "@testing-library/jest-dom": "^5.17.0",
 "@testing-library/react": "^13.4.0",
 "@testing-library/user-event": "^13.5.0",
 "react": "^18.2.0",
 "react-dom": "^18.2.0",
 "react-hot-toast": "^2.4.1",
 "react-icons": "^4.12.0",
 "react-redux": "^9.0.4",
 "react-router-dom": "^6.21.1",
 "react-scripts": "5.0.1",
 "web-vitals": "^2.1.4"
}
Example: Create the folder structure and insert the following files accordingly.
Steps to Run the Application:
npm startOutput: go to this url http://localhost:3000/
.jpg)