VOOZH about

URL: https://www.geeksforgeeks.org/advance-java/building-a-form-with-vaadin-and-spring-boot-in-java/

⇱ Building a Form with Vaadin and Spring Boot in Java - GeeksforGeeks


  • Courses
  • Tutorials
  • Interview Prep

Building a Form with Vaadin and Spring Boot in Java

Last Updated : 23 Jul, 2025

Vaadin is a common front-end framework for Java that provides smooth inclusion with Spring Boot. In this article, we will walk through creating a basic Vaadin form integrated into Spring Boot.

Prerequisites:

Before we start, ensure we have installed the following:

  • Java Development Kit (JDK) 8 or higher.
  • Maven or Gradle.
  • An Integrated Development Environment (IDE) like IntelliJ IDEA or Eclipse.

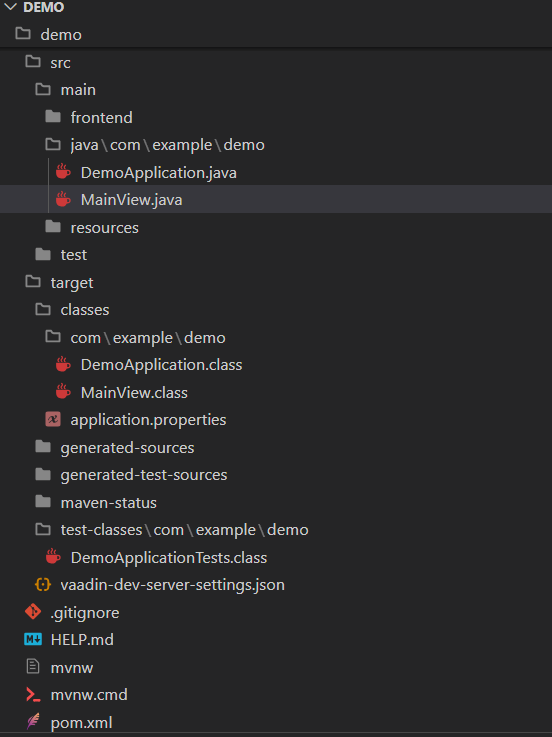
Implementation to Build a Form with Vaadin and Spring Boot

Below are the implementation steps to build a form with Vaadin and Spring Boot.

Step 1: Set Up the Project

Using Spring Initializr:

  • Go to Spring Initializr.
  • Configure the project with the following options:
    • Project: Maven Project
    • Language: Java
    • Spring Boot: Choose the latest stable version
    • Dependencies: Add Vaadin, Spring Web, and Spring Boot DevTools
👁 Project Metadata


  • Click Generate to download the project.
  • Unzip the downloaded project and open it in your IDE.

Step 2: Set Up Your Project in Visual Studio Code

1. Open the Project:

  • Launch Visual Studio Code.
  • Navigate to File > Open Folder and select your project folder.

2. Explore Project Structure:

  • Inside your project folder, you will find standard Maven project directories (src, pom.xml) and Maven Wrapper files (mvnw, mvnw.cmd).

Project Structure:

After creating the project, the folder structure should look like below:

👁 Project Folder Structure


Step 3: Implementing a Vaadin UI

Create a Vaadin UI Component:

  • Define a Java class for your Vaadin UI component (e.g., MainView.java).
  • Utilize Vaadin components like TextField, Button, etc., to design your UI.
  • Implement functionalities such as form submission, validation, etc.

MainView.java:


pom.xml:


Step 4: Running the Application

1. Run Using Maven Wrapper:

  • Open a terminal in Visual Studio Code.
  • Navigate to your project directory.
👁 Navigate to the Project Directory in Terminal
  • Execute the following command to run your application:

.\mvnw.cmd spring-boot:run

  • Wait for Maven to build and start your Spring Boot application.

Access the Application

To access Your Application:

  • Once the application starts, open a web browser.
  • Go to http://localhost:8080 (or configured port) to view your Vaadin application.
  • Interact with the UI to test functionality such as form submission.
👁 Application Output

Conclusion

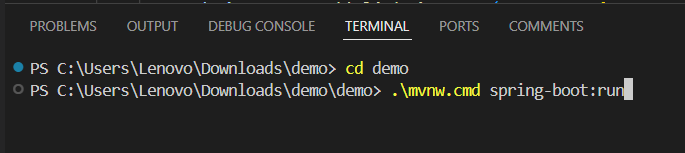
In this article, we've covered the essential steps to set up and run a Spring Boot application with Vaadin. We have been taught how to initiate a project through Spring Initializr, create a simple Vaadin UI and execute the application on a local server. With this kind of a foundation, it becomes easier for us to build more advanced web applications using Vaadin and Spring Boot.


Comment

Explore