 |
VOOZH | about |
|
VOOZH | about |
Feign is the declarative HTTP client developed by Netflix. It can simplify the process of calling RESTful web services by defining the client interfaces and using annotations. By default, Feign can use the java HTTPURLConnection for making the HTTP requests. However, in some of the cases, we might want to change this default implementation to leverage a more feature-rich and performant HTTP client like Apache HttpClient.
In this article, we will guide how to change the default Feign client implementation in the Spring Boot application to use the Apache HttpClient.
The main concept can involves the configuration Feign to use the Apache HttpClient instead of the default HTTPURLConnection. It can requires adding the necessary dependencies for Apache HttpClient and Feign and then creating the configuration class to set up the Feign with Apache HttpClient.
We can create the spring project using spring Initializr on creating the project add the below dependencies into the project.
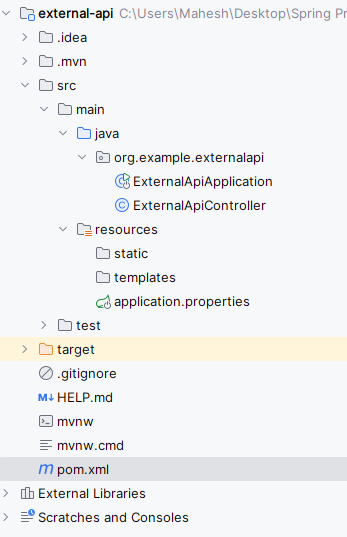
Once create the project then the file structure then the file structure looks like the below image.
spring.application.name=external-api
# application.properties
server.port=8081
Go to src > main > java > org.example.externalapi > ExternalApiController and put the below code.
No changes are required in the main class
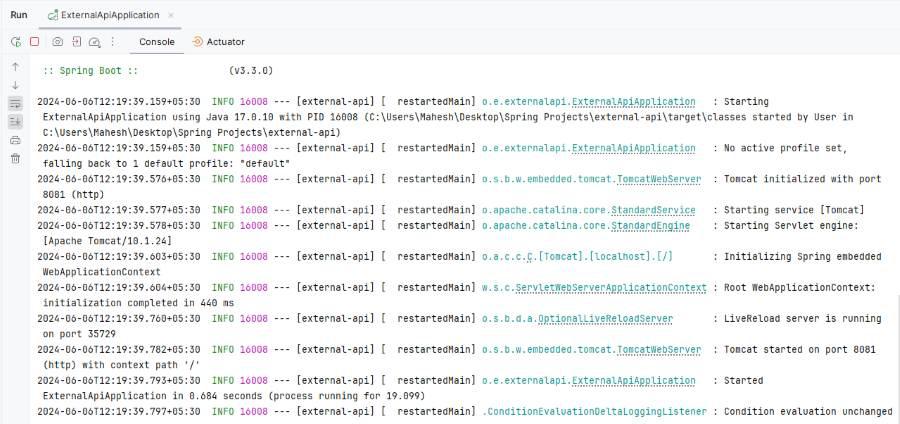
Once complete the project then run the application, it will start at port 8081.
We can create the spring project using spring Initializr on creating the project add the below dependencies into the project.
 <!-- https://mvnrepository.com/artifact/org.apache.httpcomponents/httpclient -->
 <dependency>
 <groupId>org.apache.httpcomponents</groupId>
 <artifactId>httpclient</artifactId>
 <version>4.5.14</version>
 </dependency>

 <!-- https://mvnrepository.com/artifact/io.github.openfeign/feign-httpclient -->
 <dependency>
 <groupId>io.github.openfeign</groupId>
 <artifactId>feign-httpclient</artifactId>
 <version>13.2.1</version>
 </dependency>
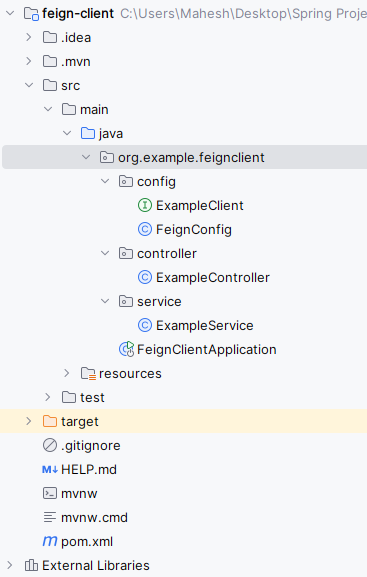
Once create the project then the file structure then the file structure looks like the below image.
spring.application.name=feign-client
server.port=8080
Go to src > main > java > org.example.feigncleint > config > FeignConfig and put the below code.
Go to src > main > java > org.example.feigncleint > config > ExampleClient and put the below code.
@FeignClient: It can defines the Feign client with the specified name. URL and configuration class.
Go to src > main > java > org.example.feigncleint > service > ExampleService and put the below code.
Go to src > main > java > org.example.feigncleint > controller > ExampleController and put the below code.
In main class, we can add the @EnableFeignClients to enable the feign clients functionalities of the application.
Once complete the project then run the application it will start at 8080.
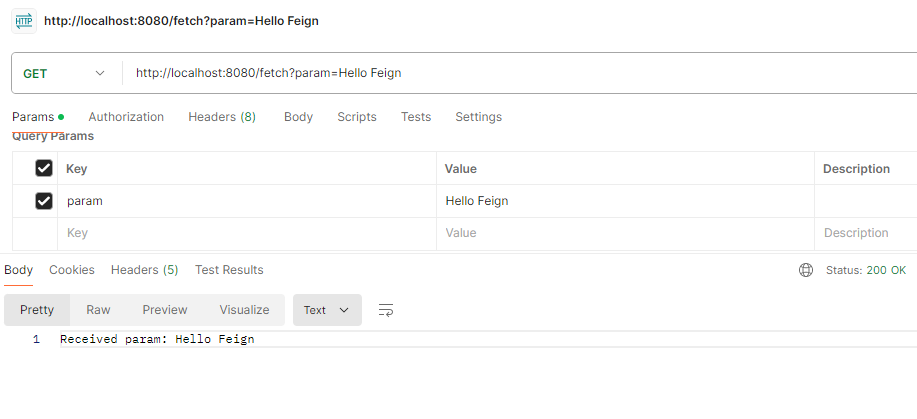
GET http:localhost:8080/fetch?param= Hello FeignBy the following these steps, we can successfully change the default Feign client implementation in the Spring Boot application to use the Apache HttpClient. This setup can be allows you to leverage the advanced features and performance the optimizations of the Apache HttpClient.
.jpg)