 |
VOOZH | about |
|
VOOZH | about |
In a software development environment, applications must often be configured differently for various environments such as development, testing, and production. Managing these configurations can be challenging, but Maven provides powerful features called profiles to handle this.
Maven profiles are sets of configurations that can be activated or deactivated based on certain conditions. They allow you to define different configurations for various environments such as development, testing, and production. Each profile can have its own dependencies, plugin properties, and build settings.
Maven profiles can be defined in the pom.xml file. We can activate a profile using command line parameters, environment variables, or other activation mechanisms. When a profile is activated, Maven uses the settings defined in that profile to build the project.
Example: Below is an example of how a Maven profile is defined in the pom.xml file.
Below are the implementation steps to configure a Spring Boot application with Maven Profiles.
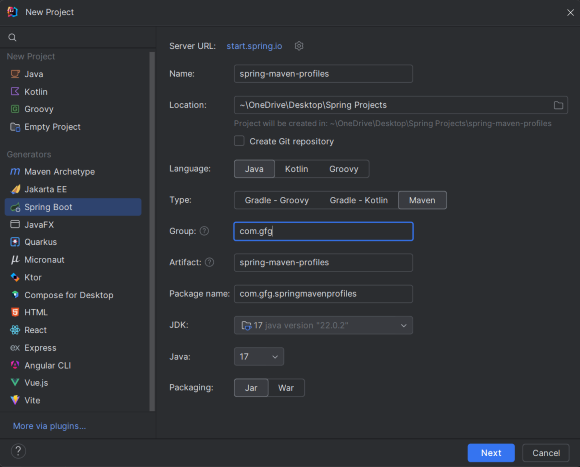
Create a new Spring Boot project using IntelliJ IDEA. Refer to the screenshot for better understanding.
Click on the Next button.
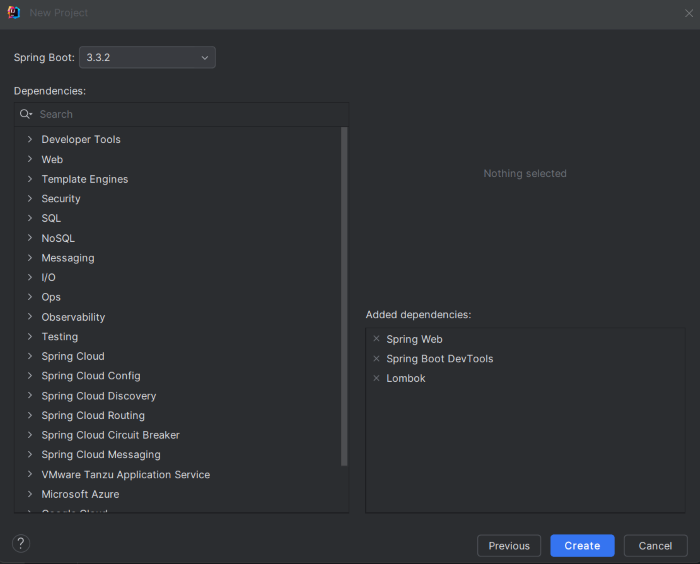
Add the following dependencies to the project:
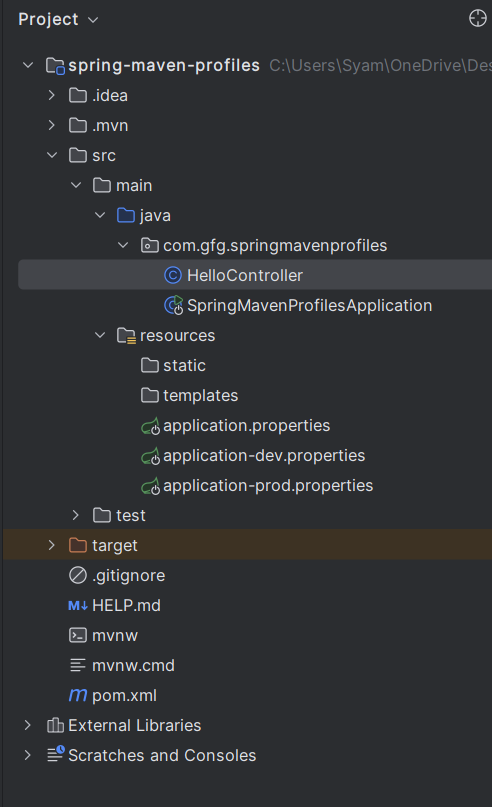
Project Structure:
After the successful creation of the project, the project folder structure will look like this:
Create different profile properties for the application.
1. application.properties: Common properties
spring.application.name=spring-maven-profiles
message=Hello from general file!
2. application-dev.properties: Development environment properties
message=Hello from Development!
3. application-prod.properties: Production environment properties
message=Hello from Production!
Create the HelloController class to create a simple endpoint for testing the Spring application.
Go to src > java > com.gfg.springmavenprofiles > main > HelloController and put the below code.
No changes are required in the main class of the project.
pom.xml file:
Now, run the application, and it will start at port 8080.
GET http://localhost:8080/hello
We will now activate a Maven profile using the command line by passing the -P option followed by the profile ID.
1. Install the Dev Profile:
mvn clean install -Pdev
2. Activate the Dev Profile:
Activate the dev profile and run the application, using the below command.
mvn spring-boot: run -Pdev
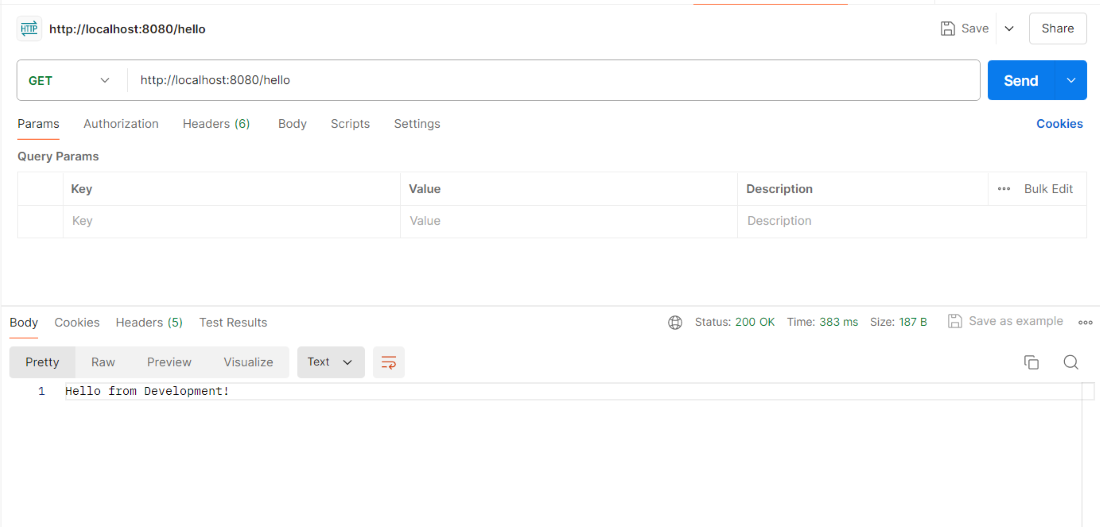
3. Test the Dev Profile:
We can test the endpoint using postman tool.
GET http://localhost:8080/hello
Build the project using the prod profile, using the below command.
mvn clean install -Pprod
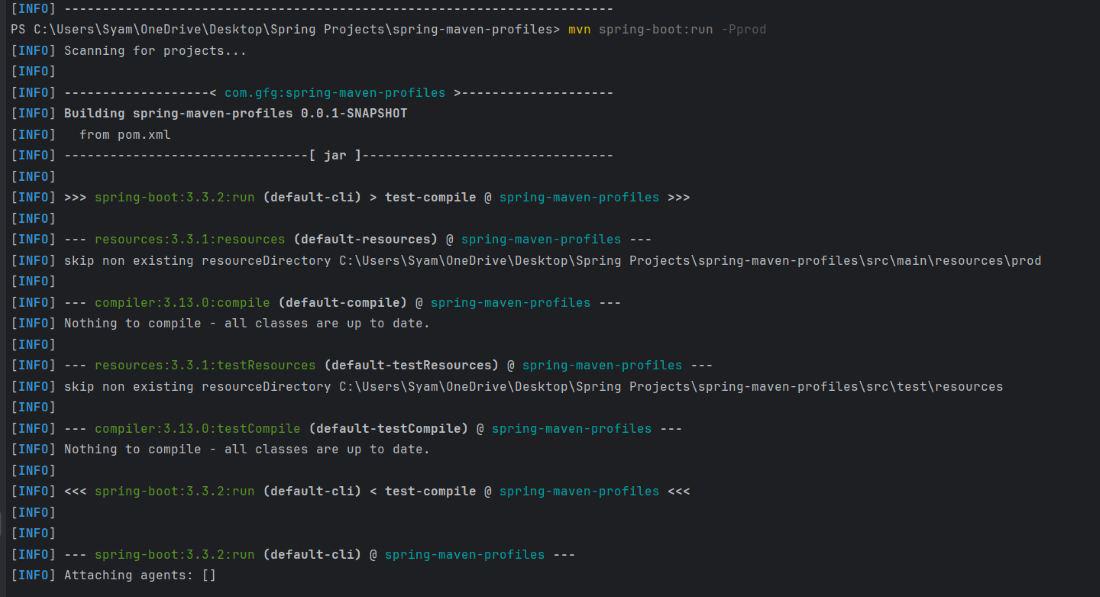
Activate the prod profile and run the application, using the following command.
mvn spring-boot:run -Pprod
Now, test the endpoint again using the postman tool.
GET http://localhost:8080/hello
In this example, we have defined two profiles that are dev and prod. Each profile sets a different Spring profile and resource directory for the Spring Boot application.