 |
VOOZH | about |
|
VOOZH | about |
CSRF (Cross-Site Request Forgery) protection in Spring Security prevents unauthorized actions performed on behalf of authenticated users. It ensures that every state-changing request is verified as coming from a trusted source. This mechanism strengthens application security by validating user intent.
Example: We can implement the CSRF Token generation from the server side and it can be embedded into the client-side form to validate the CSRF tokens can access the server. In Implementation, we can prevent the authenticated attackers from the unknown domains.
Embedded with Client-side forms:
Below are the steps to implement a simple user login management system and we will add CSRF protection into the application.
Create the spring project using Spring Initializer on creating the project add the below dependencies into the project.
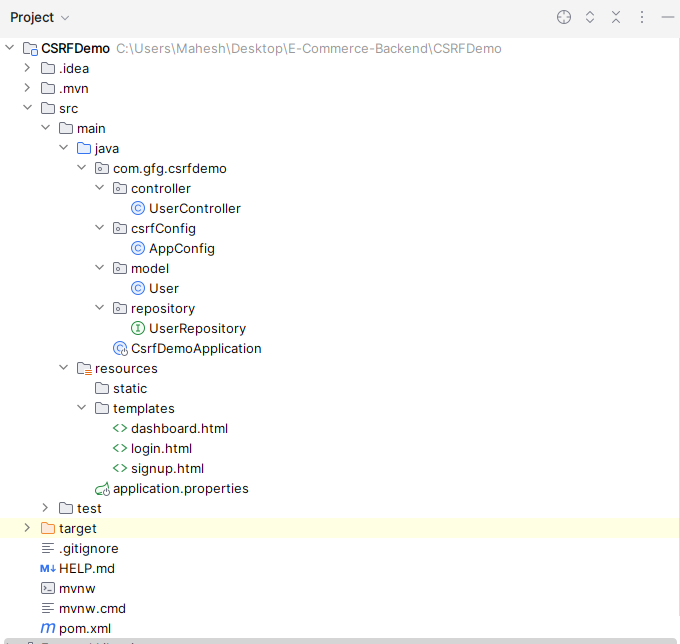
Once created the project, then the file structure looks like the below image.
File Structure:👁 Project Structure
Open the application.properties file, it will be located in resource folder then the put the below code for the mongodb database configuration and server assigning to the server.
server.port=8081
spring.data.mongodb.uri=mongodb://localhost:27017/user-data
Create the new package and it named as model and create the new Java class in that package named as User.
Create the new package and it named as repository and create the new java interface in that package named as UserRepository.
Create the new package named as csrfConfig and create the new Java class in that package named as AppConfig.
Create the new package and it named as controller and create the new java class in that package named as UserController.
Open the main class and put the below code.
Note: No need any changes into the main class.
Create the html file and named as login.html and it can be saved as the templates folder.
Create the html file and named as signup.html and it can be saved as the templates folder.
Create the html file and named as dashboard.html and it can be saved as the templates folder.
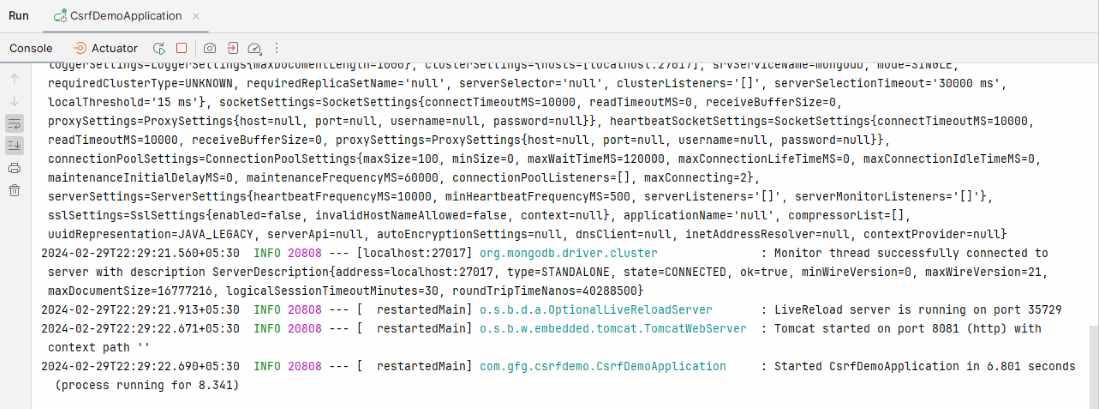
Once the completed the spring project, and it runs as the spring project then it will run on the port 8081.
SignUp Page:
Login Page:
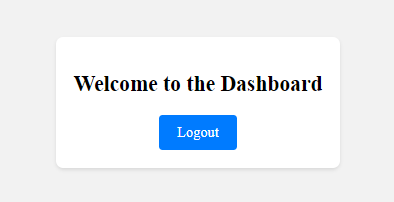
Dashboard:
Explanation: The above project demonstrates CSRF protection in Spring Security. It generates a CSRF token in the security configuration and embeds it within forms for verification. When a client sends a request, the server validates the CSRF token to ensure the request is legitimate. If the token is valid, access is granted; otherwise, the request is rejected.