 |
VOOZH | about |
|
VOOZH | about |
In Spring applications, the @EnableScheduling annotation is commonly used to enable the execution of scheduled tasks. However, during testing, it may be necessary to disable this feature to avoid unwanted side effects or to control the test execution environment. This article will guide you through the process of disabling @EnableScheduling in Spring tests.
In Spring applications, the @EnableScheduling annotation enables scheduling capabilities, allowing methods annotated with @Scheduled to be executed automatically at predefined intervals. This feature is useful for tasks such as batch processing, sending notifications, or executing recurring jobs in production environments.
However, during unit or integration testing, the automatic execution of scheduled tasks can interfere with the test environment. Scheduled tasks might modify the application state unexpectedly or trigger background processes, leading to unpredictable test results. Therefore, disabling scheduling during tests is crucial for ensuring a controlled and isolated testing environment.
This example project demonstrates how to disable @EnableScheduling in the Spring tests of a Spring Boot application.
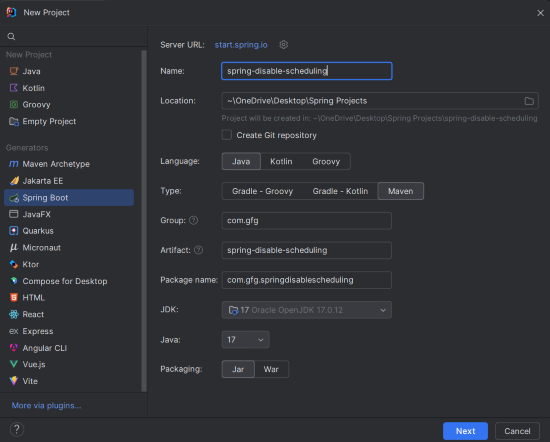
Create a new Spring Boot project using IntelliJ IDEA. Choose the following options:
spring-disable-schedulingClick on the Next button.
Add the following dependencies to the Spring Boot project:
Click on the Create button.
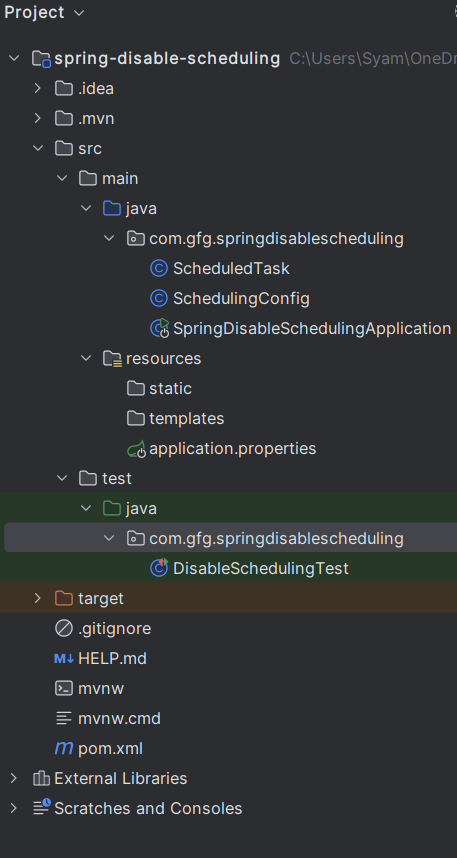
Once the project is created, the file structure will look like this:
In the src/main/resources/application.properties file, add the following line to configure the application name:
spring.application.name=spring-disable-schedulingThis configuration class enables scheduling in the application.
This is a simple scheduled task that will run every 5 seconds.
No changes are required in the main class.
In the testing portion, to disable scheduling, we can either mock the scheduled tasks or exclude the scheduling configuration in the test context.
In this test, we will create a custom test configuration that disables the scheduler and ensures that no tasks are run during the test.
In this test:
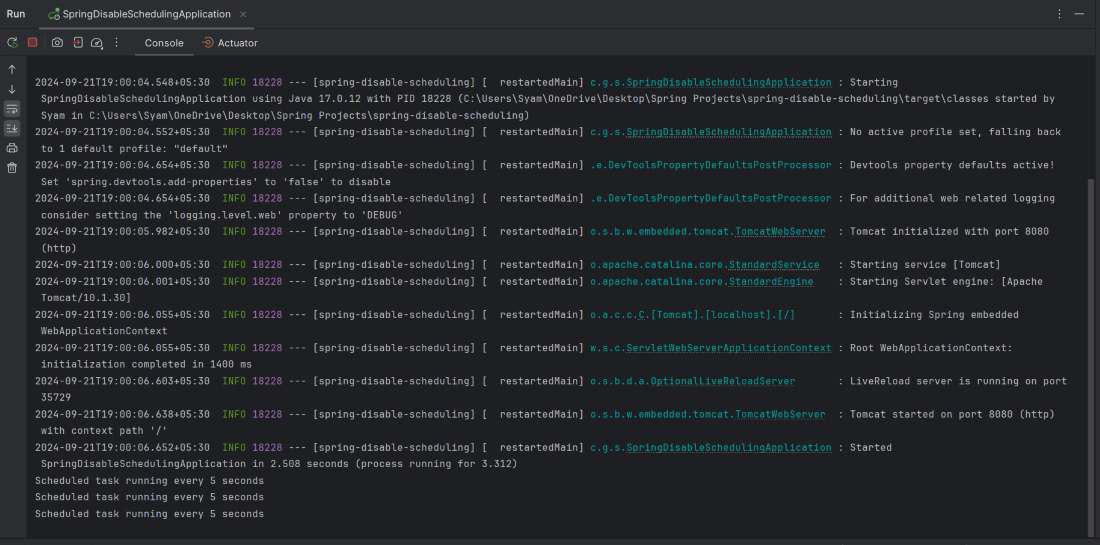
After the project is completed, it will run at port number 8080.
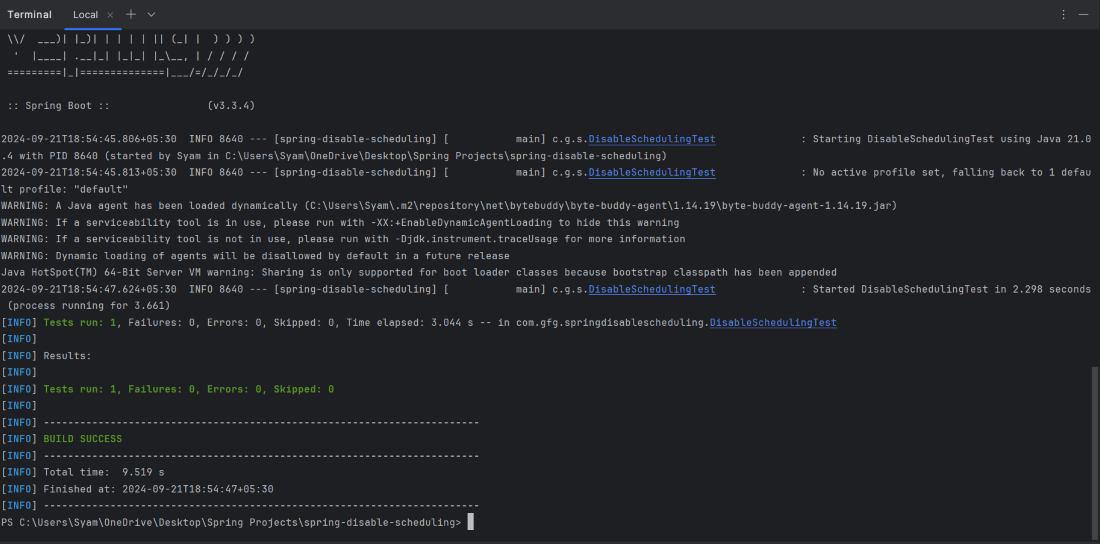
When you run the DisableSchedulingTest, the test should pass without executing the scheduled task. The Mockito verification verify(scheduledTask, never()).runTask() ensures that the runTask() method is never called, confirming that scheduling has been disabled for this test.
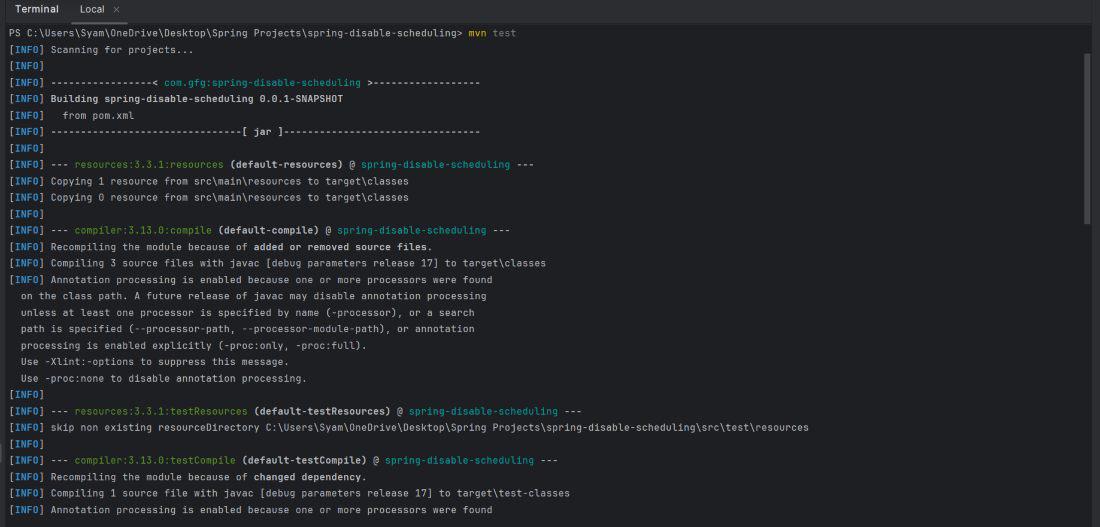
Run the tests using below command,
mvn testIn this example project, we demonstrated how to disable @EnableScheduling in Spring tests using a custom test configuration and mock beans. By overriding the TaskScheduler and using @MockBean, we can prevent scheduled tasks from executing during tests, allowing for isolated and reliable test execution. This approach ensures that tests run without interference from background tasks, leading to better test performance and predictability.