 |
VOOZH | about |
|
VOOZH | about |
In Spring Microservices, services are often decentralized and distributed across multiple nodes. This architecture can enhance resilience and scalability but also introduces challenges such as efficient request distributions and performance monitoring. Load balancing and metrics monitoring are essential for the practices that address these challenges. It can ensure that the requests are evenly distributed among available service instances and that the health and performance of the services are constantly overserved.
Spring Cloud LoadBalancer can provide a simple yet powerful way to implement client-side load balancing in the microservices. It can replace the traditional Netflix Ribbon.
Below are the implementation steps of Load Balancing and Metrics Monitoring in Spring Cloud Microservices.
Step 1: Create a spring project using spring initializer, on creating the project add the below dependencies.
Dependencies:
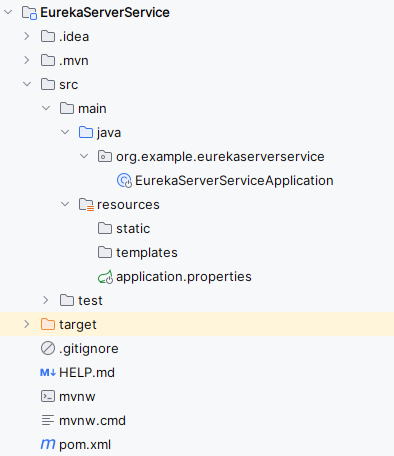
After creating the Spring project, the file structure will be like the image below.
Step 2: Open the application.properties file and rename it to application.yml. Then, add the following YAML code for configuring the server port, Eureka client, and API routing:
server:
 servlet:
 context-path: /
 port: 9056

spring:
 application:
 name: API-GATEWAY
 profiles:
 active:
 - default
 cloud:
 gateway:
 default-filters:
 - DedupeResponseHeader=Access-Control-Allow-Credentials Access-Control-Allow-Origin
 routes:
 - id: SERVICE-1
 uri: lb://service-1
 predicates:
 - Path= /**
 - id: SERVICE-2
 uri: lb://service-2
 predicates:
 - Path= /**


eureka:
 client:
 register-with-eureka: true
 fetch-registry: true
 service-url:
 defaultZone: http://localhost:9099/eureka
 instance:
 prefer-ip-address: true
Step 3: In the main class, include @EnableEurekaClient annotation to activate the Eureka server functionality.
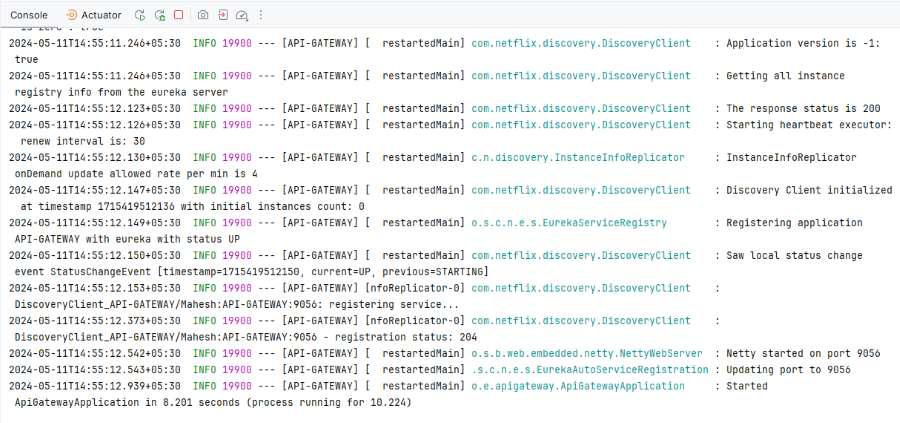
Step 4: Run the application
Once the Spring project is completed and successfully runs as a Spring application, it will start at port 9056.
Step 1: Create a Spring project using Spring Initializr, and include the following dependencies:
Dependencies:
After creating the Spring project, the file structure will be like the image below.
Step 2: Open the application.properties file and add the following code to configure the server port and Eureka server settings for the project.
spring.application.name=EurekaServerService
server.port=9099
eureka.instance.hostname=localhost
eureka.client.register-with-eureka=false
eureka.client.fetch-registry=false
eureka.client.service-url.defaultZone =http://${eureka.instance.hostname}:${server.port}/eureka
Step 3: In the main class, include @EnableEurekaServer annotation to activate the Eureka server functionality.
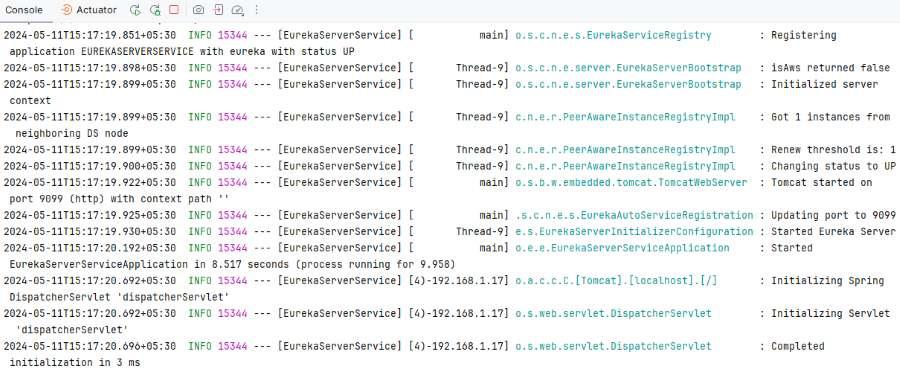
Step 4: Once the Spring project is completed and run as a Spring application successfully, it will start at port 9099.
Step 1: Create the Spring project using Spring Initializr. When creating the project, add the following dependencies:
Dependencies:
After creating the Spring project, the file structure will look like the image below.
Step 2: Open the application.properties file and insert the following code to configure the server port and Eureka client settings for the project.
spring.application.name=service-1
server.servlet.context-path=/service1
server.port= 8081
management.endpoints.web.exposure.include=health,info,metrics
eureka.instance.prefer-ip-address=true
eureka.client.fetch-registry=true
eureka.client.register-with-eureka=true
eureka.client.service-url.defaultZone= http://localhost:9099/eureka
Step 3: Open the main class and create the new REST API endpoint using the @RestController of the project.
Go to src > org.example.service1 > Service1Application and put the below code.
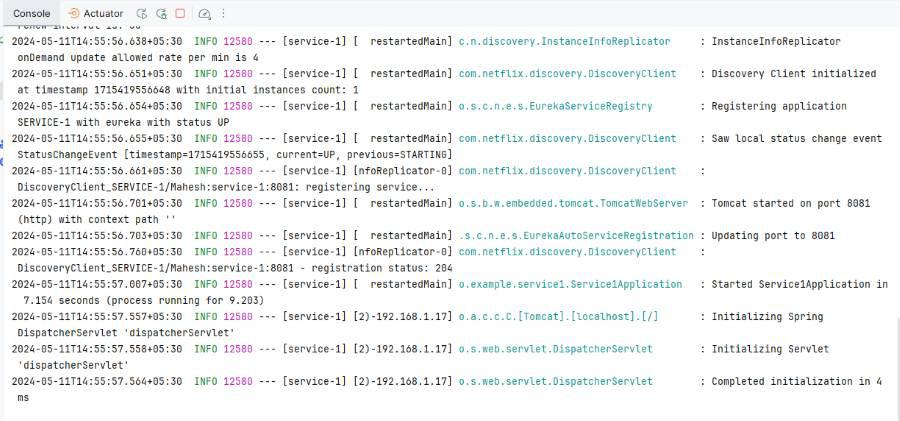
Step 4: Once the Spring project is completed, run it as a Spring application and it will start at port 8081.
Step 1: Create the Spring project using Spring Initializr. When creating the project, add the following dependencies:
Dependencies:
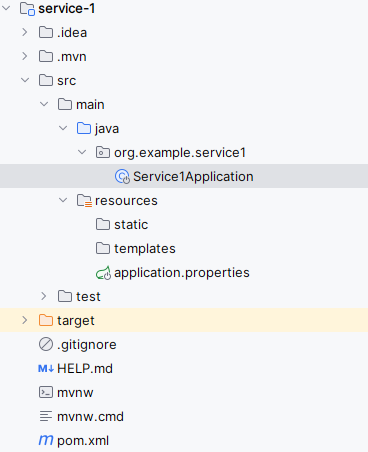
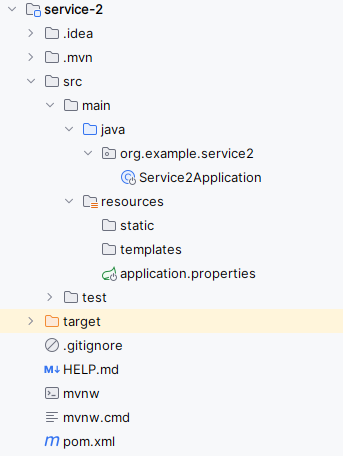
After creating the Spring project, the file structure will be like the image below.
Step 2: Open the application.properties file and insert the following code to configure the server port and Eureka client settings for the project.
spring.application.name=service-2

server.port= 8082
server.servlet.context-path=/service2
management.endpoints.web.exposure.include=health,info,metrics
eureka.instance.prefer-ip-address=true
eureka.client.fetch-registry=true
eureka.client.register-with-eureka=true
eureka.client.service-url.defaultZone= http://localhost:9099/eureka
Step 3: Open the main class and create the new REST API endpoint using the @RestController of the project.
Go to src > org.example.service2 > Service2Application and put the below code.
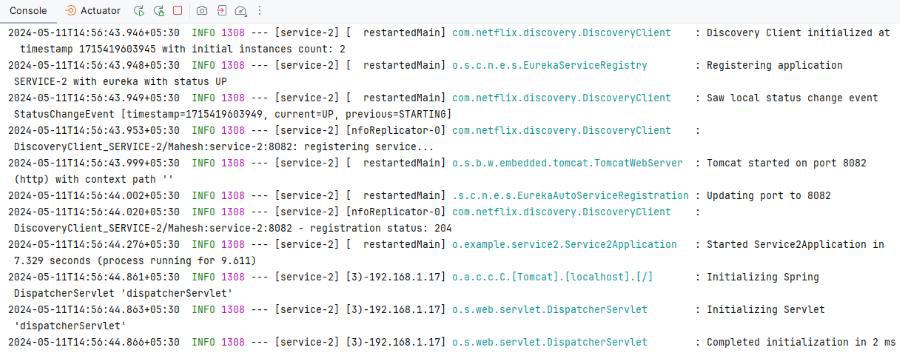
Step 4: Once the Spring project is completed, run it as a Spring application and it will start at port 8082.
Eureka-Server Dashboard:
Open the below URL into the browser
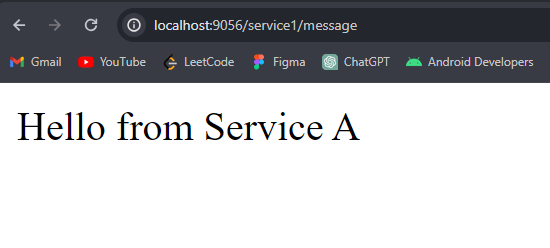
http://localhost:9099API Load balancing Service-1 Endpoint:
http://localhost:9056/service1/messageAPI Load balancing Service-2 Endpoint:
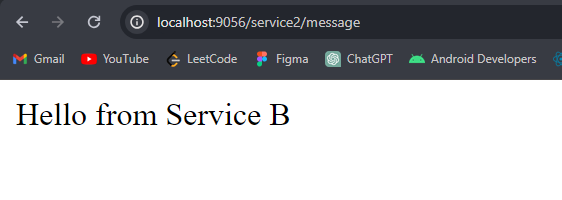
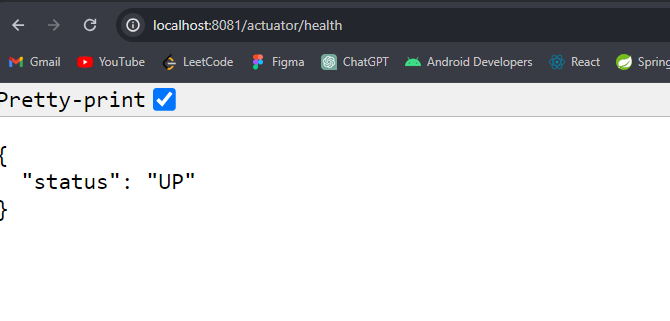
http://localhost:9056/service2/messageService-1 microservice health endpoint:
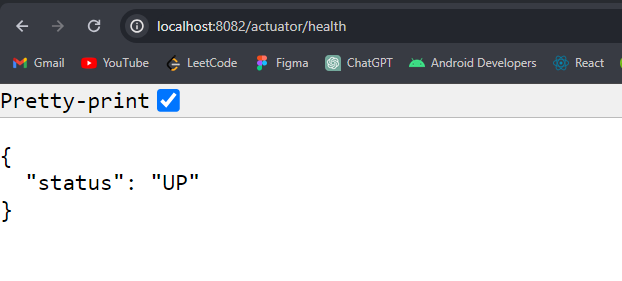
http://localhost:8081/actuator/healthService-2 microservice health endpoint:
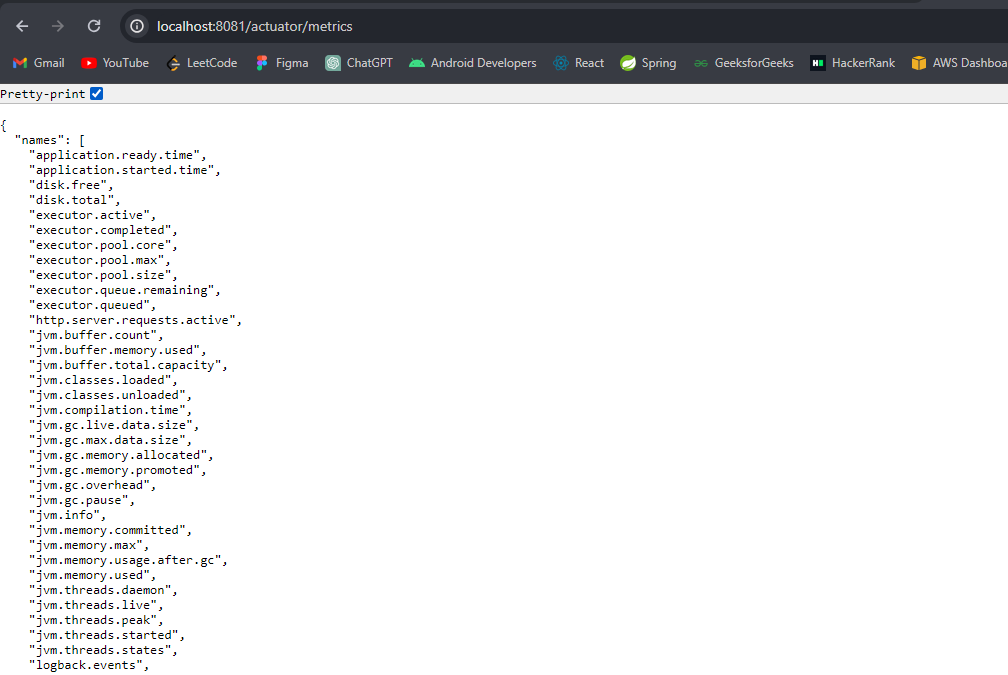
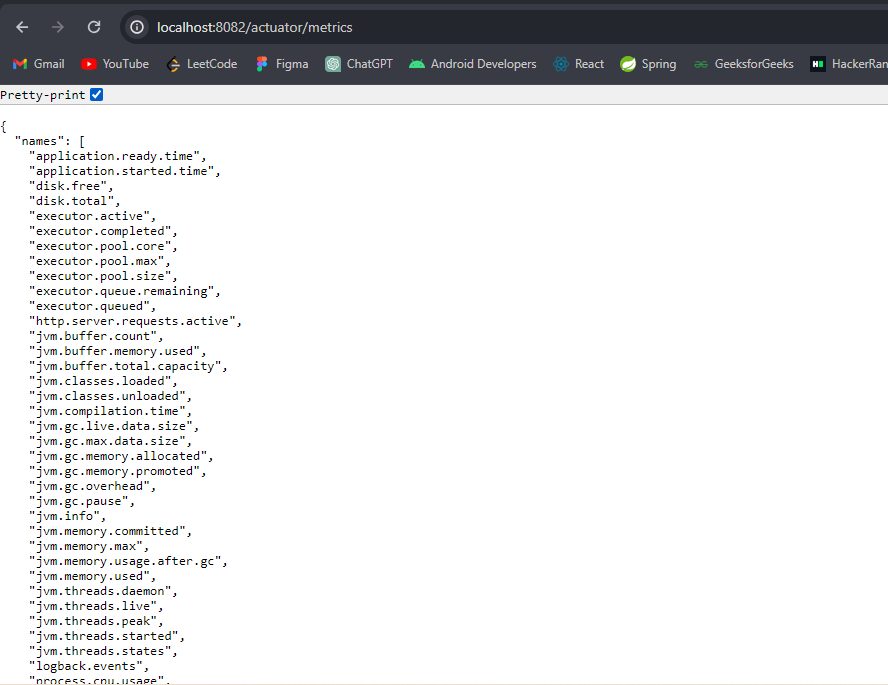
http://localhost:8082/actuator/healthService-1 microservice Metric Endpoint:
http://localhost:8081/actuator/metricsService-2 microservice Metric Endpoint:
http://localhost:8082/actuator/metricsUsing the Spring Cloud for load balancing and metrics monitoring in the microservices architecture ensure that the applications are robust, responsive and maintainable. By the following the above steps, we can implement the scalable microservices application with the effective load management and detailed observability.