 |
VOOZH | about |
|
VOOZH | about |
In Spring MVC, the DispatcherServlet acts as the Front Controller that handles all incoming requests and forwards them to the appropriate controllers. It is configured in the web.xml file to enable request processing and initialize the Spring MVC framework in the application.
A Front Controller is a design pattern that provides a single entry point for handling all client requests in a web application. In Spring MVC, the DispatcherServlet acts as the Front Controller and manages request processing and response handling.
Example: If a client sends a request to /student/save, the DispatcherServlet forwards the request to the controller method responsible for handling the /save operation.
The below diagram illustrates how the Front Controller (DispatcherServlet) receives client requests and forwards them to the appropriate controller methods for processing in a Spring MVC application.
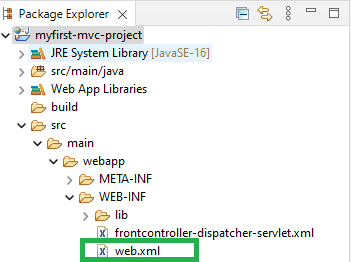
The web.xml file is the deployment descriptor used in Java web applications to configure servlets, filters, listeners, and URL mappings. It helps define how the web application behaves on the server.
It resides inside:
src/main/webapp/WEB-INF/web.xml
Follow the below steps to configure Dispatcher Servlet in web.xml File.
Create a Spring MVC Dynamic Web Project in Eclipse IDE.
Add the required Spring MVC JAR files or Maven dependencies to the project.
Navigate to the WEB-INF folder and open the web.xml deployment descriptor file.
Add the DispatcherServlet configuration inside the web.xml file.
Makes the configuration in web.xml file inside the servlet mapping tag.
<servlet-mapping>
<!-- Match the servlet name -->
<servlet-name>frontcontroller-dispatcher</servlet-name>
<!-- Map all URLs starting with /gfg.com/ -->
<url-pattern>/gfg.com/*</url-pattern>
</servlet-mapping>
Complete web.xml file:
Below is the complete web.xml file containing the DispatcherServlet configuration.
Each DispatcherServlet requires an associated Spring configuration file. The file name should follow this convention:
<servlet-name>-servlet.xml
Example: frontcontroller-dispatcher-servlet.xml
Example Configuration:
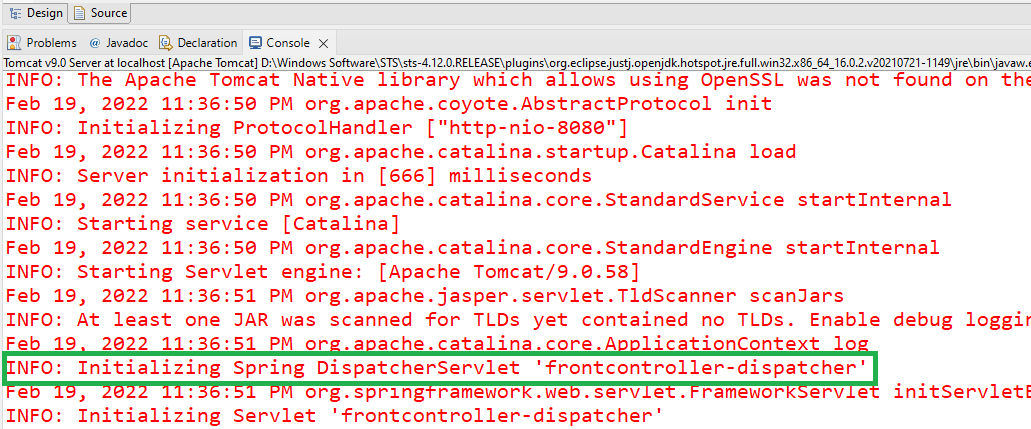
If the DispatcherServlet initializes successfully without exceptions, the setup is correct.
Example Console Output:
Example: This confirms that the DispatcherServlet has been correctly configured and initialized.