 |
VOOZH | about |
|
VOOZH | about |
The Java Persistence API (JPA) is a Java specification for accessing, persisting, and maintaining data between Java objects and a relational database. IntelliJ IDEA Ultimate provides robust support for the JPA frameworks making it the ideal environment for developing database-driven applications using Java.
Below are the steps to create a JPA Project using IntelliJ IDEA Ultimate.
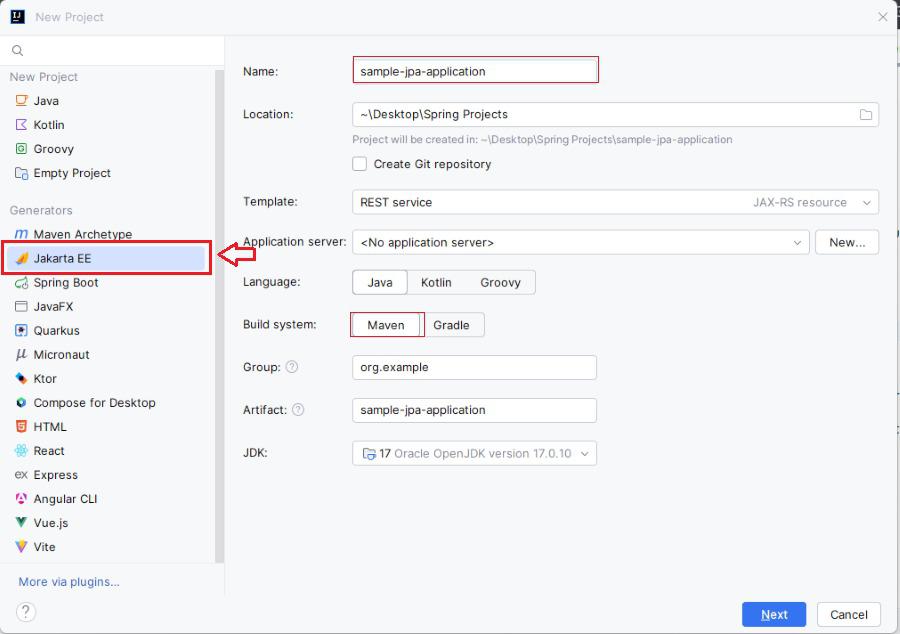
Step 1: Open the IntelliJ IDEA ultimate and create the new project of the JPA application.
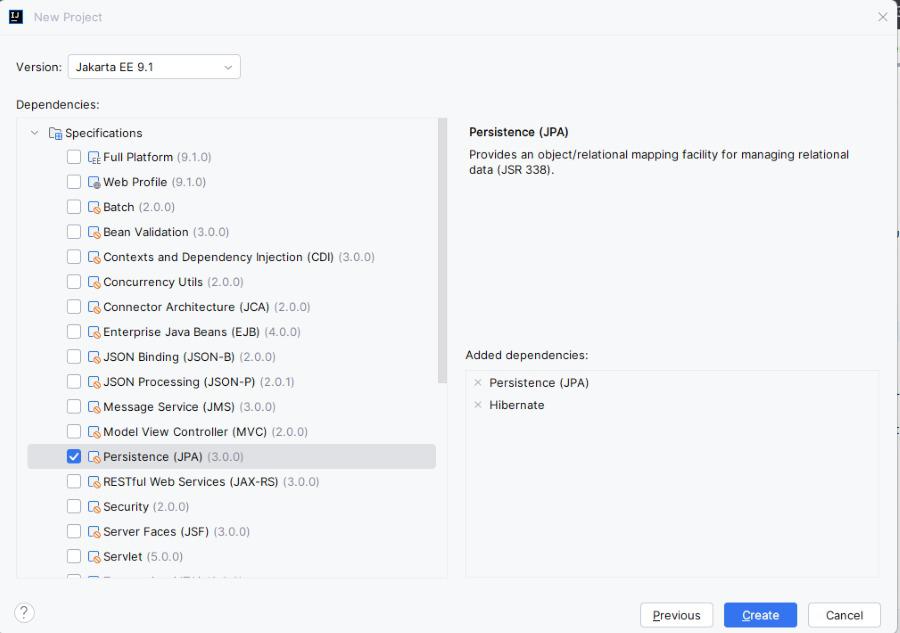
Step 2: Add the Dependencies
Now, we will add the Persistence (JPA) and Hibernate of the JPA application and click on the create button.
After the project creation done, then the folder structure will be like below.
Step 3: Configure the JPA
Open the persistence.xml file and write the below code then configure the mysql of the JPA application.
Step 4: Create the Entity Classes
We will now create a new Java class inside src/main/java directory location of the application.
User.java:
Step 5: Perform the Operations
Create the MainApplication class for perform operations in src/main/java/MainApplication directory location of the application.
pom.xml:
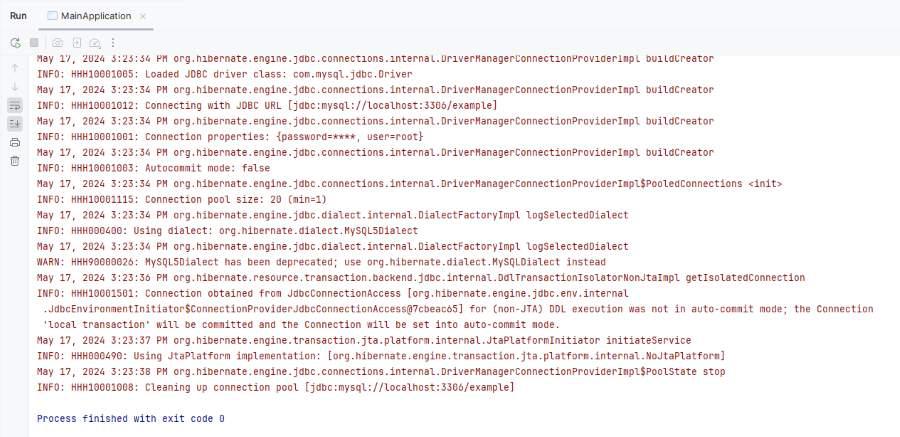
Step 6. Running the Application
Once all the steps done, run the MainApplication class. If everything is configured correctly, then the application will start and connect to the database and persist an entity.
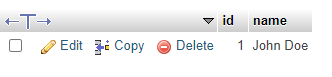
After running the application, the user data will be saved into the database.
This article provides the guide the fundamental setup for the JPA project in the IntelliJ IDEA Ultimate and it enables us to start building more complex Java database applications.