 |
VOOZH | about |
|
VOOZH | about |
In Java, JPA is defined as Java Persistence API. The mapping association between the entities is an important aspect of designing database-driven applications. One such mapping is the Set mapping. It establishes the one-to-many relationship between the entities.
Set mapping in JPA is used to represent the collection of related entities where each entity instance can occur at the most in the collection.
Here are the steps to implement the Set mapping.
We can define the entities and it establish the one-to-many relationship using the @OneToMany annotation of the application.
@Entity
public class Parent {
 @Id
 @GeneratedValue(strategy = GenerationType.IDENTITY)
 private Long id;

 @OneToMany(mappedBy = "parent", cascade = CascadeType.ALL)
 private Set<Child> children;

 // Getters and setters
}
Step 2: We can use the @JoinColumn annotation to the specify the foreign key column in the child entity of the application.
@Entity
public class Child {
 @Id
 @GeneratedValue(strategy = GenerationType.IDENTITY)
 private Long id;

 @ManyToOne
 @JoinColumn(name = "parent_id")
 private Parent parent;

 // Getters and setters
}
Step 3: We can access and manipulate the associated entities through the Set collection in the parent entity of the application.
Below is the implementation with a suitable example to demonstrate Set Mapping in JPA.
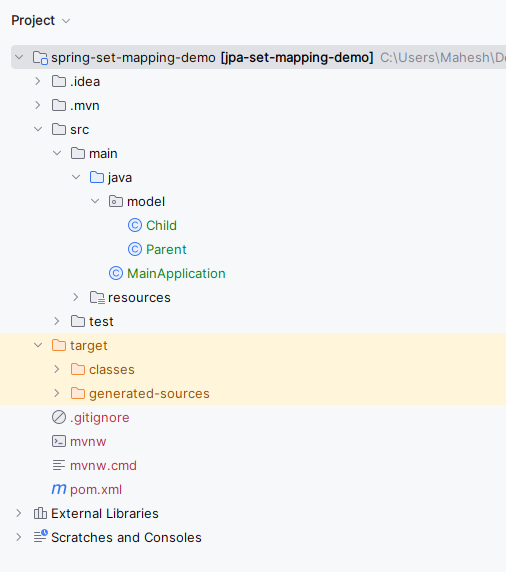
Step 1: Create a new JPA project using Intellj Idea named jpa-set-mapping-demo.
Once the project creation done, the folder structure will look like below image:
👁 Folder StructureStep 2: Open the pom.xml and add the below dependencies into the project.
Dependency:
 <dependency>
 <groupId>org.hibernate.orm</groupId>
 <artifactId>hibernate-core</artifactId>
 <version>6.0.2.Final</version>
 </dependency>
 <dependency>
 <groupId>mysql</groupId>
 <artifactId>mysql-connector-java</artifactId>
 <version>8.0.28</version>
 </dependency>
 <dependency>
 <groupId>org.glassfish.jaxb</groupId>
 <artifactId>jaxb-runtime</artifactId>
 <version>3.0.2</version>
 </dependency>
Step 3: Open the persistence.xml and paste the below code into the project to configure the project database.
Step 4: Create a new Java package named model. Inside that package, create a new Entity Java class named Parent.
Go to src > main > java > model > Parent and put the below code.
Step 5: Create a new Entity Java class named Child.
Go to src > main > java > model > Child and put the below code.
Step 6: Create a new Java class named MainApplication.
Go to src > main > java > MainApplication and write the below provided code there.
pom.xml:
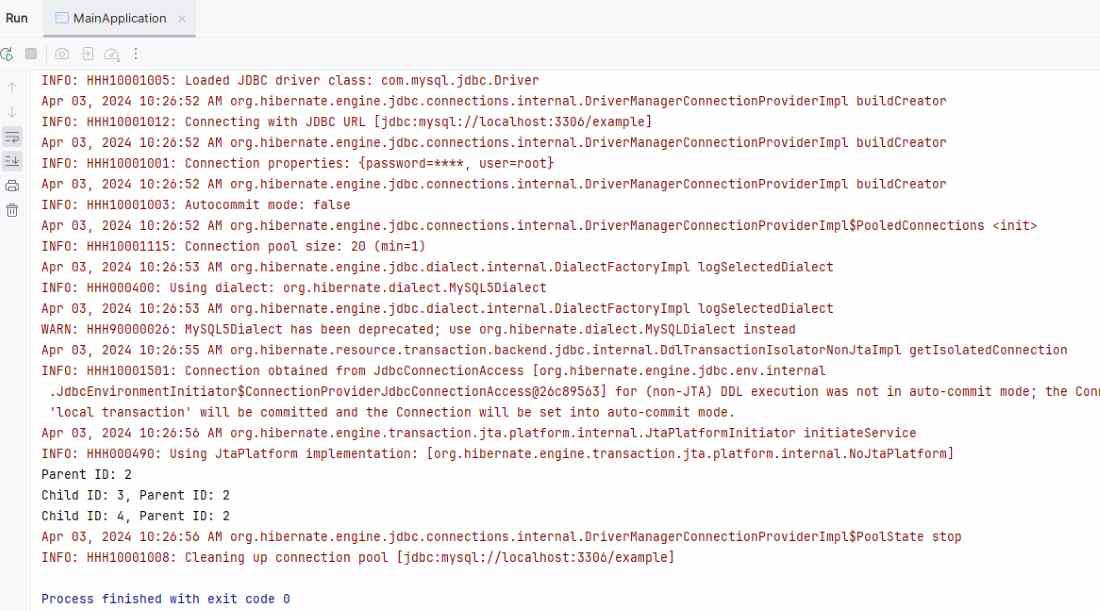
Step 7: Once the project is completed, run the application. It will then show the Parent and Child along with their ID's as an output. Refer the below console output image for better understanding.
👁 Output ScreenBy the understanding the concept and implementation steps, developers can effectively the model complex data structures and relationships in their database driven applications.