 |
VOOZH | about |
|
VOOZH | about |
Maven is a build automation tool used for Java projects and other project types like C#, Scala, and more. The Maven project is managed by the Apache Software Foundation. Maven manages the build automation and lifecycle of software applications and generates WAR, JAR, and other executable files. In this article, we will explain how to set up a Maven environment on a Windows system.
Setting up a Maven environment involves installing Maven and configuring it to work with your development environment.
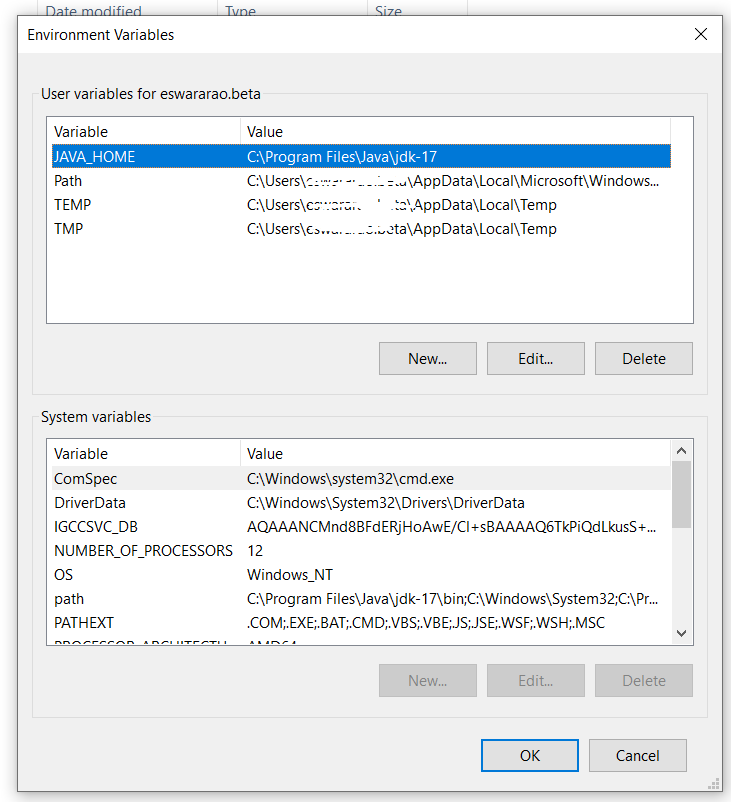
Note: Maven requires Java (JDK) to run. Ensure that Java is already installed and the JAVA_HOME environment variable is properly configured on your system.
Step 1: Download Maven from Official Website in the format of ZIP file.
Step 2: Now extract the ZIP file in your local system.
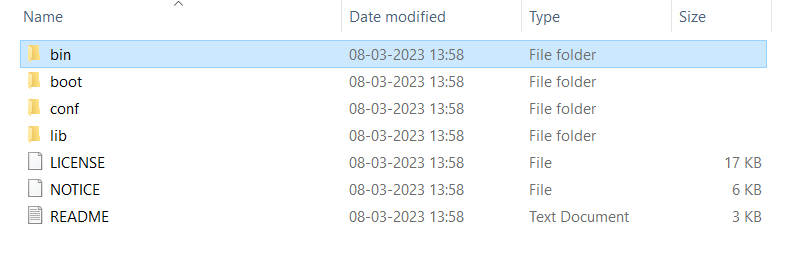
Step 3: Now open the maven folder which is extracted.
D:\Test\apache-maven-3.8.8
Step 4: Now Navigate to inside the bin folder of Maven.
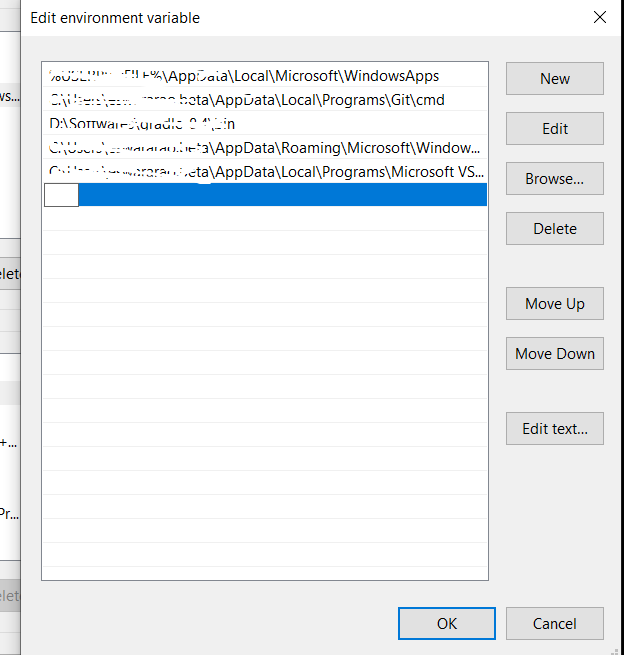
Step 5: Now copy the Folder path include bin like below mentioned.
D:\Test\apache-maven-3.8.8\bin
Step 6: Now open the Environment Variable Window in your local system.
Step 7:
Step 8: