 |
VOOZH | about |
|
VOOZH | about |
JSON Web Token (JWT) authentication is a popular method for securing APIs in microservices architectures. With Spring WebFlux, the reactive web framework, we can create highly scalable and responsive applications. In this article, we will guide you on how to implement JWT authentication in a reactive Spring WebFlux application.
JWT is a compact and URL-safe token that can represent a set of claims. It is commonly used for authentication and authorization in distributed systems. The JWT consists of three parts: Header, Payload, and Signature. In a typical setup, the client sends the JWT token in the authorization header of the HTTP requests, and the server validates the token to authenticate the user of the application.
By following the below steps, we can implement the reactive JWT authentication in Spring WebFlux.
We will first create the Spring reactive project using the spring Initializr. On creating the project add the below dependencies into the project.
Dependencies:
JWT Dependencies:
 <!-- https://mvnrepository.com/artifact/io.jsonwebtoken/jjwt -->
 <dependency>
 <groupId>io.jsonwebtoken</groupId>
 <artifactId>jjwt</artifactId>
 <version>0.12.5</version>
 </dependency>

 <dependency>
 <groupId>io.jsonwebtoken</groupId>
 <artifactId>jjwt-api</artifactId>
 <version>0.11.2</version>
 </dependency>
 <dependency>
 <groupId>io.jsonwebtoken</groupId>
 <artifactId>jjwt-impl</artifactId>
 <version>0.11.2</version>
 <scope>runtime</scope>
 </dependency>
 <dependency>
 <groupId>io.jsonwebtoken</groupId>
 <artifactId>jjwt-jackson</artifactId>
 <version>0.11.2</version>
 <scope>runtime</scope>
 </dependency>
Open the application.properties and add the configuration of the mongodb uri and server port.
spring.application.name=spring-webflux-jwt
spring.data.mongodb.uri=mongodb://localhost:27017/reactive-jwt-auth
server.port=8085
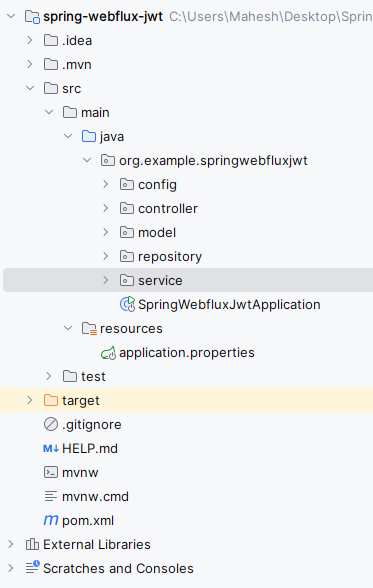
Go to src > main > java > org.example.springwebfluxjwt > model > User and put the below code. We have used here a secure hashing algorithm like BCrypt, which is supported by Spring Security for password encryption.
This class represents the user entity, including properties like username, password, and roles.
Go to src > main > java > org.example.springwebfluxjwt > model > AuthRequest and put the below code.
This class represents the request body for user authentication, containing username and password.
Go to src > main > java > org.example.springwebfluxjwt > model > AuthResponse and put the below code.
This class represents the response body for successful user authentication, containing the JWT token.
Go to src > main > java > org.example.springwebfluxjwt > repository > UserRepository and put the below code.
This interface defines methods for interacting with the user data store, such as saving and finding users.
Go to src > main > java > org.example.springwebfluxjwt > config > SecufityConfig and put the below code.
This class configures security settings for the application, including JWT authentication.
Go to src > main > java > org.example.springwebfluxjwt > config > JWTUtil and put the below code.
This class provides utility methods for generating and validating JWT tokens.
Ensure that when saving a user, you set the password using the setPassword method of the User class.
Go to src > main > java > org.example.springwebfluxjwt > service > UserService and put the below code.
This class contains business logic related to user management, such as user creation and retrieval.
Go to src > main > java > org.example.springwebfluxjwt > service > JWTAuthenticationManager and put the below code.
This class implements the authentication logic using JWT tokens.
Go to src > main > java > org.example.springwebfluxjwt > controller > AuthController and put the below code.
This class defines REST endpoints for user authentication, including signup and login.
No changes are required in the main class.
pom.xml:
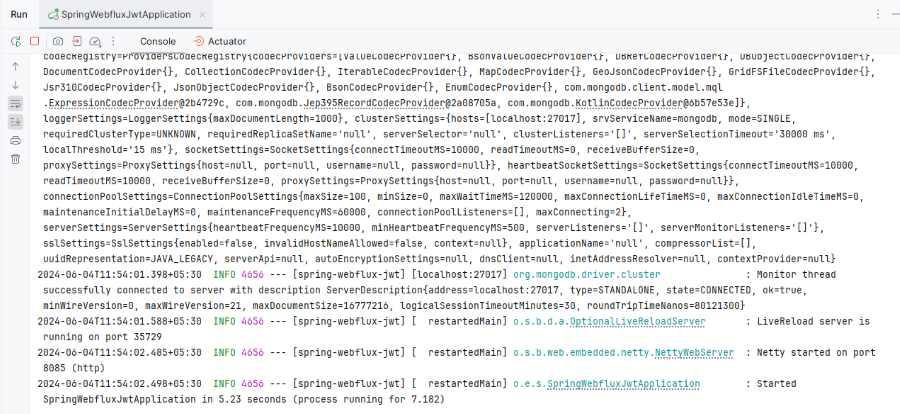
Once complete the project, run the application, it will start at port 8085.
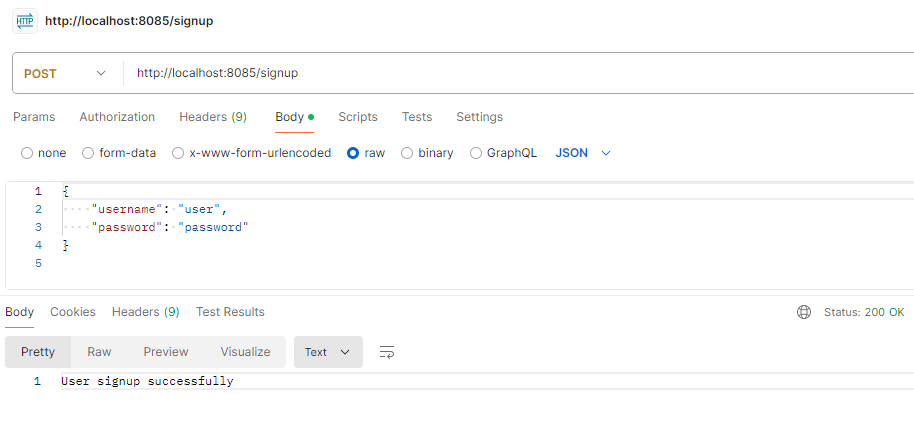
Sign up Enpoint:
POST http://localhost:8085/signuplogin Endpoint:
POST http://localhost:8085/login
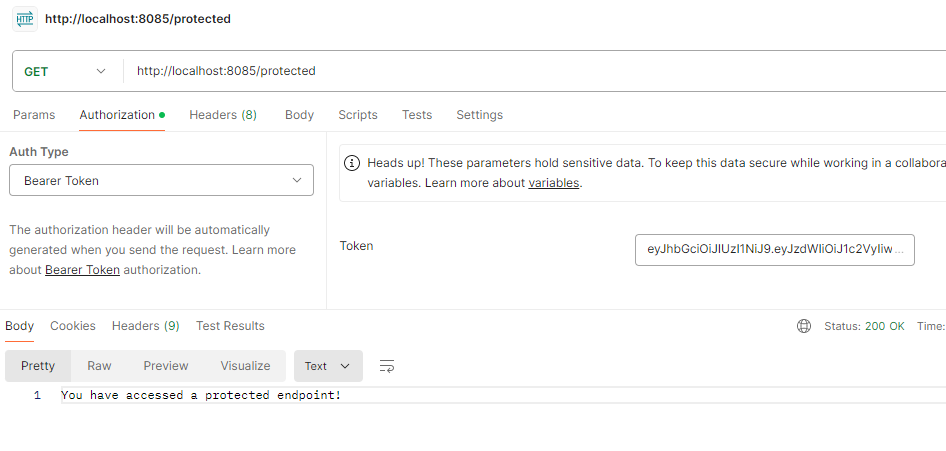
Protected Endpoint Testing:
Secure Endpoint access with the token.
GET http://localhost:8085/protectedImplementing reactive JWT authentication in a Spring WebFlux application involves setting up the project, adding the necessary dependencies, and configuring the security components to handle JWT tokens. This ensures that the application is secure and can handle a large number of concurrent requests efficiently.