 |
VOOZH | about |
|
VOOZH | about |
Rich Domain Model in the context of software development and Hibernate is the model where the business logic is encapsulated directly within the domain objects, rather than being separated into the services or other layers. It can allow the domain model to enforce the business rules and ensure data consistency. This article will guide you through setting up the simple example project using Hibernate with Rich Domain Model.
In traditional applications, business logic can be spread across multiple layers, leading to a lack of cohesion and harder maintenance. The Rich Domain Model centralizes this logic within the domain entities. Making the code more intuitive and aligned with real-world business operations. This encapsulation aids in maintaining the business rule consistency and logic encapsulation.
For example, consider the simple banking application where the Account entities can handle operations like deposits and withdrawals internally rather than relying on external services to enforce the rules of the application.
Create a new Spring project using Spring Initializr and add the below dependencies into the project.
Dependencies:
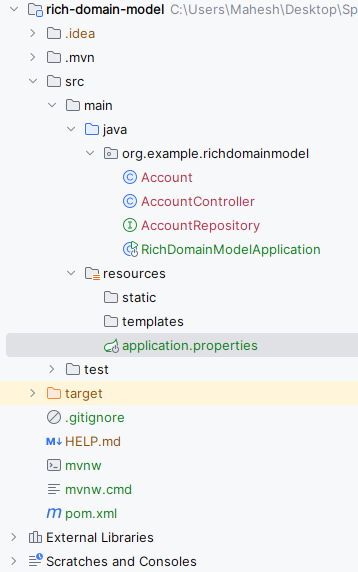
After creating the project, then the file structure will look like the below image.
Open the application.properties file and add the configuration of the MySQL database and Hibernate.
spring.application.name=rich-domain-model
# MySQL Configuration
spring.datasource.url=jdbc:mysql://localhost:3306/example
spring.datasource.username=root
spring.datasource.password=

# JPA/Hibernate properties
spring.jpa.hibernate.ddl-auto=update
spring.jpa.database-platform=org.hibernate.dialect.MySQLDialect
spring.jpa.show-sql=trueWe will create the Account class with the methods to handle the deposits and withdrawals of the application.
Go to src > main > java > org.example.richdomainmodel > Account and put the below code.
Go to src > main > java > org.example.richdomainmodel > AccountRepository and put the below code.
Now, we will create the Simple RESTful endpoints to handle the HTTP requests of the application.
Go to src > main > java > org.example.richdomainmodel > AccountController and put the below code.
No changes are required in the main class.
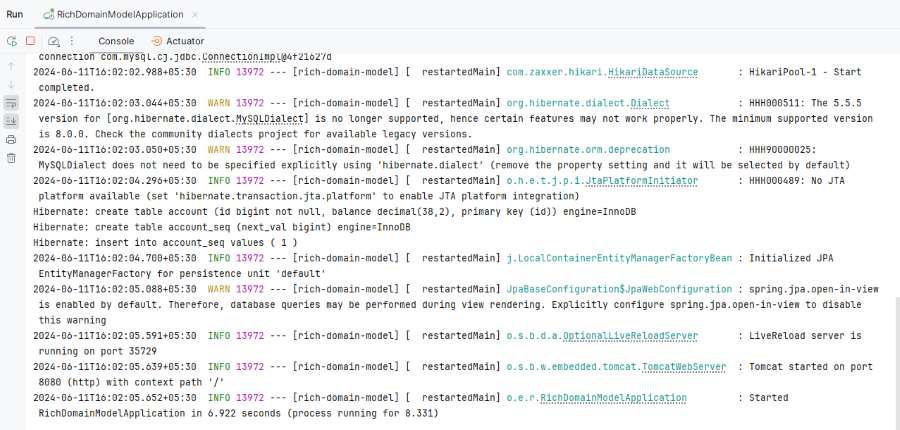
Now, run the application and it will start at port 8080.
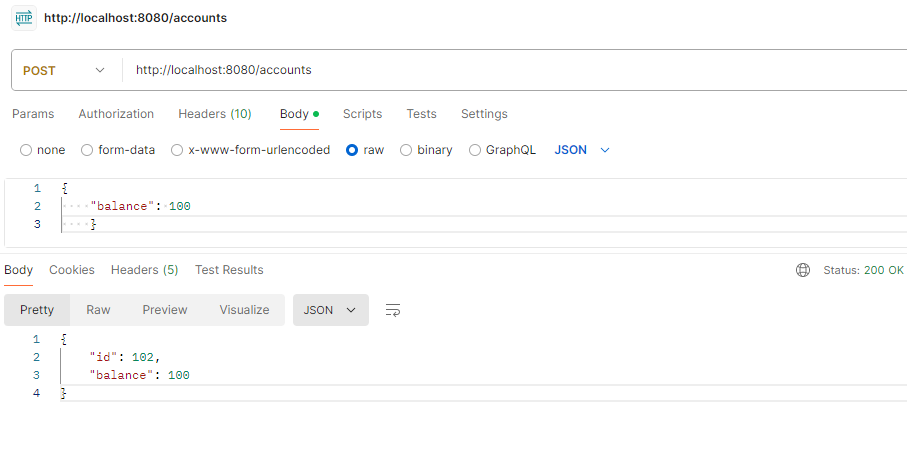
1. Create Account Endpoint
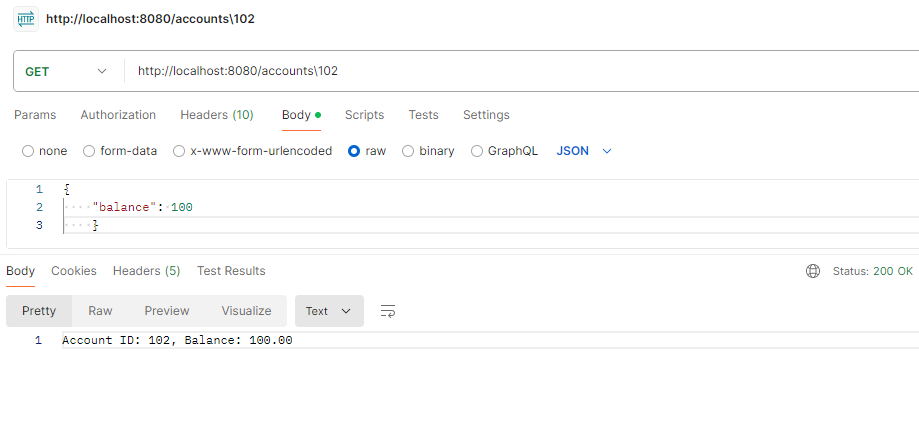
POST http://localhost:8080/accounts2. Retrieve Account balance through Id
GET http://localhost:8080/accounts/1024. Deposit Endpoint
POST http://localhost:8080/accounts/102/deposit?amount=1005. Withdraw Endpoint
POST http://localhost:8080/accounts/102/withdraw?amount=100This example demonstrates the embedded critical business logic within the domain model itself and adhering to the principles of the Rich Domain Model with Hibernate in the Spring Boot application.