 |
VOOZH | about |
|
VOOZH | about |
Unit testing is a practice in software development that ensures individual parts of an application work as expected. JUnit is the standard testing framework in Java and running tests from the command line is especially useful in CI/CD pipelines, automation scripts or environments without an IDE.
Unit testing involves testing the smallest components of an application, typically individual methods or classes, in isolation. The goal is to verify that each function works as expected under various conditions:
Running JUnit tests from the command line is essential for:
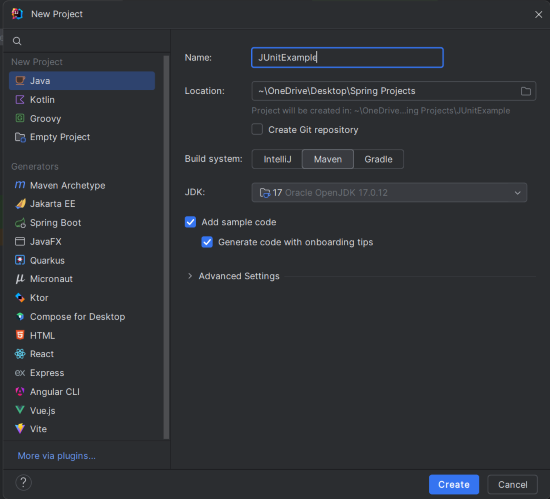
Create a new Maven project using IntelliJ IDEA. Choose the following options:
Click on the Create button.
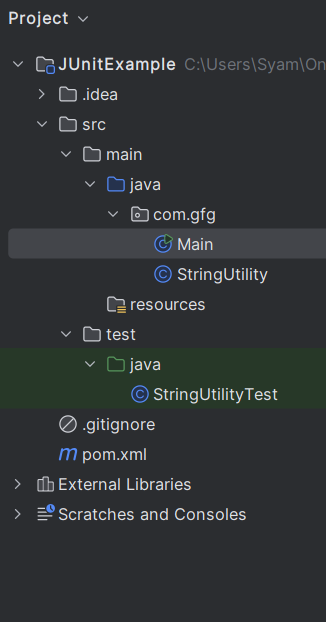
Once created, the project structure should look like this:
pom.xmlOpen the pom.xml file and add the following dependencies to your Maven project:
StringUtility ClassCreate the StringUtility class to provide methods for string manipulation.
Create the Main class to demonstrate the functionality of the StringUtility class.
Create the StringUtilityTest class to write test cases for the StringUtility methods.
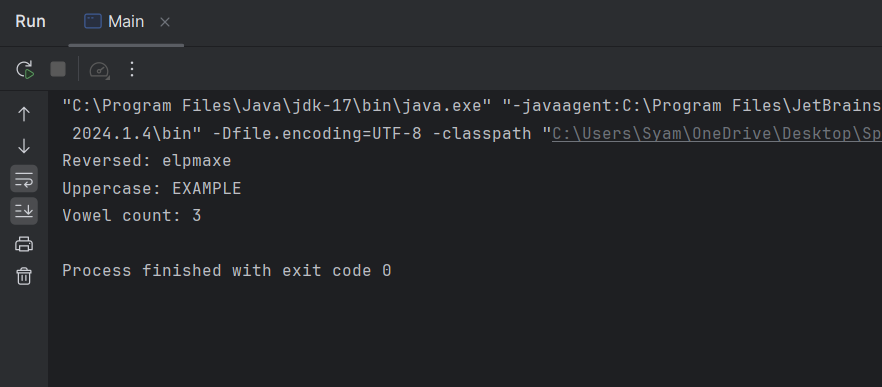
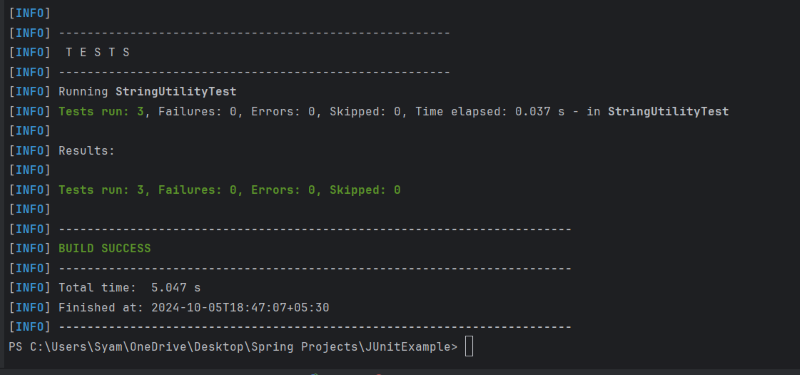
Once the project is completed, it will run and show the below output:
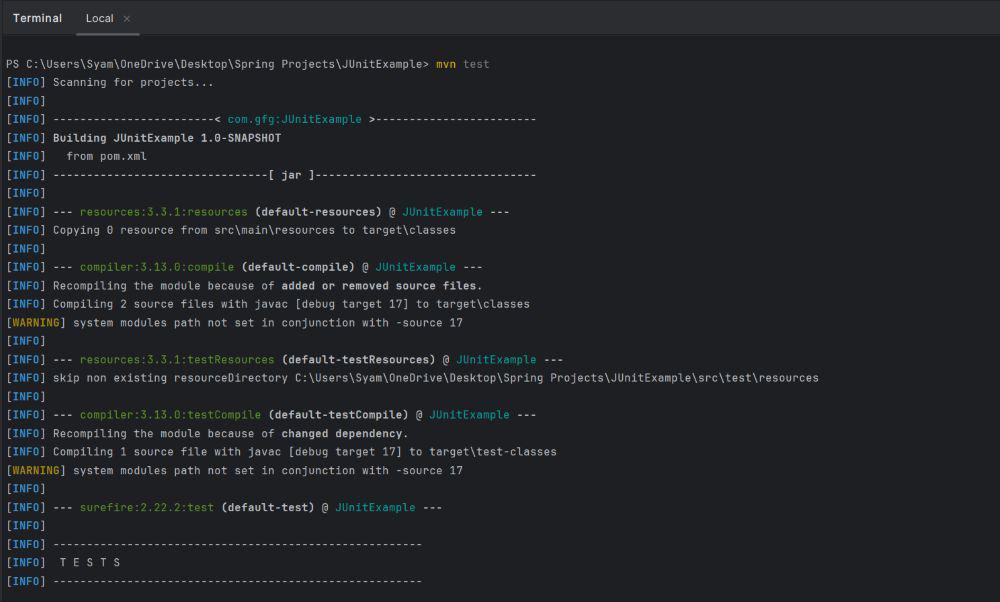
mvn test
Test Results: