 |
VOOZH | about |
|
VOOZH | about |
In microservice architecture, service registration and discovery can plays the crucial role. Eureka is a part of the Spring Cloud Netflix project and it provides the mechanism to register and discover the services. It ensure the secure communication between the services. It is important to secure the Eureka server and client. This article, guides you through the setting up the secure Eureka server and client with Spring Boot.
The goal is to secure the Eureka server and client using the Spring Security with basic authentication. We will create the Eureka Server that requires the authentication and the Eureka client that provides the necessary credentials to the register with the server.
We will create the two spring boot project. One for Eureka server and another for the Eureka client.
Step 1: Create a Spring project using Spring Initializr, and add the below dependencies:
Dependencies:
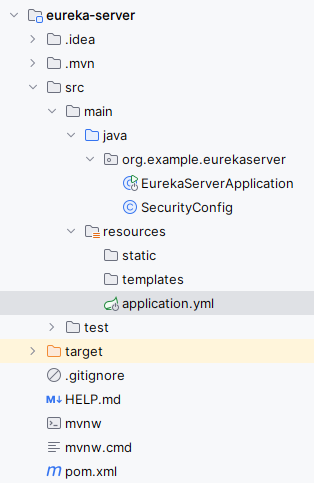
Then the project structure will be like below,
Step 2: Configure the Application properties
Open the application.properties file and rename it to application.yml file. After this, add the following properties to configure the server port, security credentials and Eureka server.
server:
 port: 8761

spring:
 security:
 user:
 name: admin
 password: password

eureka:
 client:
 register-with-eureka: false
 fetch-registry: false
 server:
 enable-self-preservation: false
Step 3: Create the SecurityConfig class
This class configures the basic authentication using the SecurityFilterChain of the application.
Go to src > main > java > org.example.eurekaserver > SecurityConfig and put the below code.
Step 4: Main class
In the main class, include @EnableEurekaServer annotation to activate the Eureka server functionality.
pom.xml:
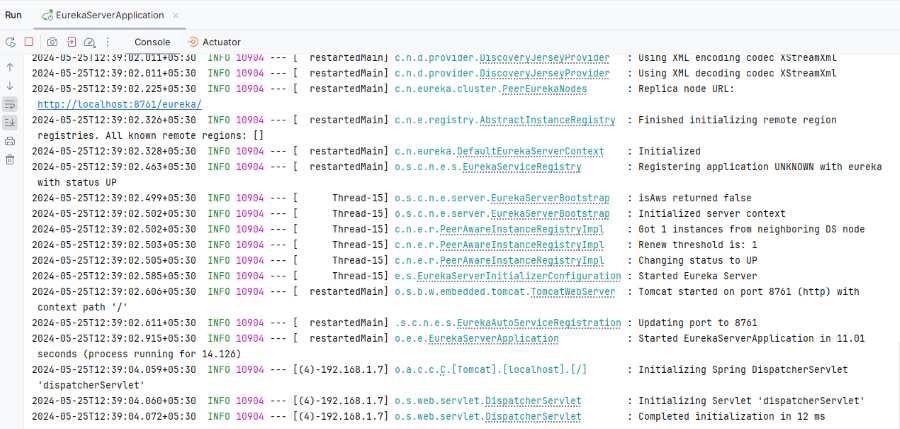
Step 5: Run the application
Now, run the application as a Spring application, then it will start at port 8761.
Step 1: Create a Spring project using Spring Initializr, and add the below dependencies:
Dependencies:
Now, the project folder structure will be like below:
Step 2: Configure the Application properties
Open the application.properties file and rename it to application.yml file. Then add the following properties to configure the server port, security credentials and Eureka client settings.
spring:
 application:
 name: eureka-client
 security:
 user:
 name: user
 password: password

eureka:
 client:
 service-url:
 defaultZone: http://admin:password@localhost:8761/eureka/
Step 3: Main class
In the main class, include @EnableDicoveryClient annotation to activate the Eureka client functionality.
pom.xml:
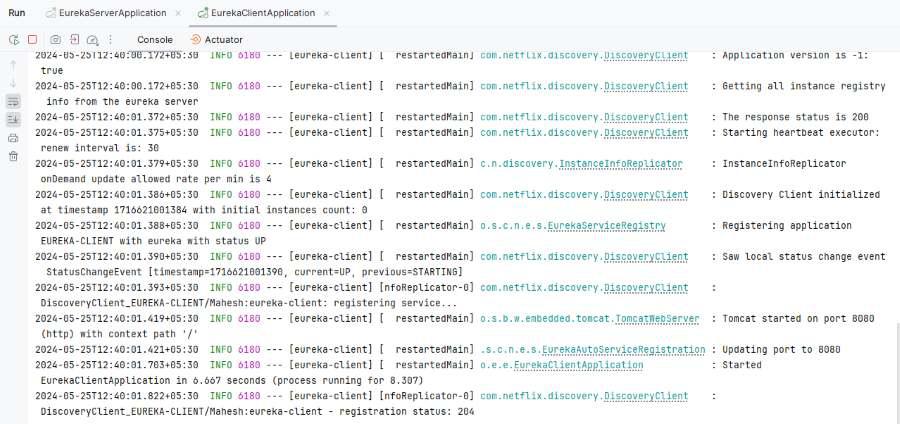
Step 4: Run the application
Now run the application as a Spring application and it will start at port 8080.
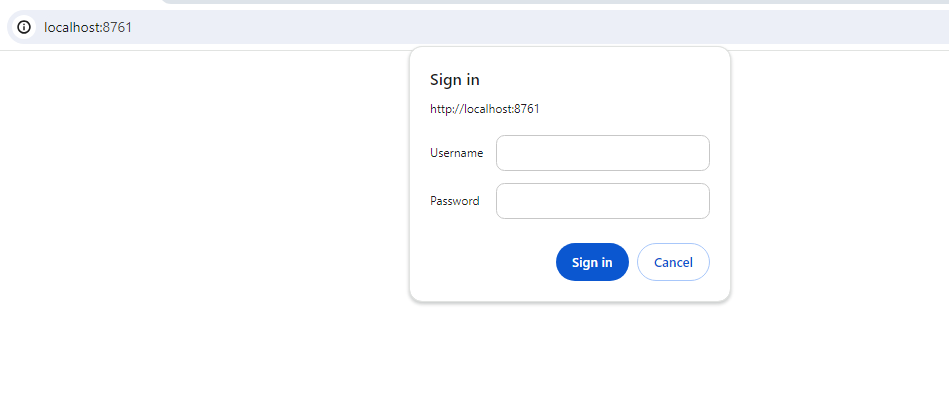
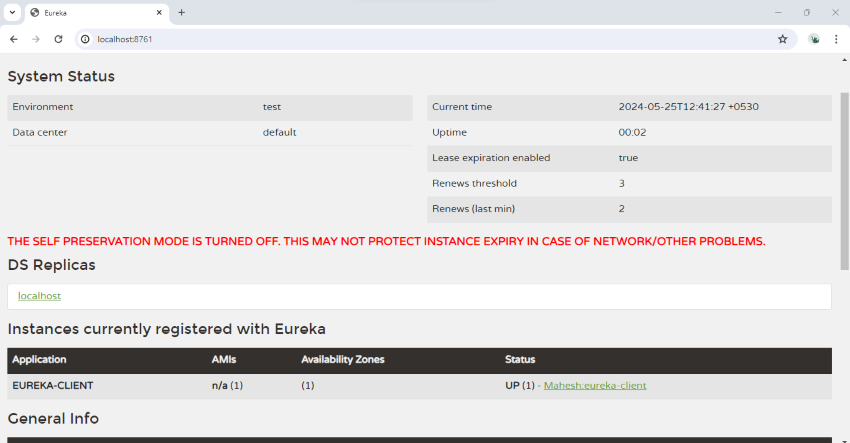
Open the Eureka Dashboard, then it will show the below image for admin credentials of the application.
http://localhost:8761Admin credentials:
Once the valid credentials entered, then it will redirect to the Eureka Dashboard.
In the above example, it demonstrates how to secure the Eureka server and client using the basic authentication with Spring Security. By the following these steps, we can ensure the secure communication between the Microservices in Spring Cloud environment.