 |
VOOZH | about |
|
VOOZH | about |
OAuth2 is an authorization framework that allows third-party applications to gain limited access to an HTTP service on behalf of a user. It also supports delegated authentication using an external Authorization Server such as Google or GitHub.
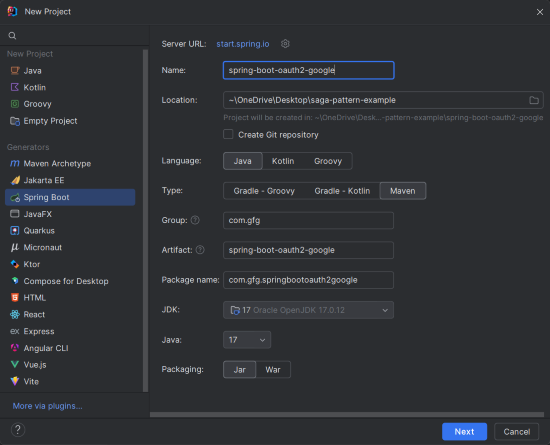
Use Spring Initializr to create a project:
Add the following dependencies into the Spring Boot project.
<dependencies>
<dependency>
<groupId>org.springframework.boot</groupId>
<artifactId>spring-boot-starter-oauth2-client</artifactId>
</dependency>
<dependency>
<groupId>org.springframework.boot</groupId>
<artifactId>spring-boot-starter-security</artifactId>
</dependency>
<dependency>
<groupId>org.springframework.boot</groupId>
<artifactId>spring-boot-starter-thymeleaf</artifactId>
</dependency>
<dependency>
<groupId>org.springframework.boot</groupId>
<artifactId>spring-boot-starter-web</artifactId>
</dependency>
<dependency>
<groupId>org.thymeleaf.extras</groupId>
<artifactId>thymeleaf-extras-springsecurity6</artifactId>
</dependency>
</dependencies>
After the project creation done, then the project structure will look like the below image:
Rename application.properties to application.yml and configure Google OAuth2:
spring:
security:
oauth2:
client:
registration:
google:
client-id: YOUR_CLIENT_ID
client-secret: YOUR_CLIENT_SECRET
scope: profile, email
redirect-uri: "{baseUrl}/login/oauth2/code/{registrationId}"
authorization-grant-type: authorization_code
provider:
google:
authorization-uri: https://accounts.google.com/o/oauth2/v2/auth
token-uri: https://oauth2.googleapis.com/token
user-info-uri: https://www.googleapis.com/oauth2/v3/userinfo
user-name-attribute: sub
server:
port: 8080
Create SecurityConfig.java:
UserControllerUserController.java:
Purpose: Returns the authenticated user’s information.
DashboardController.java
Purpose: Displays user details on the dashboard page.
This is the entry point of the Spring Boot application.
This is the main class of the Spring Boot application, where the application is launched using the SpringApplication.run method.
index.html(src/main/resources/static):
dashboard.html(src/main/resources/templates):
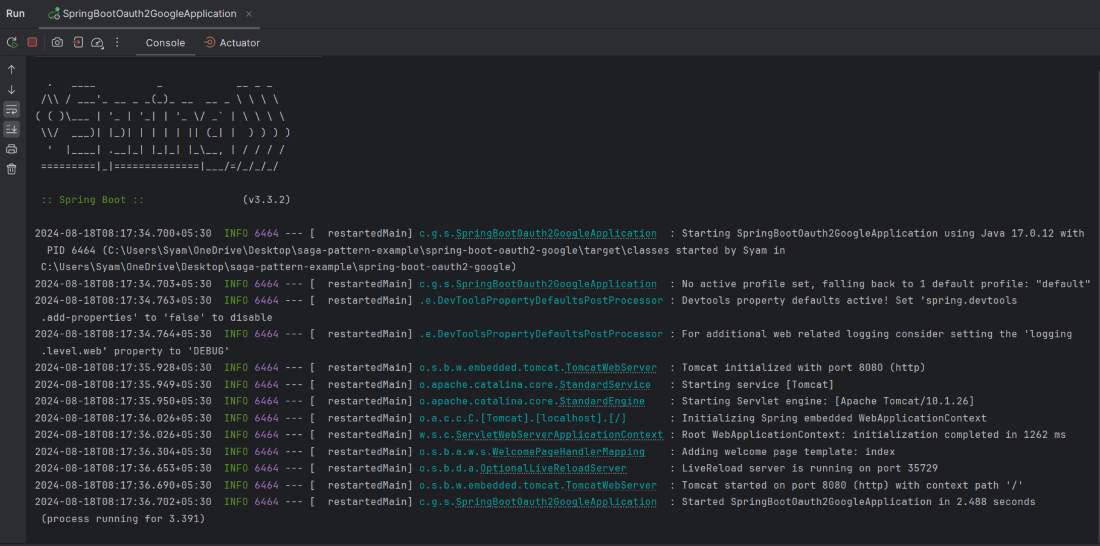
Run the app using the Maven command:
mvn spring-boot:run
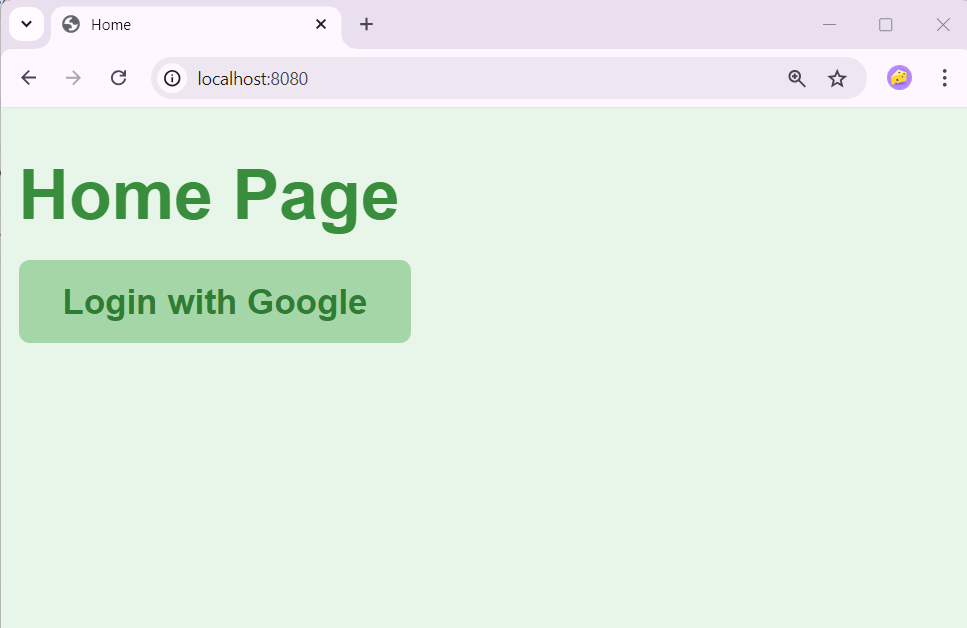
Navigate to http://localhost:8080
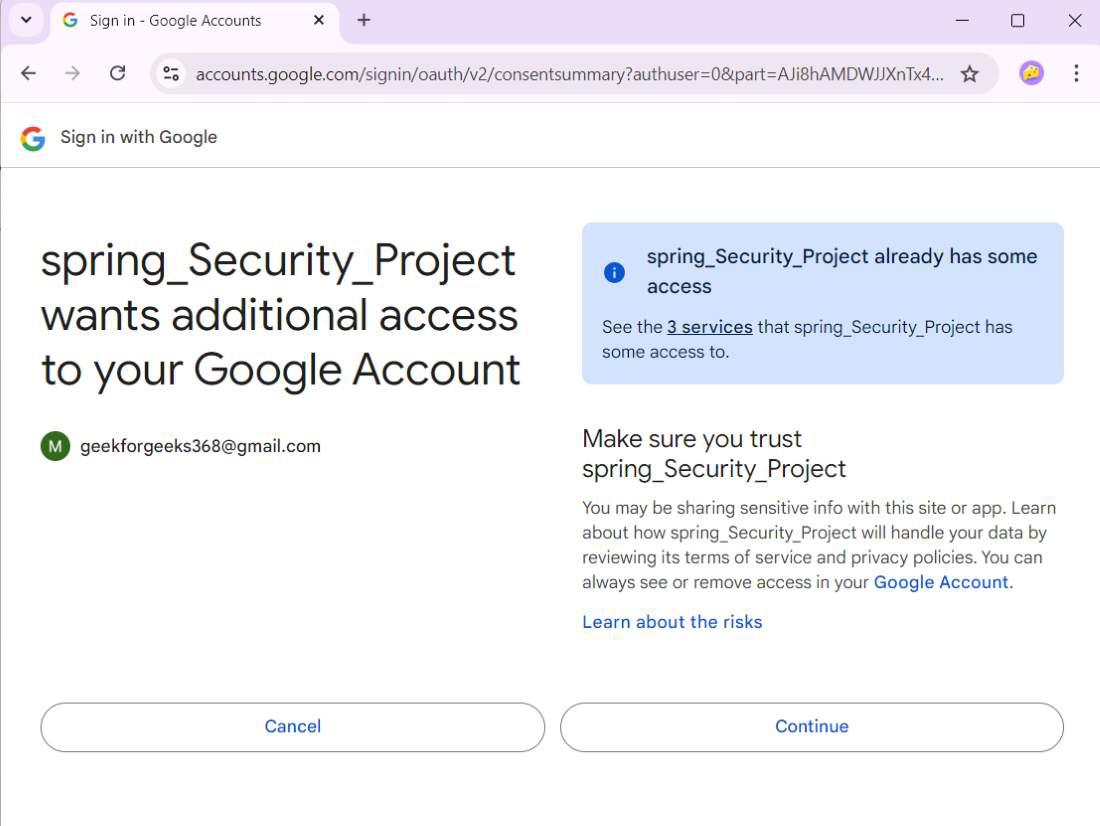
Click Login with Google
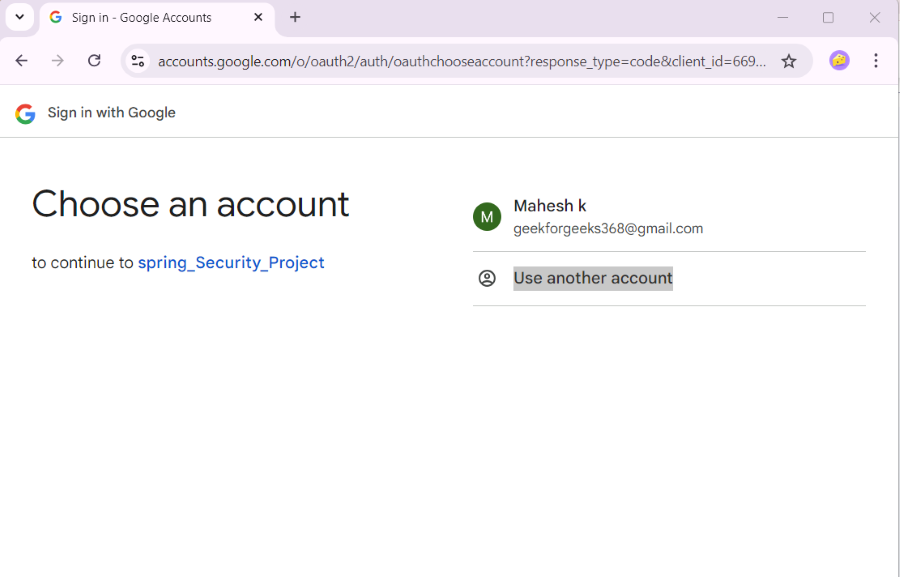
Select a Google account
Click on the Continue button.
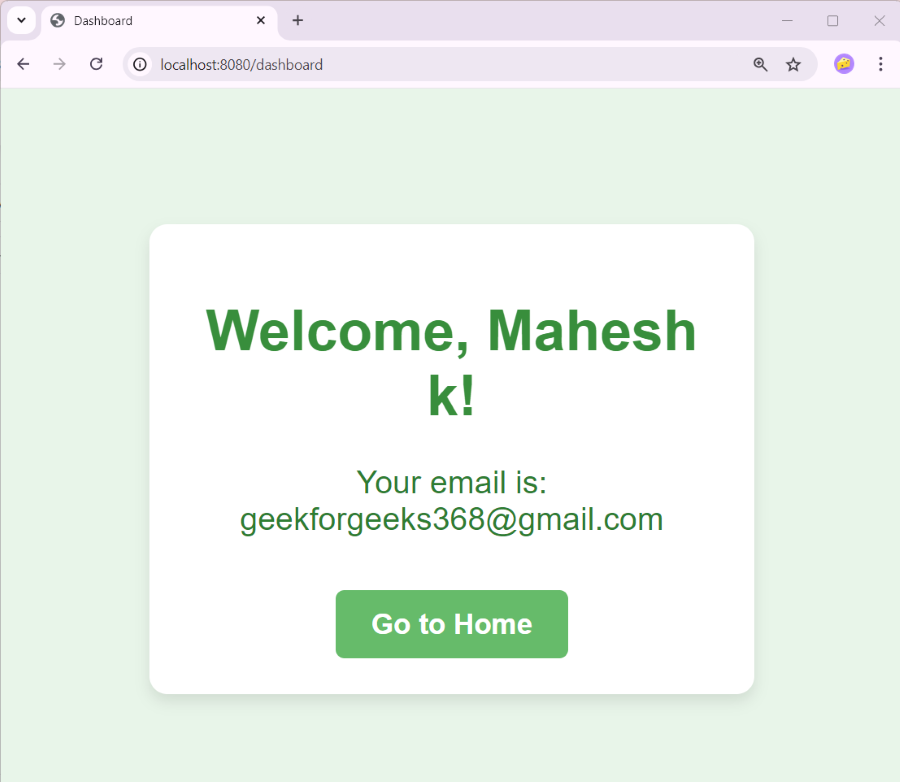
You’ll be redirected to /dashboard, where your name and email are displayed.