 |
VOOZH | about |
|
VOOZH | about |
Spring Data JPA makes deleting records from a MySQL database simple by providing built-in repository methods like deleteById() and delete(). It eliminates the need for manual SQL queries and integrates seamlessly with Spring Boot for efficient data management.
Real-world example: In an e-commerce application, when a user cancels their account, then we can use Spring Data JPA to delete the user record from the database. Similarly, an admin panel may allow administrators to remove inactive users or outdated products using repository delete methods without writing custom SQL.
Follow these steps to create, configure, and run a Spring Boot application that deletes records from a MySQL database using the deleteById() method in Spring Data JPA.
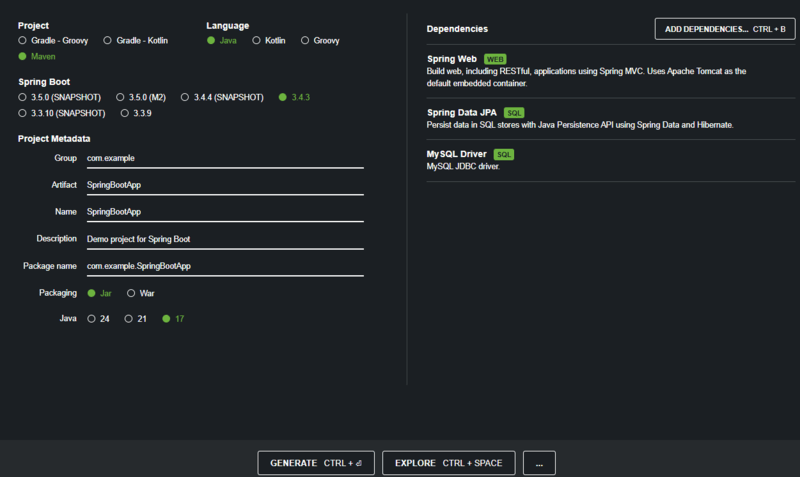
1. Go to Spring Initializr
2. Fill the following details:
3. Add the following dependencies:
4. Click on Generate to download the project as a ZIP file.
Note: Ensure the same JDK version is selected while importing the project. Also, configure the database connection before running the application.
The pom.xml file contains the project dependencies and configuration.
Add the following properties of database before executing the program in src/main/resources/application.properties file
spring.datasource.url=jdbc:mysql://localhost:3306/userdb
spring.datasource.username=root # replace with your MySQL username
spring.datasource.password=yourpassword # replace with your MySQL password
spring.jpa.hibernate.ddl-auto=update
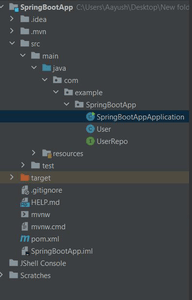
Project Directory Structure:
Create a User entity class that represents a table in the MySQL database.
Create a repository interface that extends JpaRepository to perform CRUD operations.
The main application class implements CommandLineRunner to execute code at startup. Here, we insert a record and then delete it using the deleteById() method.
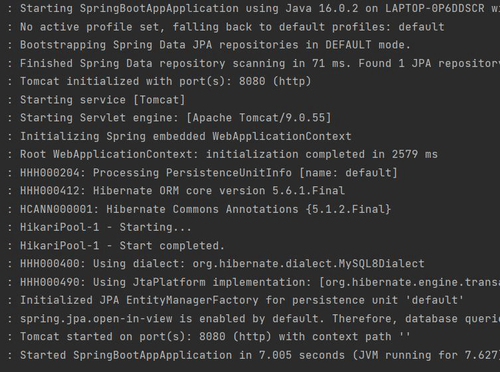
Ensure MySQL is running and the user database exists. Run the application using the following command
mvn spring-boot:run
Output:
Use Postman or browser
"Record deleted successfully.""Record not found."DELETE http://localhost:8080/users/1
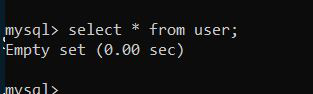
Database Output: