In Spring Security, AuthenticationFailureHandler is used to handle actions when user authentication fails. A custom AuthenticationFailureHandler allows developers to define their own logic, such as displaying custom error messages, logging failed login attempts, or redirecting users to specific pages.
- Handles login failures when authentication is unsuccessful.
- Allows custom error messages and redirections based on failure reasons.
- Improves security and user experience by implementing custom failure handling logic.
Implementation of Custom AuthenticationFailureHandler in Spring Security
Follow the steps below to implement a Custom AuthenticationFailureHandler in a Spring Boot application.
Step 1: Create a Spring Boot Project
Create a Spring Boot project and add the following dependencies:
- Spring Web
- Spring Security
- Spring Data MongoDB
- Spring Boot DevTools
- Lombok
pom.xml
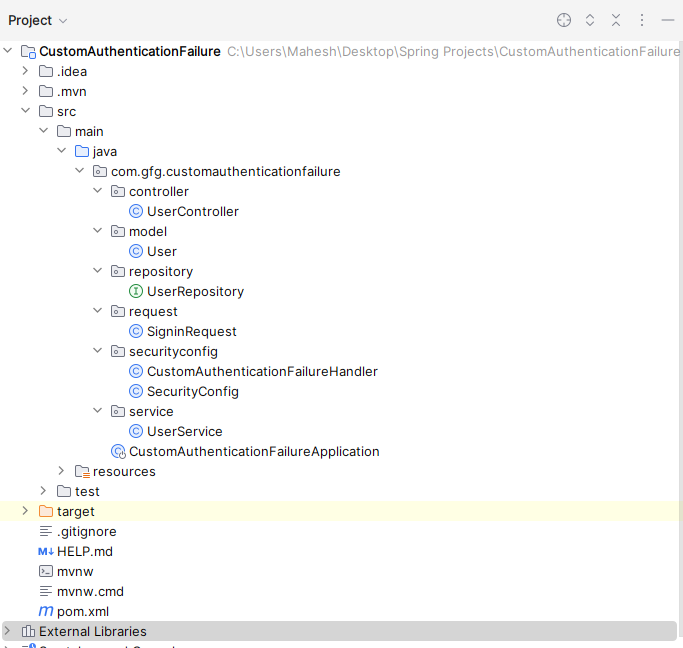
File Structure:
👁 Project Structure
Step 2: Configure MongoDB Database
Open the application.properties file and configure the MongoDB connection.
spring.data.mongodb.uri=mongodb://localhost:27017/CustomData
Step 3: Create User Model
Create a package named model and create a User class.
- Represents user data stored in MongoDB.
- Uses Lombok annotations to generate boilerplate code.
- Maps the class to the users collection.
Step 4: Create User Repository
Create a package named repository and create UserRepository.
- Extends MongoRepository.
- Provides database operations.
- Includes a method to find users by username.
Step 5: Create User Service
Create a package named service and create UserService.
- Contains business logic.
- Retrieves user details from MongoDB.
- Uses UserRepository.
Step 6: Create Custom AuthenticationFailureHandler
Create a package named securityconfig and create CustomAuthenticationFailureHandler.
- Implements AuthenticationFailureHandler.
- Handles failed login attempts.
- Redirects users to a custom error page.
Step 7: Configure Spring Security
Create a class named SecurityConfig.
- Enables Spring Security.
- Configures login and logout functionality.
- Registers the custom failure handler.
Step 8: Create Signin Request Class
Create a package named request and create SigninRequest.
- Stores login credentials.
- Used during authentication requests.
Step 9: Create User Controller
Create a package named controller and create UserController.
- Handles signup requests.
- Handles signin requests.
- Authenticates users using username and password.
Step 10: Create Main Application Class
Create the Spring Boot main class.
- Starts the Spring Boot application.
- Initializes all Spring components.
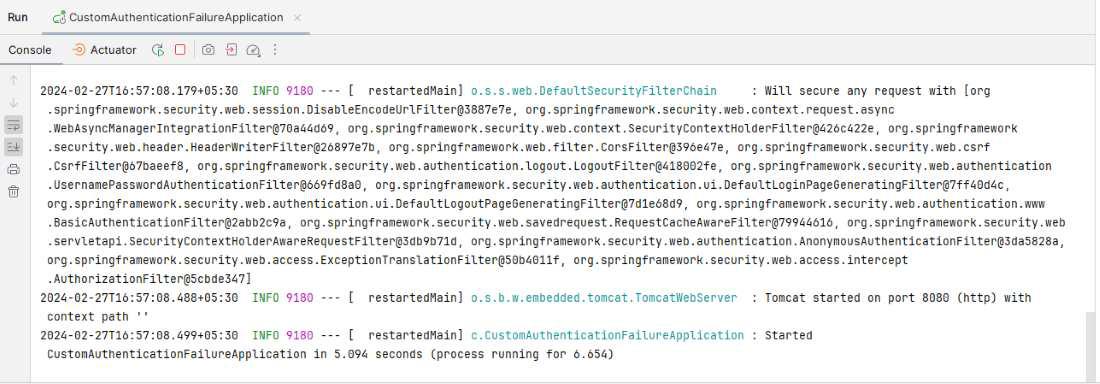
Step 11: Run the Application
Run the Spring Boot application.
- Application starts on port 8080.
- Register users using /signup.
- Authenticate users using /signin.
👁 Application Runs
