 |
VOOZH | about |
|
VOOZH | about |
@PreAuthorize is a part of Spring Security’s method-level security framework. It allows specifying authorization logic directly on methods in controller or service classes using SpEL-based expressions.
The @PreAuthorize annotation works by evaluating a Spring Expression Language (SpEL) expression before executing the target method. If the expression evaluates to false, Spring Security throws an AccessDeniedException, preventing the method from running.
Example Definition:
The value attribute accepts a SpEL expression that defines the security condition.
SpEL enables writing flexible access control expressions. Common usage examples include:
When a method annotated with @PreAuthorize is invoked, Spring Security follows this flow:
1. User Authentication: The user is authenticated by Spring Security.
2. Expression Evaluation: The SpEL expression defined in the annotation is evaluated using the user’s roles, authorities, or authentication object.
3. Access Decision:
Below is a step-by-step guide to implementing method-level security using @PreAuthorize in a Spring Boot application.
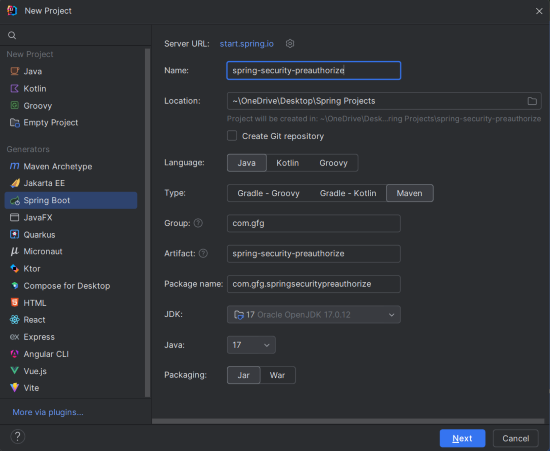
Create a new Spring Boot project using Maven with the following options:
Your pom.xml file should include:
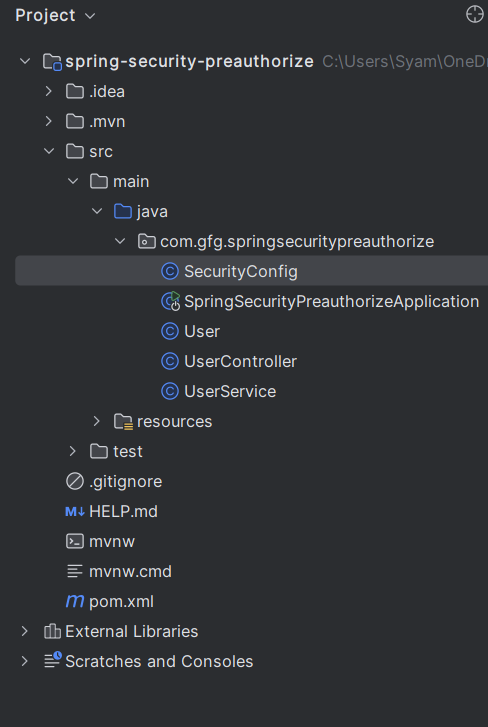
Project Structure
spring.application.name=spring-security-preauthorize
User ClassThis simple User class models a user entity with fields for ID, username, and role.
This service returns a mock user for demonstration. In real-world scenarios, it would fetch user data from a database.
The @PreAuthorize("hasRole('ROLE_USER')") annotation ensures that only users with the role ROLE_USER can access the /user endpoint. If an unauthorized user attempts to call this method, an AccessDeniedException will be thrown.
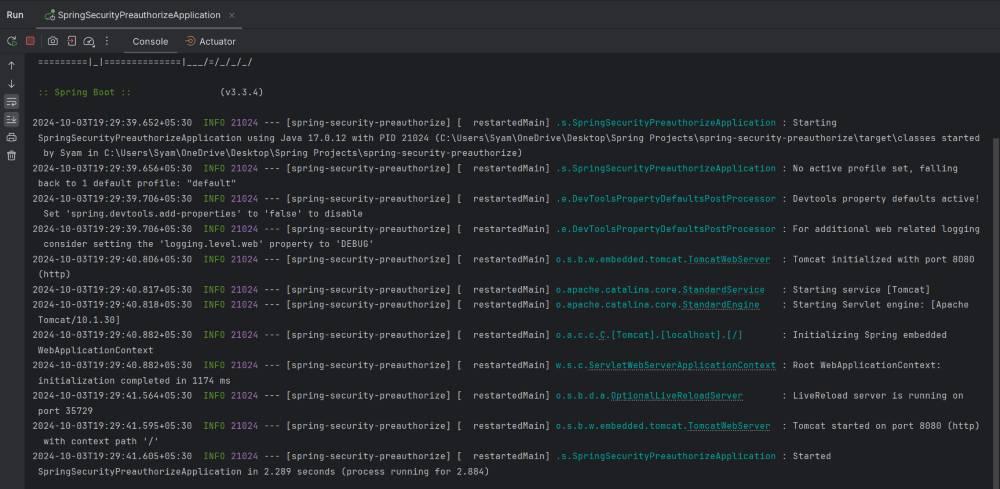
Run the application using your IDE or Maven:
By default, it runs on port 8080.
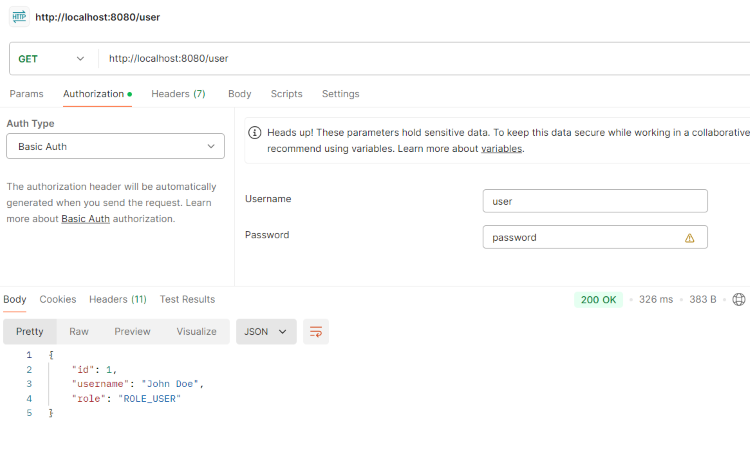
Use Basic Authentication to test the secured endpoint.
Request:
GET: http://localhost:8080/user
Credentials:
If you try to access the endpoint without valid credentials or roles, you’ll receive Access Denied.