 |
VOOZH | about |
|
VOOZH | about |
The Remember Me feature in Spring Security allows users to remain authenticated even after closing and reopening the browser. It works by storing authentication information in a cookie and validating it on subsequent visits. This improves user experience by eliminating the need to log in repeatedly while maintaining secure authentication mechanisms.
Spring Security provides two approaches for implementing Remember Me authentication:
We are taking the Persistent Token Approach in which a database or other persistent storage mechanism is used, and it is helpful to store the generated tokens.
Project Structure:
Add the following dependencies:
This is a maven-driven project
Create a MySQL database and required tables. Add these tables:
CREATE TABLE users(
username VARCHAR(50) PRIMARY KEY,
password VARCHAR(100) NOT NULL,
enabled BOOLEAN NOT NULL
);
CREATE TABLE authorities(
username VARCHAR(50),
authority VARCHAR(50)
);
CREATE TABLE persistent_logins(
username VARCHAR(50) NOT NULL,
series VARCHAR(64) PRIMARY KEY,
token VARCHAR(64) NOT NULL,
last_used TIMESTAMP NOT NULL
);
Let us insert a few data into the users and authorities table for testing purposes
-- Let us create a user with admin and password as password@123
-- While storing into the database let us store as encoded password with BCryptPasswordEncoder
-- For password@123, it will be $2a$10$USD5XrNWIpf2sLnGJ62/v.hTtSIY1vdeF7v8Y4YaNJhTftbX1HBwi
insert into users(username,password,enabled)
values('admin','$2a$10$hbxecwitQQ.dDT4JOFzQAulNySFwEpaFLw38jda6Td.Y/cOiRzDFu',true);
insert into authorities(username,authority)
values('admin','ROLE_ADMIN');
To get the encoded password, by using a sample code, we can get it:
Create a database.properties file.
spring.datasource.url=jdbc:mysql://localhost:3306/your_database?useSSL=false&allowPublicKeyRetrieval=true&serverTimezone=UTC
spring.datasource.username=root
spring.datasource.password=yourpassword
spring.datasource.driver-class-name=com.mysql.cj.jdbc.Driver
Create a configuration class to define the DataSource bean.
ApplicationConfiguration.java:
Create a security configuration class and enable Remember Me functionality.
WebSecurityConfiguration.java:
Note: The encoded password must be stored in the database.
Configure JSP view resolution.
WebConfiguration.java:
Create an initializer class to load Spring configurations.
MvcWebApplicationInitializer.java:
The controller class to handle requests and display messages.
SampleContoller.java:
login.jsp:
index.jsp- Displays:
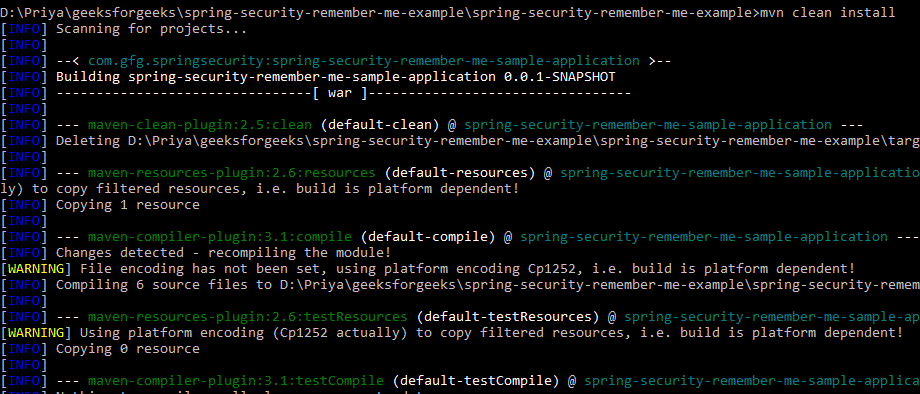
As this is the maven project, first let us build the application from the command prompt as follows:
mvn clean install
Output:
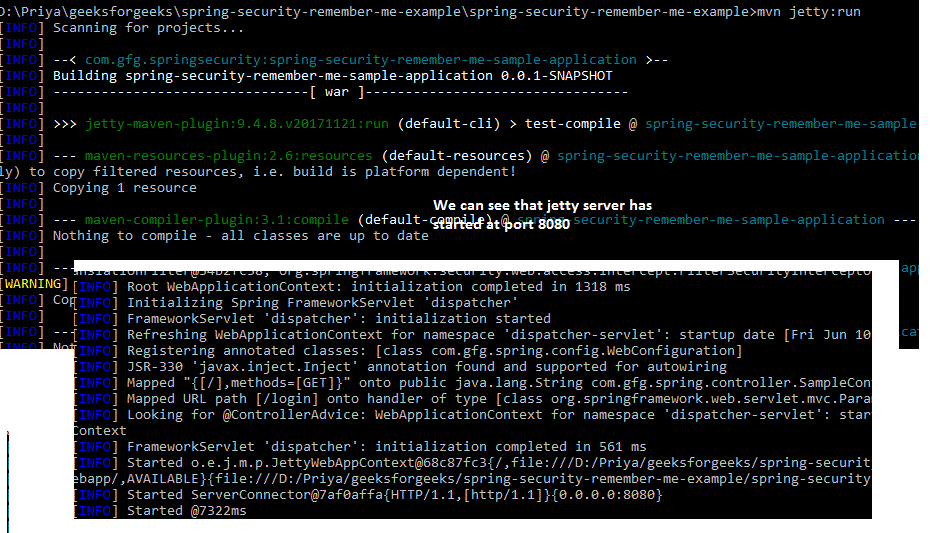
Run the application by using below command:
mvn jetty:run
Output:
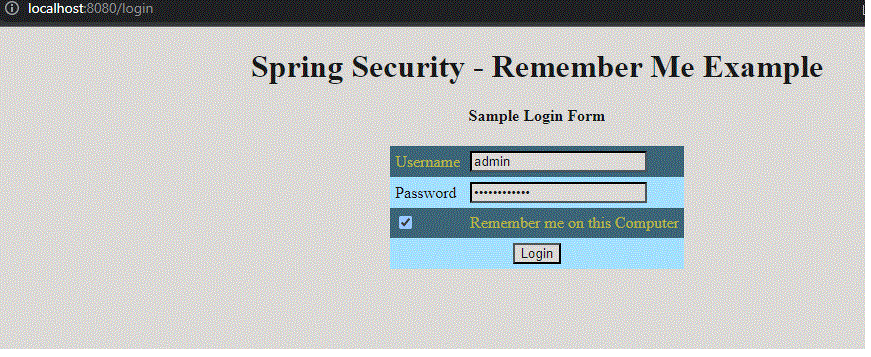
Let us test now by hitting -> http://localhost:8080/
admin/password@123 has to be given as credentials. As it is the user available in the user's table and that password is kept in an encoded way. As the remember me option is selected, in the database, we can see an entry under 'persistent_logins'
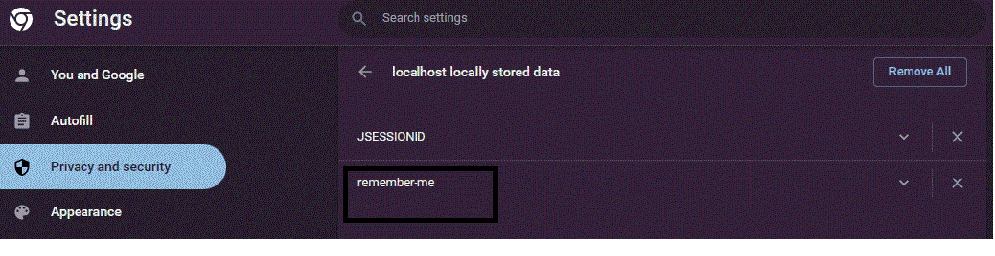
At the same time, we can check the same under cookies as well. As the chrome browser is used, let us check that via chrome browser settings options
When the Remember Me option is selected, Spring Security stores authentication information in a cookie and saves a token in the database. As long as the cookie remains valid and is not deleted, users can close and reopen the browser and still be automatically logged in without entering their credentials again.