VOOZH about

URL: https://www.geeksforgeeks.org/advance-java/spring-security-securing-endpoints-using-antmatchers/

⇱ Spring Security - Securing Endpoints Using antMatchers() - GeeksforGeeks


  • Courses
  • Tutorials
  • Interview Prep

Spring Security - Securing Endpoints Using antMatchers()

Last Updated : 22 May, 2026

Spring Security provides security features for Java web applications by handling authentication and authorization. One of the commonly used methods in Spring Security 5 is antMatchers(), which helps secure endpoints based on roles, authorities, or authentication status.

  • Used to secure endpoints based on roles and authentication.
  • Supports wildcard URL pattern matching.
  • In Spring Security 6 and Spring Boot 3, antMatchers() has been removed and replaced with requestMatchers()

How antMatchers() Works

The mapping rules in antMatchers() support special characters for flexible matching

  • ? : matches one character
  • * : matches zero or more characters
  • ** : matches zero or more directories in a path

Examples:

  • org/g?g -> matches org/gfg, org/geg, etc.
  • org/*.jsp -> matches all .jsp files in the org directory
  • org/**/test.jsp -> matches all test.jsp files under the org path

Methods applied on antmatchers()

  • hasAnyRole(): Checks whether the authenticated user has a specific role to access the endpoint.
  • hasRole(): Allows access if the user has any one of the specified roles.
  • hasAuthority(): Checks whether the user has a specific authority or permission.
  • hasAnyAuthority(): Allows access if the user has any one of the specified authorities
  • authenticated(): Allows access only to authenticated (logged-in) users.
  • anonymous(): Allows access only to users who are not authenticated or logged in.

Implementation of Securing Endpoints Using antMatchers()

Step 1: Create Spring MVC Project and Configure Tomcat

  • Create a Dynamic Web Project in STS or Eclipse.
  • Configure the Apache Tomcat Server.

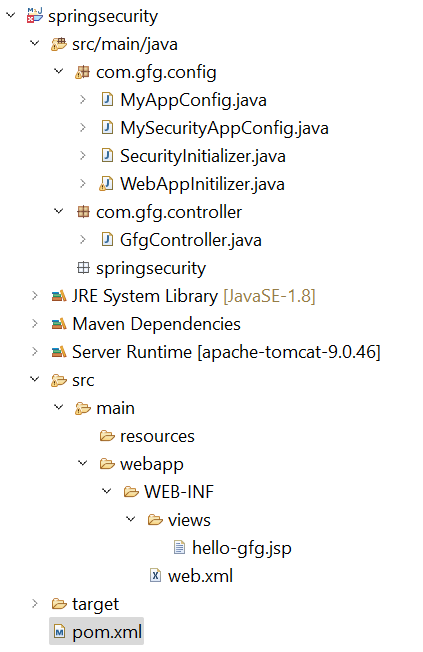
Before moving to the project let’s have a look at the complete project structure for our Spring MVC application.

πŸ‘ File-Strcture.png
Folder Structure

Step 2: Add Dependencies to pom.xml File

Add the following dependencies to your pom.xml file

  • Spring Web MVC
  • Java Servlet API
  • Spring Security Config
  • Spring Security Web

pom.xml:

Step 3: Configuring Dispatcher Servlet

Go to the src > main > java and create a class WebAppInitilizer.

  • Dispatcher Servlet handles incoming HTTP requests.
  • AbstractAnnotationConfigDispatcherServletInitializer replaces web.xml.

WebAppInitilizer.java

Step 4: Configure Spring MVC

Create another class in the same location (src > main > java) and name it MyAppConfig.

  • @EnableWebMvc enables Spring MVC features.
  • InternalResourceViewResolver resolves JSP view files.

MyAppConfig.java

Step 5: Create Spring MVC Controller

Go to the src > main > java and create a class GfgController.

  • /gfg endpoint will be secured.
  • @ResponseBody returns plain text response.

GfgController.java

Step 6: Create View

Go to the src > main > webapp > WEB-INF > right-click > New > Folder and name the folder as views. Then views > right-click > New > JSP File.

  • JSP files are used as view pages.
  • WEB-INF prevents direct browser access to JSP files.

Step 7: Setup Spring Security

Go to the src > main > java and create a class SecurityInitializer.

  • Registers Spring Security filter chain.
  • Enables Spring Security integration in the application.

SecurityInitializer.java

Step 8: Configure Spring Security Using antMatchers()

Configure spring security: Go to the src > main > java and create a class MySecurityAppConfig.

  • /gfg endpoint requires authentication.
  • In-memory authentication is used for testing.

MyAppConfig.java

Step 9: Run the Application

To run our Spring MVC Application right-click on your project > Run As > Run on Server. After that use the following URL to run your controller.

http://localhost:8080/springsecurity/gfg

And it will ask for authentication to use the endpoint and a pop-up screen will be shown like this.

πŸ‘ Image

Now sign in with the following credentials

  • Username: gfg
  • Password: gfg123

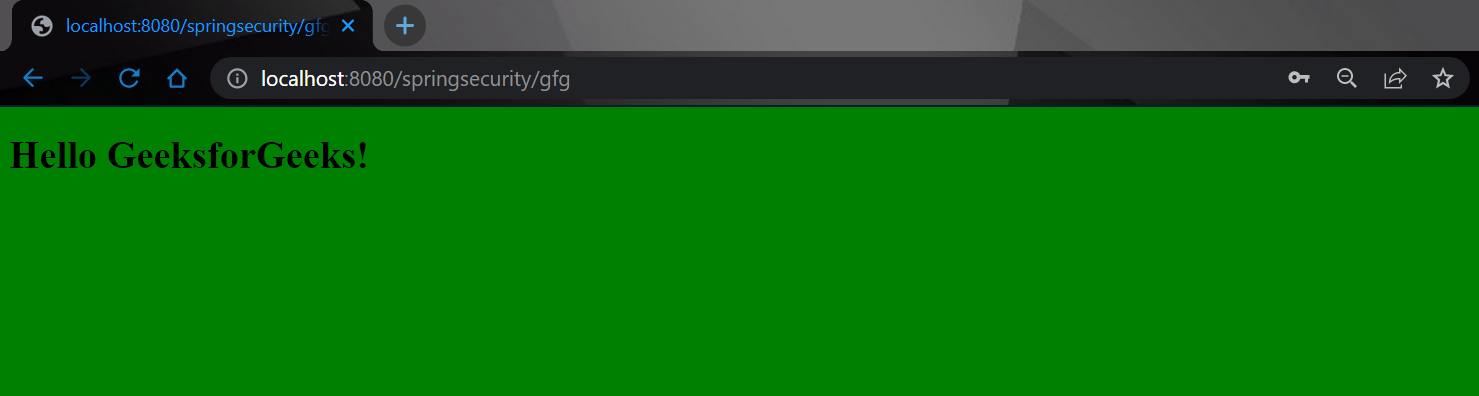
And now you can access your endpoint. You will get the output like this.

πŸ‘ Image

But when you hit the following endpoint you can access it without any authentication.

http://localhost:8080/springsecurity/gfg/welcome

You will get the output like this.

πŸ‘ antmatcher-1.png

Comment
Article Tags:

Explore