 |
VOOZH | about |
|
VOOZH | about |
Spring Security provides a secure way to update user passwords in a Spring Boot application. The password update feature allows authenticated users to change their existing password safely by verifying the current password before storing the new password in encrypted format. This improves application security and protects user accounts from unauthorized access.
BCryptPasswordEncoder.Create a new Spring Boot Project using IntelliJ Idea on creating the project, choose the below options for the Project.
Refer the below image for better understanding of creating new Spring Boot Project.
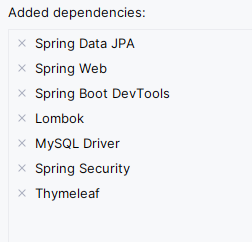
Add the following dependencies into the project.
After project creation done, the folder structure will look like below image:
Open the application.properties file and add the MySQL database configuration properties of the project.
spring.application.name=security-update-password
# MySQL database configuration
spring.datasource.url=jdbc:mysql://localhost:3306/securityUser
spring.datasource.username=root
spring.datasource.password= spring.datasource.driver-class-name=com.mysql.cj.jdbc.Driver
# Hibernate properties
spring.jpa.hibernate.ddl-auto=update
spring.jpa.show-sql=true
spring.jpa.properties.hibernate.dialect=org.hibernate.dialect.MySQL8Dialect
spring.main.allow-bean-definition-overriding=true
spring.main.allow-circular-references=true
Create User.java inside the model package.
Create UserRepository.java inside the repository package.
Create UserService.java inside the service package.
This UserService class provides methods to handle user-related operations:
Create SecurityConfig.java inside the config package.
This SecurityConfig class configures Spring Security for a web application:
Create HomeController.java inside the controller package.
This HomeController class defines a Spring MVC controller:
Create UserController.java inside the controller package.
UserService and PasswordEncoder beans to manage user registration and password encoding.Create PasswordController.java inside the controller package.
Go to src > main > java > com.gfg.securityupdatepassword > SecurityUpdatePasswordApplication
Create Thymeleaf HTML pages:
This HTML template is for a registration form using Thymeleaf with Bootstrap styling. It includes fields for username and password, styled with Bootstrap classes. Error and success messages are displayed conditionally. The form submits to "/register", and links are provided for login. The page uses Bootstrap for styling and includes necessary JavaScript dependencies for Bootstrap components.
Create the Login HTML Page
This HTML template is for a login form using Thymeleaf with Bootstrap styling. It includes fields for username and password, styled with Bootstrap classes. The form submits to "/login", and there's a link to register for new users. The page uses Bootstrap for styling and includes necessary JavaScript dependencies for Bootstrap components.
Create the Home HTML Page
This HTML template creates a simple home page for authenticated users, styled with Bootstrap. It displays a greeting and provides buttons to update the password and logout. The buttons link to "/update-password" and "/logout" respectively. The page uses Bootstrap for styling and includes necessary JavaScript dependencies for Bootstrap components.
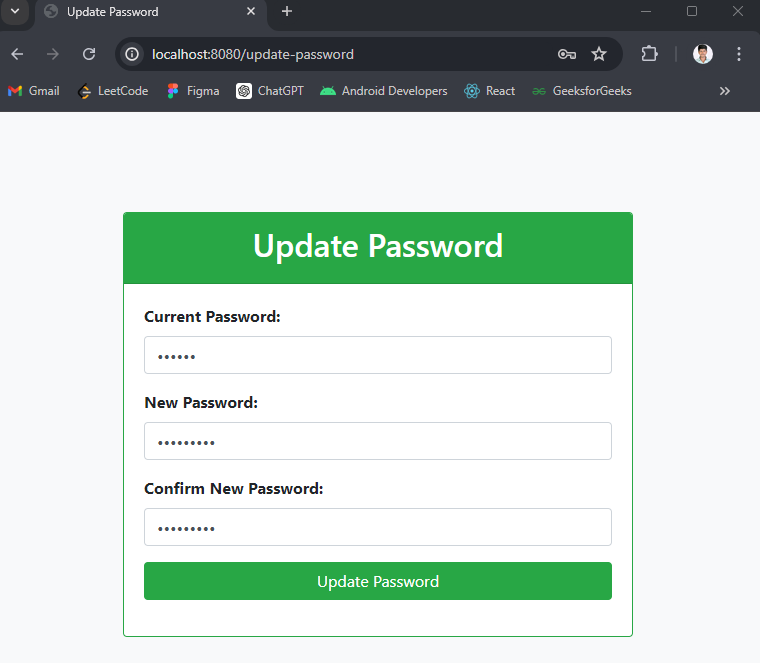
Create the update-password HTML Page
This HTML template provides a form for updating the user's password, styled with Bootstrap. It includes fields for current password, new password, and confirm new password. The form submits to "/update-password" using Thymeleaf for server-side rendering. Error and success messages are displayed dynamically based on Thymeleaf model attributes. The page uses Bootstrap for styling and includes necessary JavaScript dependencies for Bootstrap components.
Now, run the application and it will start at port 8080 on Tomcat server.
1. Register page:
http://localhost:8080/register
2. Login page:
http://localhost:8080/login
3. Home Page:
http://localhost:8080/home
4. Update Password page:
http://localhost:8080/update-password