 |
VOOZH | about |
|
VOOZH | about |
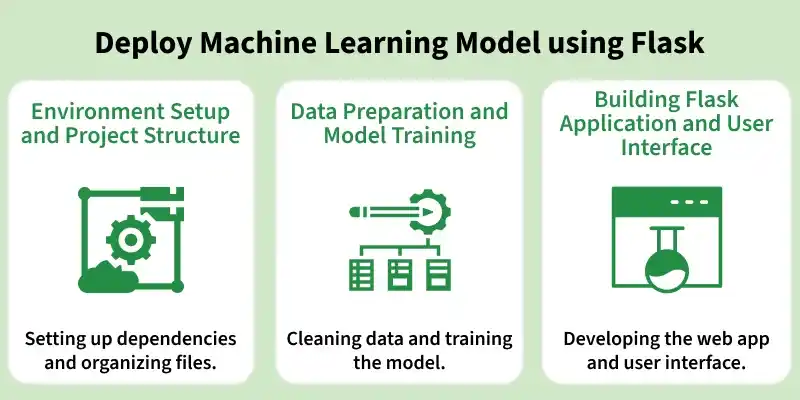
Deploying a Machine Learning model using Flask enables integration of trained models into web applications for real-time predictions. It allows users to provide input through a simple interface and receive instant results powered by the model. This approach helps transform machine learning solutions into practical, user-accessible systems.
Before building and deploying the Flask application, it is important to set up the development environment and organize the project files properly. A clean setup ensures smooth development, easy debugging and better scalability of the application.
Start by creating and activating a virtual environment to manage dependencies efficiently. Then install all the required libraries for this project using the following commands:
After completing the project, your directory should be well-organized to separate the model, application logic, and static files. A typical structure looks like this:
A proper structure helps in maintaining the codebase, simplifies deployment, and makes the project easier to understand and extend.
To build an effective Machine Learning application, it is essential to properly prepare the dataset and train a reliable model. In this section, we will load the dataset, perform preprocessing and train a Decision Tree Classifier, followed by saving the trained model for deployment.
Import the required libraries, load the dataset and preview its structure to understand the features.
Download dataset from here
Output:
Replace missing values with NaN and fill them using the most frequent value (mode) of each column.
Reduce complexity by grouping similar categories into fewer meaningful classes.
Here converts categorical features into numerical values using Label Encoding and stores the mapping for reference.
Separate the dataset into input features (X) and target variable (Y) for training.
Split the dataset into training and testing sets, then train the Decision Tree Classifier.
Check how well the model performs using accuracy.
Output:
Accuracy: 0.8313031016480704
Save the trained model so it can be reused in the Flask application.
Here we create the main Flask application that connects the trained Machine Learning model with a user-friendly web interface. Users can enter their details and see predictions directly on the same page.
The app.py file handles loading the trained model, accepting user inputs, making predictions and rendering results.
The index.html file collects user data and displays the prediction dynamically.
This file improves the UI design making the form visually appealing and readable.
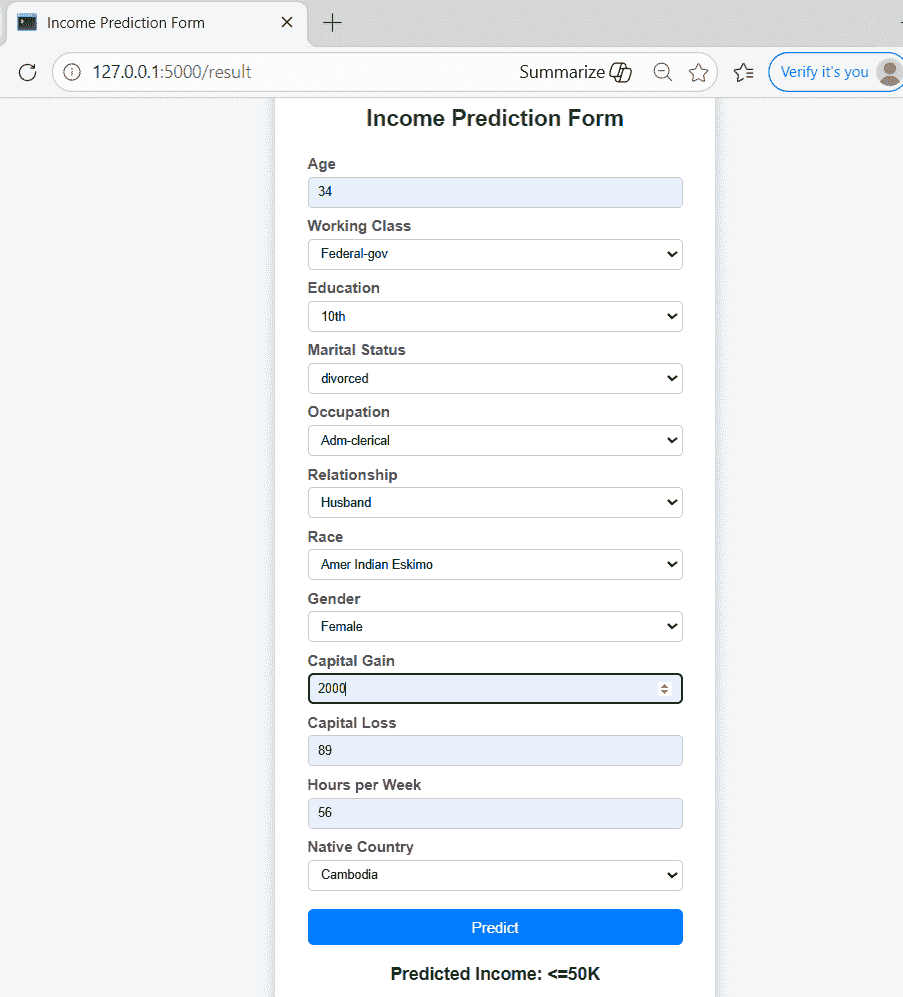
Once your Flask app and required files are ready, you can start the web application locally and access it via a browser to make predictions.
Output:
Download full code from here