 |
VOOZH | about |
|
VOOZH | about |
Self-training is a semi-supervised learning technique where a model is first trained on a small labeled dataset and then iteratively improves itself using its own high-confidence predictions on unlabeled data.
Before getting started, install the required libraries using the following command:
pip install fastapi uvicorn scikit-learn pydantic
We first import all the necessary modules like FastAPI, scikit-learn, and pydantic.
Explanation:
Next, we define what kind of input data our API will accept. Using Pydantic’s BaseModel, we define the structure of the incoming JSON data.
Explanation:
We’ll now load the Iris dataset and train a simple Gaussian Naive Bayes classifier to predict the flower type.
Explanation:
Now, we’ll combine everything create the FastAPI app, load the model, and add a /predict endpoint that accepts JSON input and returns the predicted flower class.
Explanation:
Now, save your code (for example, as basic.py) and run the server using:
uvicorn basic:app --reload
Explanation:
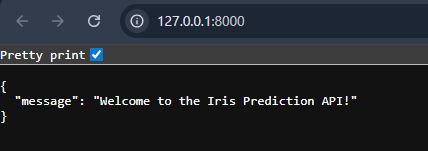
Then, open your browser and go to http://127.0.0.1:8000/ You’ll see a message showing that your FastAPI app is running.
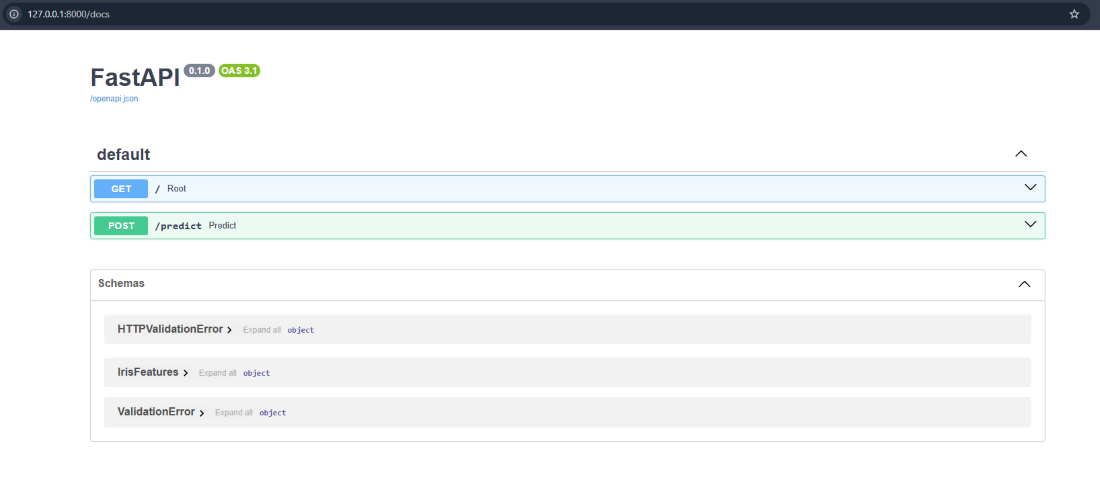
To test our API we'll be using Swagger UI now to access that you'll just need to add /docs at the end of your path. So go to http://127.0.0.1:8000/docs. And you should see the following output:
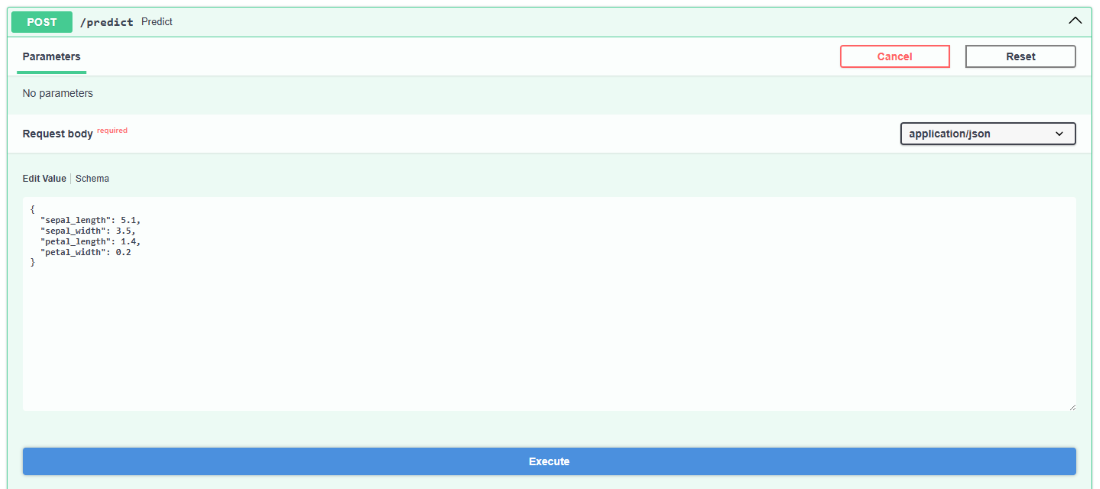
Here, you’ll see the /predict endpoint we created along with a “Try it out” button to test the API directly. Click “Try it out” and enter the following JSON input in the text box:
{
"sepal_length": 5.1,
"sepal_width": 3.5,
"petal_length": 1.4,
"petal_width": 0.2
}
After entering the data, click “Execute.” You’ll see the output under the Responses section showing the predicted flower type, for example:
That means the model has classified the input as the Setosa species.