 |
VOOZH | about |
|
VOOZH | about |
Dialogflow (formerly known as Api.ai), is the platform owned by Google to build conversational agents.
Instead of building a chatbot from scratch, Dialogflow makes it easier to build it in considerably less time and with bunch of Google features, including pre-build ML Models that can help you get started right away. Dialogflow also allows you to integrate your conversational agent with popular platforms like Google Assistant, Facebook Messenger, Twitter, Telegram and more. It also provides Web API to integrate the agent into Websites.
1) Visit https://dialogflow.com.
2) Sign-in using your Google Account and allow the access to Dialogflow.
3) Access the console by clicking Go to console button in the top-right corner.
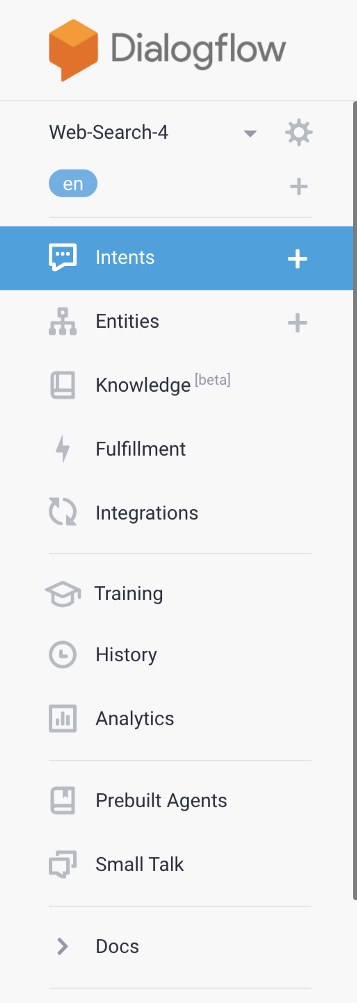
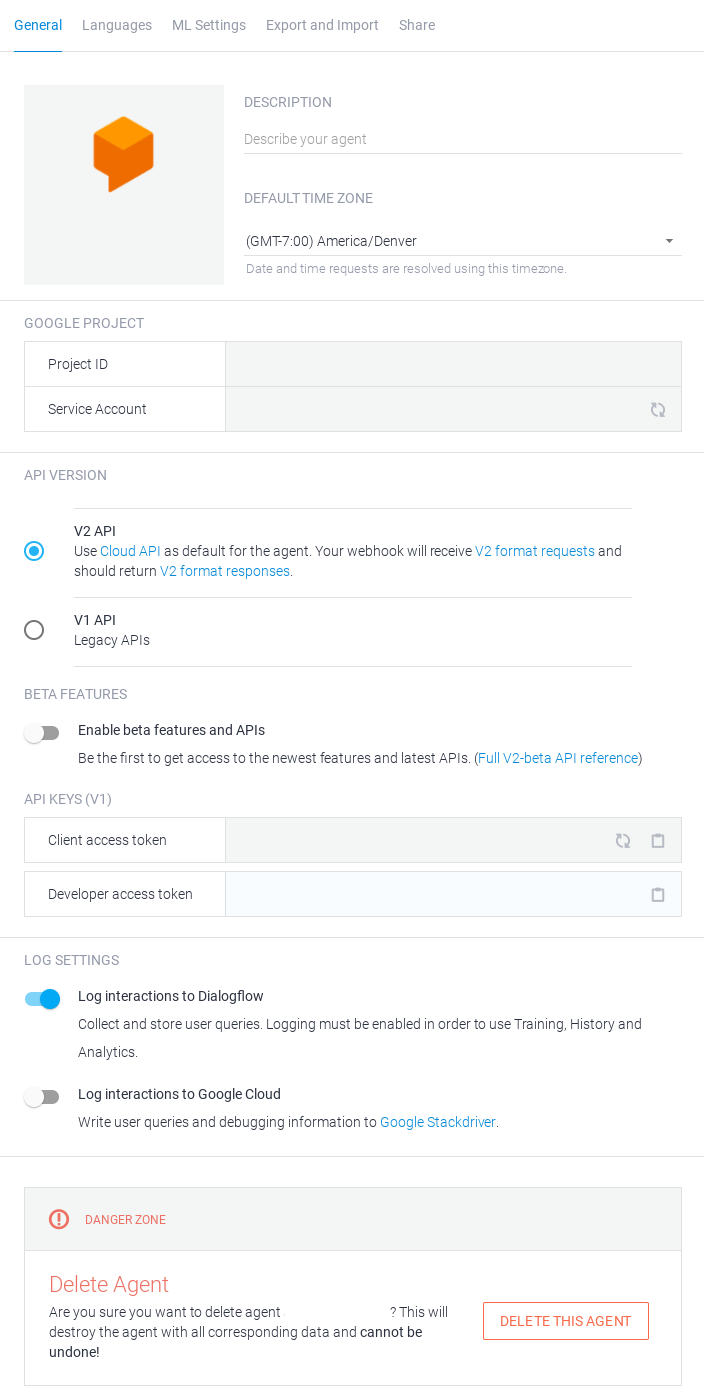
Every Conversational Chatbot you make using Dialogflow are called Agents. In the Console you can see all your agents in the top-left corner where you can configure the agent settings by clicking Gear icon next to your agent name.
Sections in Agent Settings:
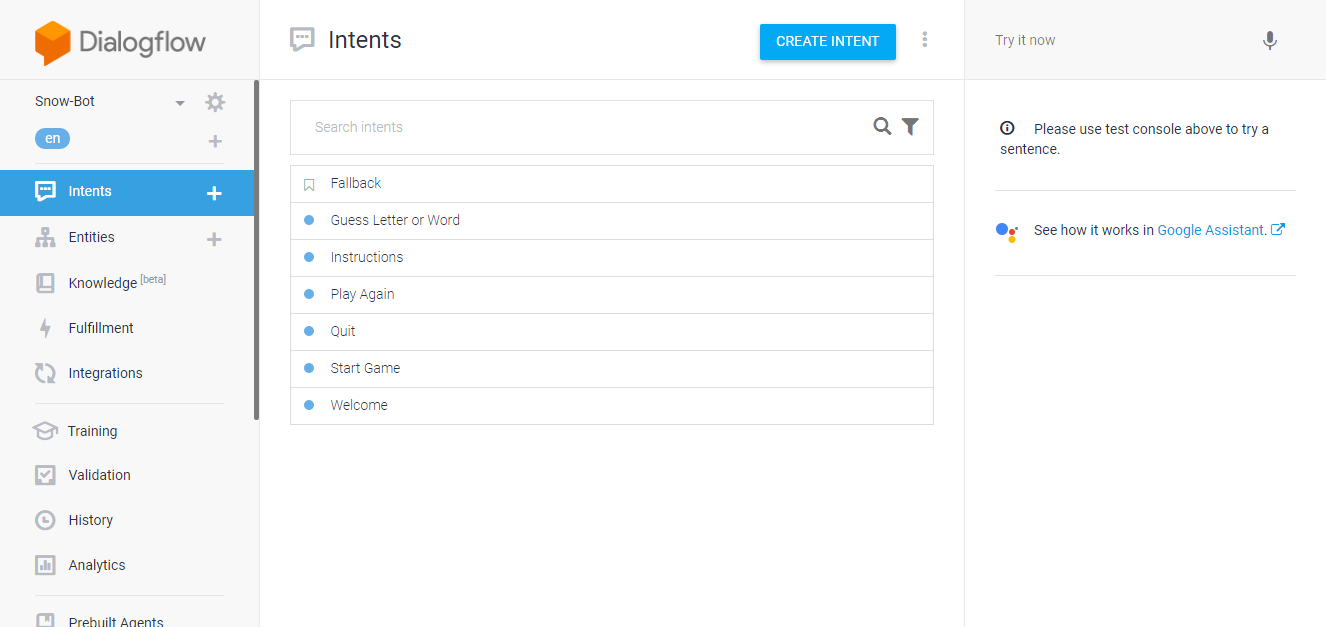
Intents comprises of what End-User’s intend to say. For every agent, there are intents defined to fulfill End-User’s query. Each intent has a specific purpose. When User types a query, Dialogflow matches the particular intent and responds to the User.
You can create an Intent using Create Intent button, or by using the Plus icon next to Intent in the Console Pane.
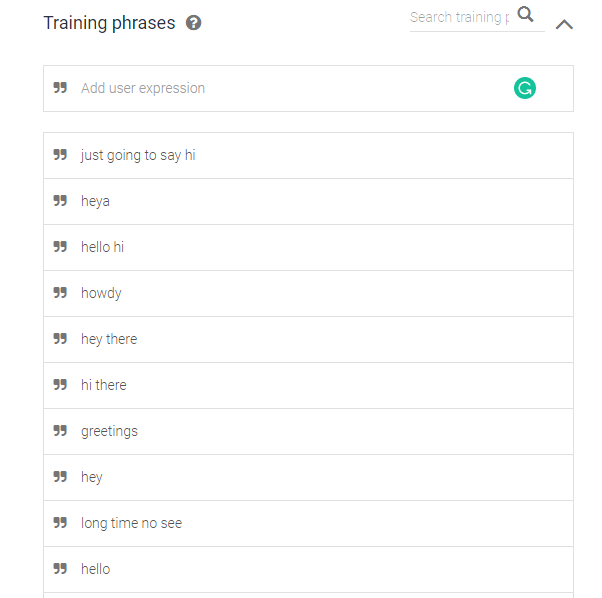
After opening an Intent, you enter the Training Phrases. These are the example phrases that User will say. When User’s query resembles these phrases, Dialogflow will match the Intent. You need to define few phrases and the built-in Machine Learning will add more phrases over the time.
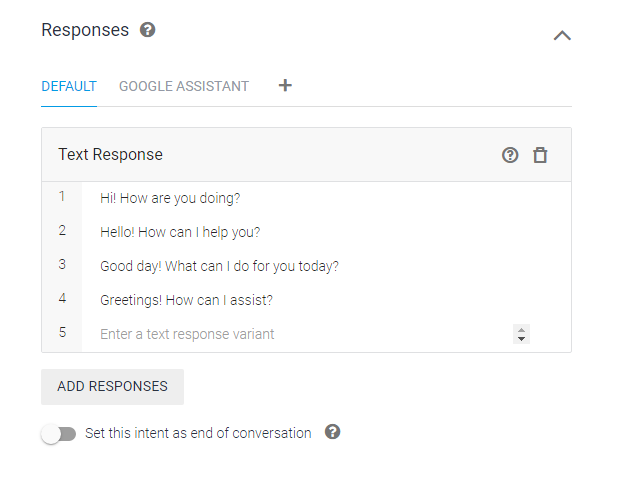
👁 ImageIn the Responses section of Intent, you provide the statement which is used as the reply to the User’s Invocation Phrase. You can define multiple replies and Dialogflow will randomly provide a reply from the given responses.
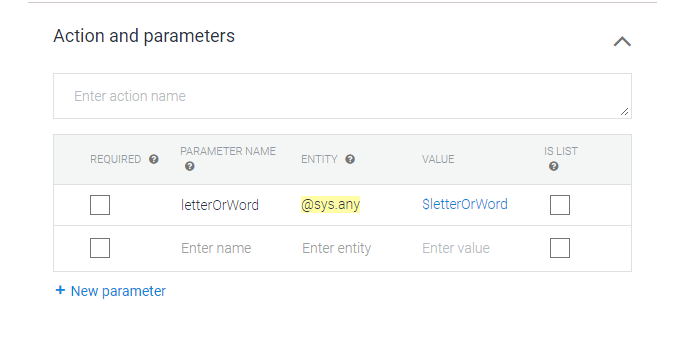
Other than Training Phrases and Responses, another powerful feature of Dialogflow is Actions and Parameters. In some intents you would like to obtain a particular data from User’s phrase. You can define parameters by right-clicking any phrase from the Invocation Phrases list, and select the Entity-type that suits your requirement. Dialogflow has built-in parameters like sys.geo-location, sys.date and more. You can even define your own parameters (in the Entities).
Entities in context of Dialogflow are the set of Keywords that can be extracted as a parameter. You can define an Entity using Create Entity or the Plus icon next to Entity in the Console Pane.
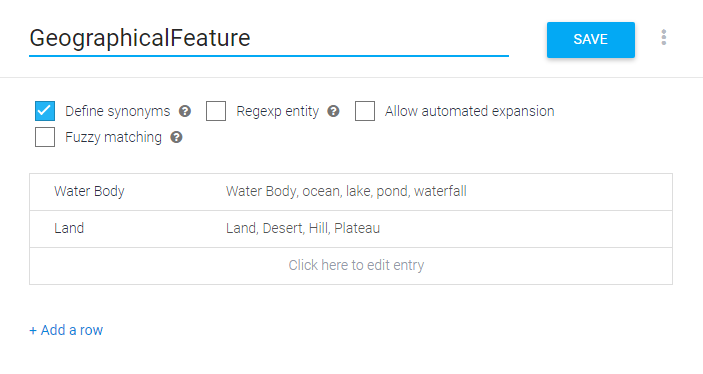
Here, each Entry in the Entity holds a specific keyword. These keywords can have several synonyms. Dialogflow allows you to define synonyms along with the keyword.
For example, if you define an entity “GeographicalFeature” with entry “Water Body” and define synonyms as lake, pond, ocean. When user says “I want to visit “. Dialogflow understands the reference and extracts the parameter as “Water Body”.
Entities are really useful. These extracted parameters can be used to make conversations more human-like (using Fulfillment).
Using Fulfillment adds more functionality to your agent. You have to enable Fulfillment for each Intent you require. There are two way to use the Fulfillment feature:
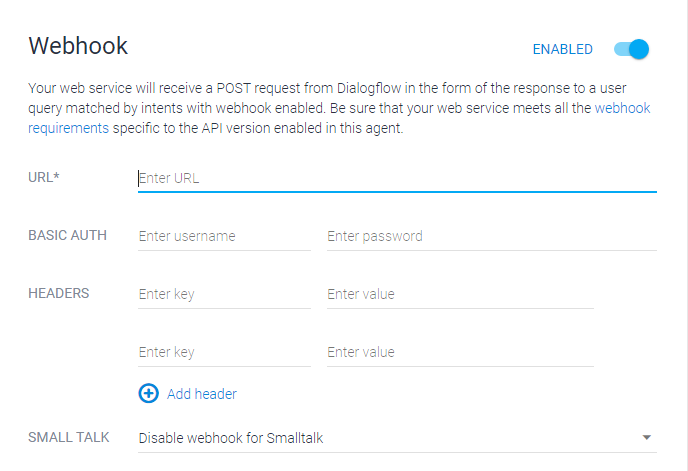
Using Webhook, you can use externally deployed back-end to fulfill user query. The extracted parameter are packed using JSON. In the Webhook section you just need to provide the URL for your back-end and during each invocation, Dialogflow will send the user’s query and Parameters to the back-end.
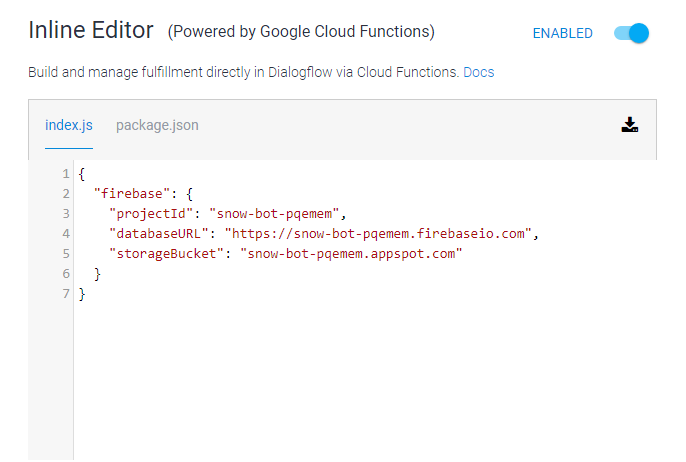
Inline Editor allows you to manage fulfillment directly from the cloud functions. You need to have understanding of NodeJS to use Inline Editor. Here you can modify index.js and package.json according to the requirement of your agent.
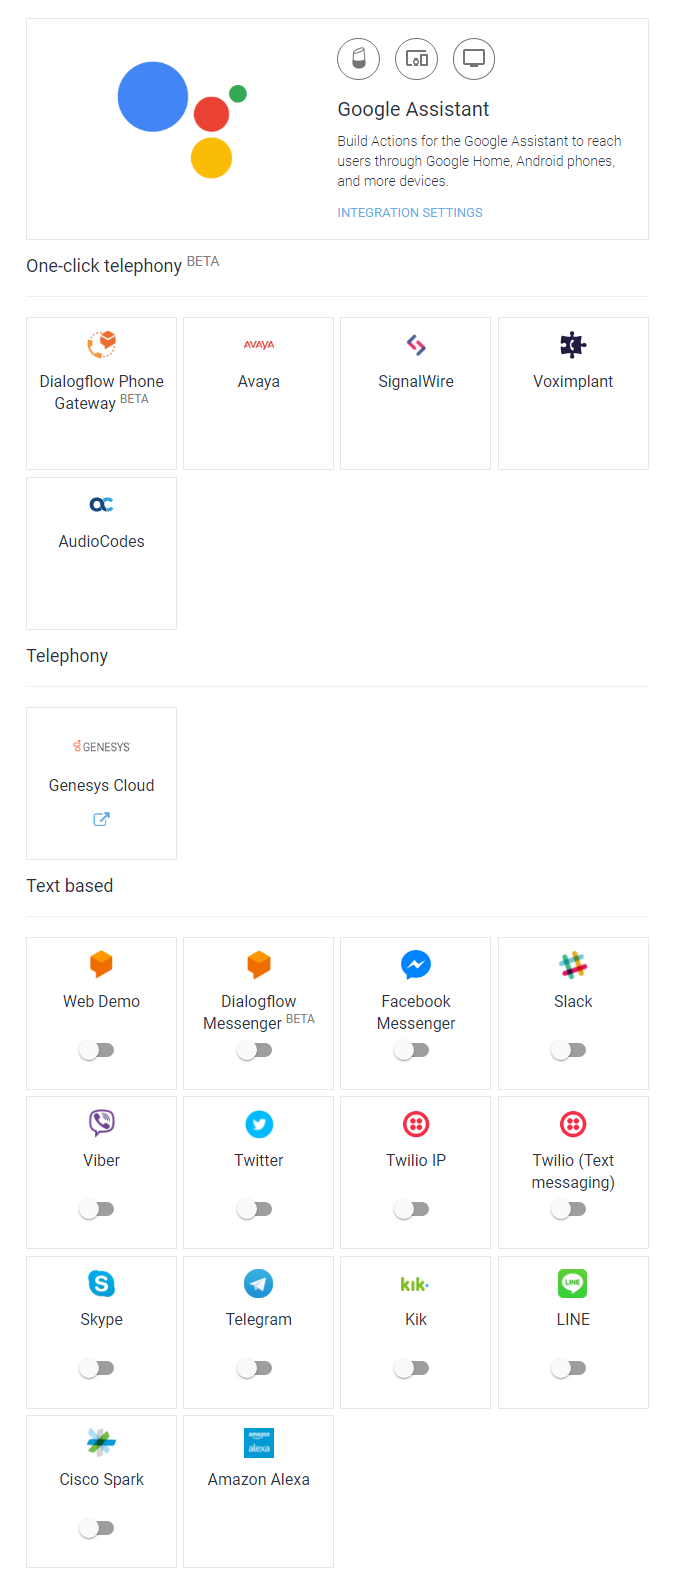
After completing your agent, the last part is Integration. Here you can deploy your Agent to popular services like Google Assistant, Facebook Messenger and more. Select the platform to deploy your agent.