 |
VOOZH | about |
|
VOOZH | about |
Streamlit is an open-source Python library for building interactive web apps using only Python. It's ideal for creating dashboards, data-driven web apps, reporting tools and interactive user interfaces without needing HTML, CSS or JavaScript.
This article introduces key Streamlit features, shows how to build a simple app and explains how to run it on a local server using minimal code.
Make sure Python and pip are already installed on your system. To install Streamlit, run the following command in the command prompt or terminal:
pip install streamlit
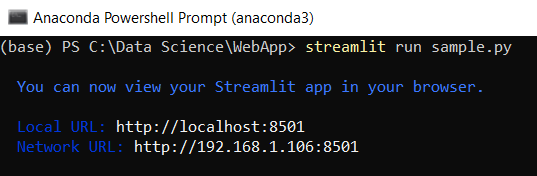
To run a Streamlit app, open the command prompt or Anaconda prompt and type:
streamlit run filename.py
For example, if file name is sample.py, run:
streamlit run sample.py
After running the command, Streamlit starts a local development server and displays a URL (http://localhost:8501). Open this URL in your browser to view and interact with the app.
Streamlit offers simple built-in functions to create interactive web apps using Python. These functions help display text, add widgets, visualize data and handle user input.
Let’s explore them one by one.
1. Title
This basic Streamlit example displays a title on the web page, confirming that Streamlit is set up and running correctly.
Output
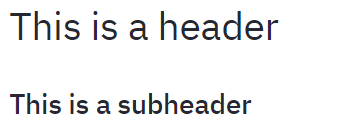
2. Header and Subheader
This example demonstrates how to add a header and subheader in a Streamlit app.
Output
3. Text
It shows how to display plain text in a Streamlit app using st.text() function.
Output
4. Markdown
This example uses st.markdown() to show formatted text. The ### creates a level 3 header, used for medium-sized headings in the app.
Output
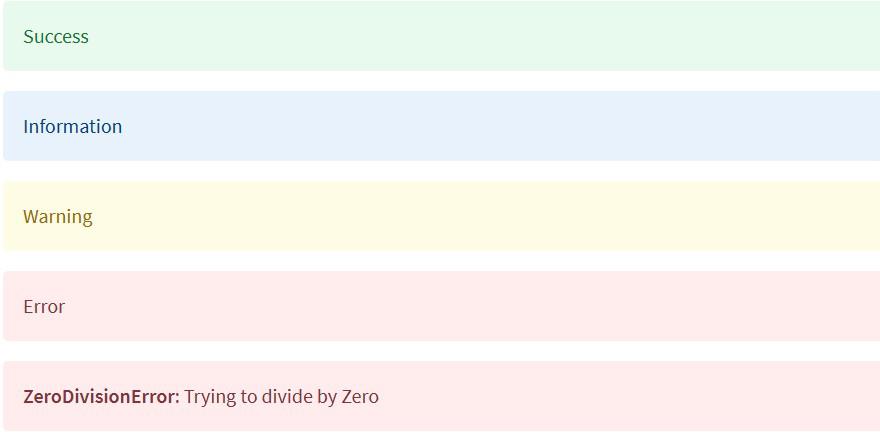
5. Success, Info, Warning, Error and Exception
This example shows how to display different types of messages and alerts in a Streamlit app using built-in functions like st.success(), st.info(), st.warning(), st.error() and st.exception(). These functions help communicate status, information, warnings, errors and exceptions to users clearly.
Output
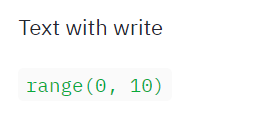
6. Write
This example uses st.write() that can display text, numbers, data structures and even charts. Here, it's used to show plain text and the output of Python’s built-in range() function.
Output
7. Display Images
This example demonstrates how to display an image using Pillow library. The image is opened with Image.open() and displayed with st.image(), where the width parameter controls its size.
Output
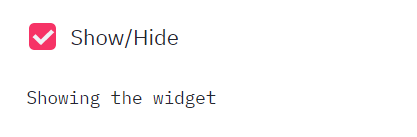
8. Checkbox
This example uses a checkbox in Streamlit to toggle content visibility. When the checkbox labeled "Show/Hide" is checked, it displays a text message on the screen.
Output
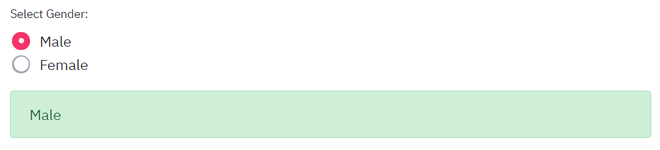
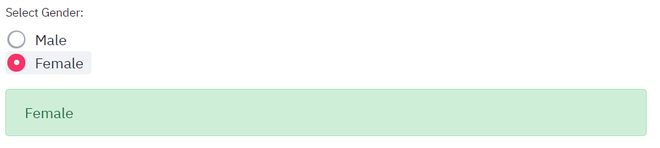
9. Radio Button
This example demonstrates how to use radio buttons to let users select one option from a list. Based on the selected gender, the app displays the result using st.success()
Output
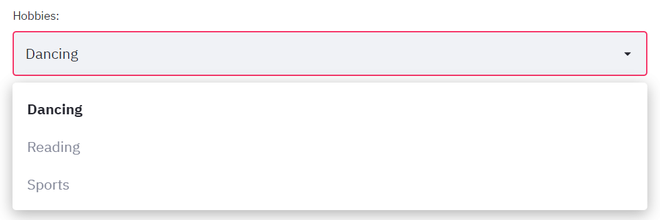
10. Selection Box
This example uses a select box in Streamlit to let users choose one option from a dropdown list. The selected item is then displayed on the screen.
Output
11. Multi-Selectbox
This example demonstrates how to use a multiselect box in Streamlit, allowing users to choose multiple options from a list. The app then displays the number of selected items.
Output
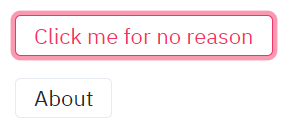
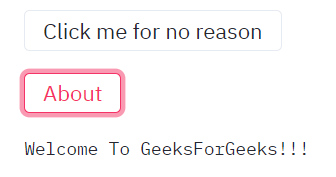
12. Button
This example shows how to use buttons in Streamlit. Buttons can trigger specific actions when clicked, such as displaying a message or running a function.
Output
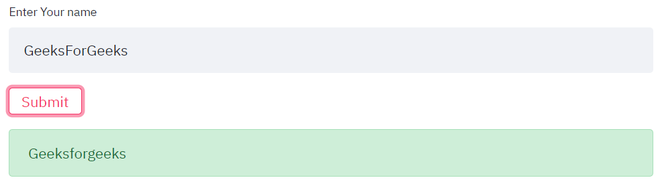
13. Text Input
Text input fields allow users to enter custom data. This example collects a user's name, formats it with proper capitalization and displays it when Submit button is clicked, simulating a basic form interaction.
Output
14. Slider
Sliders provide a way to select numeric values within a range. This example lets users choose a level between 1 and 5 and displays the selected value instantly. It is useful for settings like ratings, difficulty levels or thresholds.
Output
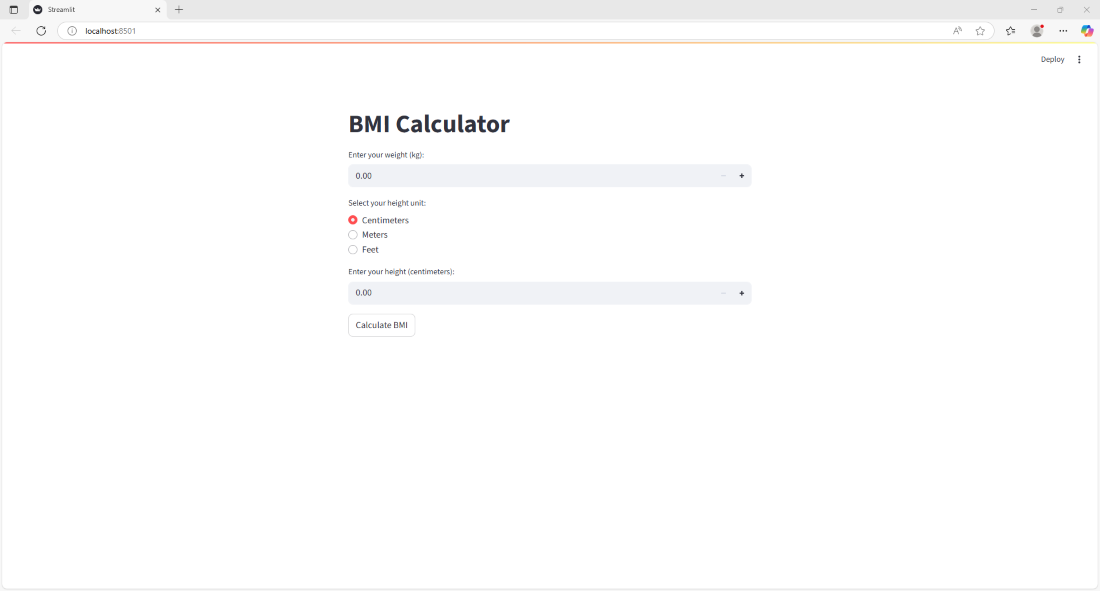
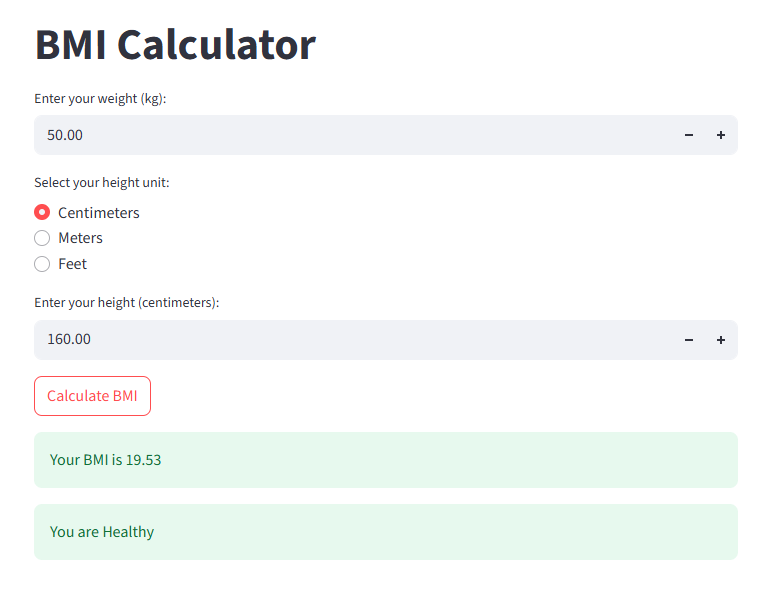
Let’s put everything we've learned so far into practice by building a BMI Calculator web app using Streamlit. The formula to calculate Body Mass Index (BMI) when weight is in kilograms and height is in meters is:
bmi = weight/height2
Output
After entering all the required fields: