 |
VOOZH | about |
|
VOOZH | about |
In this article, we'll use MailChimp and Django to make a simple mailing app. When people subscribe to our app, we'll learn how to create an audience list and save the users in MailChimp using Python.
Have you considered how they could send emails to subscribers with only one click? MailChimp is the greatest email marketing software. It also allows you to manage your audiences and send bulk emails by allowing you to build multiple lists. However, simply sending emails is insufficient. It should have some appealing MailChimp layouts and text, and you may choose preset templates for your email directly.
To create a MailChimp account and get an API key follow the below steps:
Step 1: Go to MailChimp.com and signup for free. Also, set up the profile of your account.
Step 2: Now, to get the API key, From the bottom left of your screen, Go to the profile>> Extras >> API Key >> Create API Key. Furthermore, it would help if you store your API key. We will use it later in our Django app.
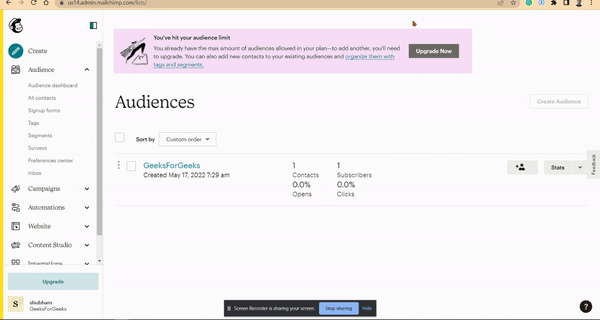
Step 3: Next, we need to create an audience list. Go to https://login.mailchimp.com/?referrer=%2Flists%2F, and click on the Create Audience. Fill in the required details and see your audience on the audience dashboard.
Step 4: Now, we need to get the audience list id. Go to the audience settings -> list id. Store the list id to use it in the Django app.
Step 1: Users need to enter the below command into the terminal to create a new Django App.
django-admin startproject mailchimpNewsletterStep 2: Next, go to the project directory.
cd mailchimpNewsletterNow, users need to create a views.py file in the project directory. Also, create a templates folder and create a home.html ( templates>> home.html ) ,success.html, and error.html file in that.
Project structure: It should look like this.
Step 3: Before we dive into setting up the project, install the Mailchimp-marketing python library by entering the below command to the project directory.
pip install mailchimp-marketingStep 4: In this step, we will integrate Mailchimp with the Django App.
Step 5: Add 'DIRS' : [os.path.join.(BASE_DIR, 'templates')] in your templates list.
Step 6: To run the project on your terminal, go to the project directory and enter the below command.
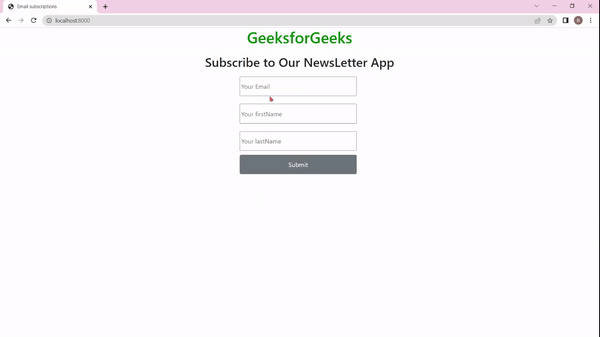
python manage.py runserverOutput: You will see that the app is running successfully on localhost:8000.
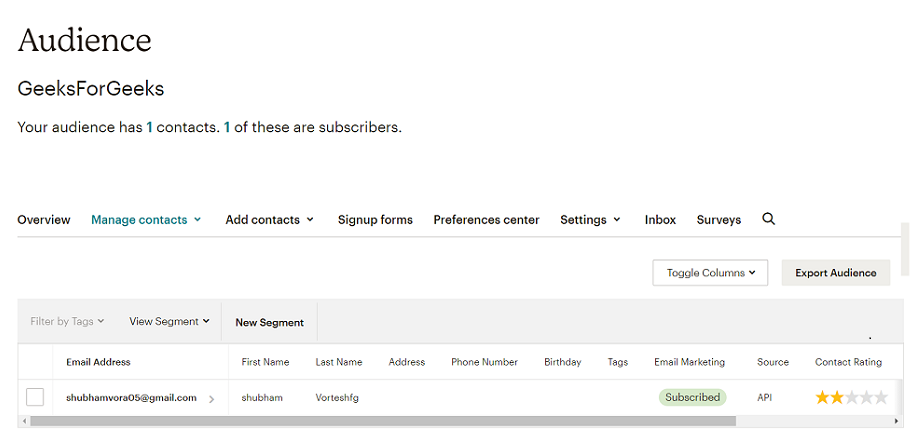
At last, in MailChimp, you can go to the Audience >> All contacts, and you will see the list of all added contacts.