 |
VOOZH | about |
|
VOOZH | about |
RISE is an extension of Jupyter Notebook designed to revolutionize the way you create presentations. By seamlessly integrating with Jupyter Notebook, RISE allows you to transform your static code and data into dynamic, interactive presentations. In this guide, we'll explore how to install RISE, set up presentation slides, view and present your slides, and delve into the additional features of using the RISE chalkboard for enhanced interactivity.
Let's start with the basics. Installing RISE is the first step towards creating engaging presentations in Jupyter Notebook. To install RISE, follow these simple steps:
Open your terminal, use the following command, and press shift+enter to execute the command:
python -m pip install RISE
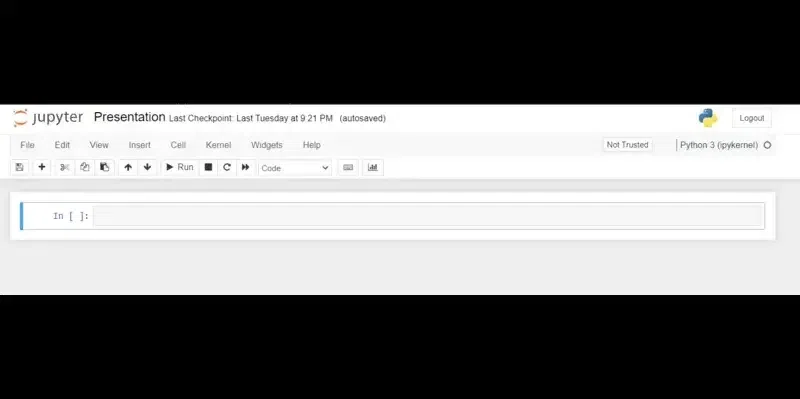
Now, let's move on to setting up your presentation slides. You will find the RISE icon on the top of the Jupyter Notebook page.
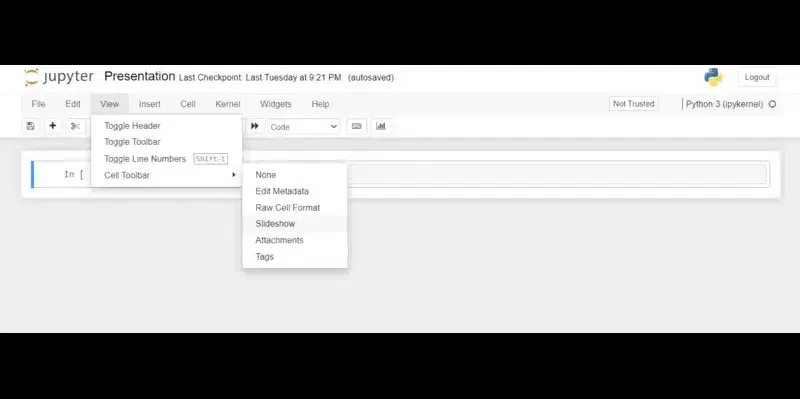
Setting up presentation slides involves configuring the slide types and layout for your presentation.
Now that you've configured your slide types and layout, it's time to prepare your slides.
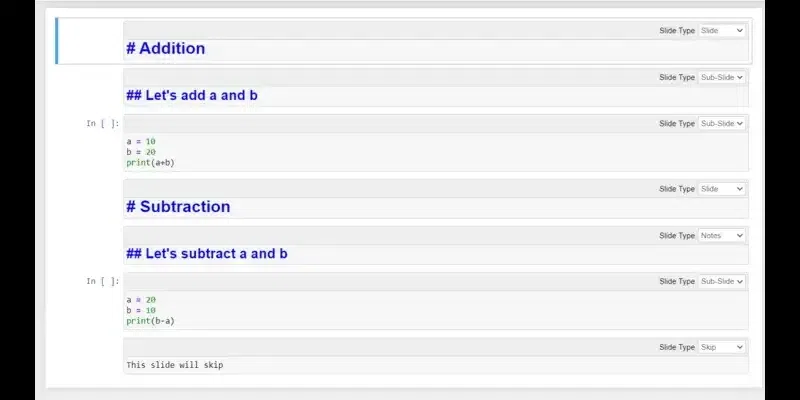
Creating compelling content for your slides is essential to captivate your audience. Follow these steps to prepare your slides:
Example: Here's an example of slide preparation using different slide types:
Before presenting to your audience, it's crucial to preview how your presentation will appear. Here's how you can do it:
Now that you've previewed your presentation, Follow these steps to start presenting:
Now, let's explore the additional feature of RISE: the chalkboard. The chalkboard feature allows you to annotate your slides in real time, adding a layer of interactivity to your presentation. Here's how you can use the RISE chalkboard:
With the RISE chalkboard, you can engage your audience and make your presentations more interactive and dynamic.