 |
VOOZH | about |
|
VOOZH | about |
In Flask, models define the structure of data and handle database operations by mapping database tables to Python classes. ORM (Object Relational Mapping) is used which allows to interact with the database using Python code instead of writing SQL queries. Flask commonly uses SQLAlchemy as its ORM to manage data efficiently.
To define models in Flask, we will use Flask-SQLAlchemy, which provides ORM support. Start by importing required modules and defining the create_app function to set up the application and initialize models.
Flask doesn't support ORM, but with the help of flask-sqlalchemy, we can achieve the ORM functionalities. Install flask-sqlalchemy extension (if not already installed) using:
pip install flask-sqlalchemy
First we import the Flask and SQLAlchemy.
Explanation:
Create a database object
Now, we define a model, which represents a table in the database.
Explanation:
Run the following inside an app context to generate the tables:
Explanation: This ensures all models are converted into database tables.
To add an event, create an instance of Event and commit it:
Explanation:
We use db.session in SQLAlchemy to fetch and store data.
Explanation:
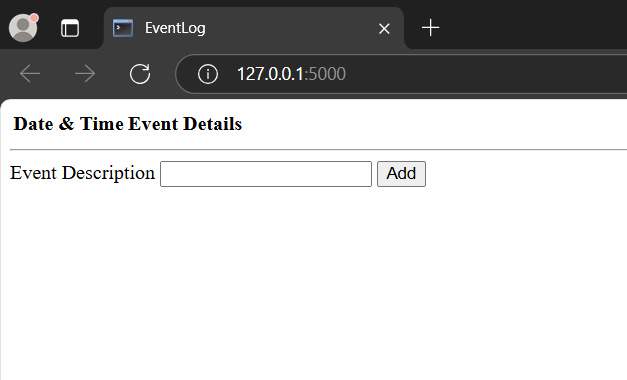
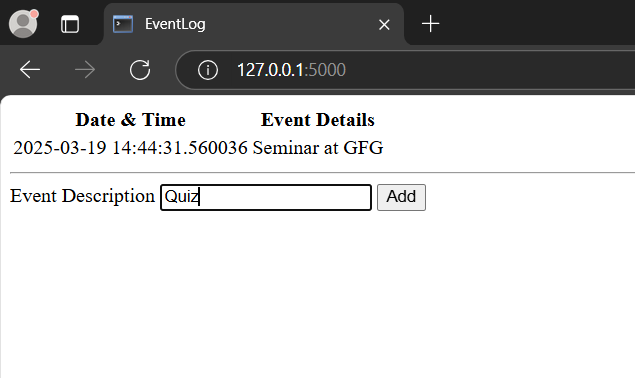
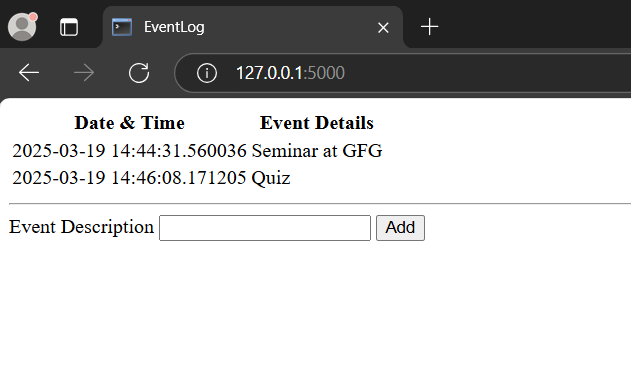
Let's build a simple Flask app "eventLog" where users can view and add events. The date and time are automatically stored when an event is added.
rootFolder
|_ eventLog
|_templates
| |_ home.html
|_app.py
This application uses Flask-SQLAlchemy with SQLite to store events. We define a create_app function to configure the app, initialize the database and create the Event model. A route handles displaying and adding events and a CLI command is used to initialize the database.
This HTML code creates a simple webpage to display an event log with a table showing date-time and event details.
1. Activate the virtual environment:
venv\Scripts\activate
2. Create the database and tables:
flask init-db
3. Run the Flask app:
python app.py
This will start the app in debug mode at local host port 5000. Visit the following URL in browser:
http://127.0.0.1:5000/
Output