 |
VOOZH | about |
|
VOOZH | about |
Django provides a built-in authentication system that handles users, login, logout, and registration. In this article, we will implement a user registration and login system with email confirmation using Django and django-crispy-forms for elegant form rendering.
Install crispy forms using the terminal:
pip install --upgrade django-crispy-forms
Start a new Django project and move into the project directory:
django-admin startproject project
cd project
Create a new app called user:
python manage.py startapp user
Navigate to your user app folder and create a templates/user directory. Inside this folder, create the following HTML files:
Your project structure should look like this:
Open your project/settings.py file and make the following changes:
1. Add 'user' and 'crispy_forms' to your installed apps:
INSTALLED_APPS = [
# Default Django apps...
'crispy_forms',
'user',
]
2. Add the crispy forms template pack setting at the end of the file:
CRISPY_TEMPLATE_PACK = 'bootstrap4'
3. Configure your email settings by adding your email credentials (replace placeholders):
EMAIL_BACKEND = 'django.core.mail.backends.smtp.EmailBackend'
EMAIL_HOST = 'smtp.gmail.com'
EMAIL_PORT = 587
EMAIL_USE_TLS = True
EMAIL_HOST_USER = 'your_email@gmail.com'
EMAIL_HOST_PASSWORD = 'your_email_password' # Use app password if 2FA enabled
Edit the project-level urls.py (project/urls.py) to route authentication URLs:
Create user/urls.py if it does not exist and add:
Create a forms.py file inside the user app and add the following:
Edit user/views.py to handle user registration, login, and rendering pages:
This template includes navigation, login/logout links, and dynamic welcome messages.
The provided HTML code is an email template for a registration confirmation message. It uses the Roboto font, has a centered thank-you message with user-specific content (username), and a horizontal line for separation. This template is designed to deliver a visually pleasing and informative confirmation email to users.
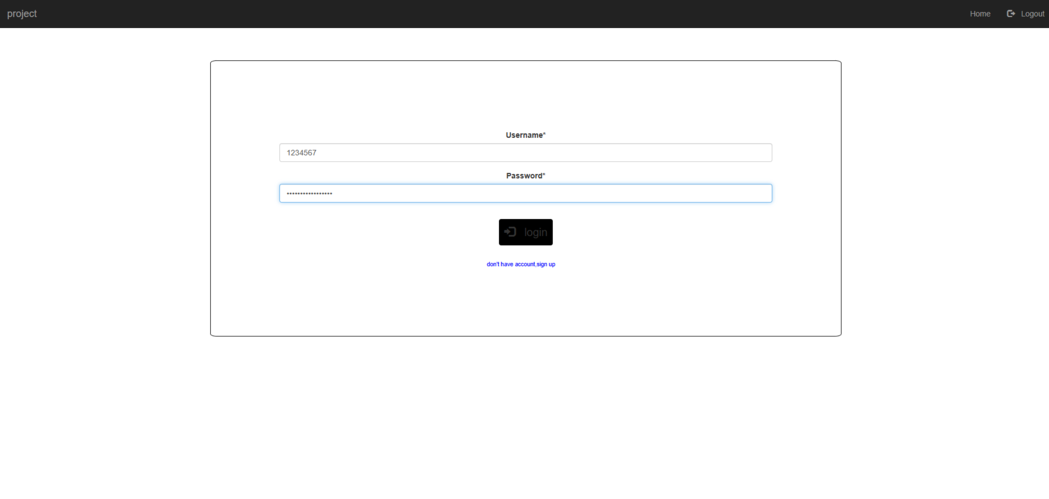
Inside this block, it creates a centered login form with specific styling, including a black border, padding, and a rounded border. The form includes a CSRF token for security and uses the crispy filter to render form fields with enhanced formatting, along with a login button and a link to the registration page.
This file creates a centered sign-up form with specific styling, including a black border, padding, and rounded corners. The form includes a CSRF token for security and uses the crispy filter for enhanced form field rendering, along with a sign-up button and a link to the login page for users with existing accounts.
To securely send emails through Gmail SMTP from your Django application, you need to generate an App Password and set up email confirmation to verify users during registration.
1. Go to your Google Account security settings:
Open this URL in your browser:
https://accounts.google.com/v3/signin/identifier?continue=https%3A%2F%2Fmyaccount.google.com%2Fgeneral-light&followup=https%3A%2F%2Fmyaccount.google.com%2Fgeneral-light&ifkv=AdBytiNmhNybpYPAImjtZLcI61txPrTgaUw9MCf3aLoVpjsgQYJY29MO_P2wZBJjIk5zQShayFmp&osid=1&passive=1209600&flowName=WebLiteSignIn&flowEntry=ServiceLogin&dsh=S-734960398%3A1752268640094531
2. Verify that 2-Step Verification is enabled:
3. Create an App Password:
4. Use the App Password in your Django settings.py:
EMAIL_HOST_USER = 'your_email@gmail.com'
EMAIL_HOST_PASSWORD = 'your_16_character_app_password_without_spaces'
python manage.py makemigrations
python manage.py migrate
python manage.py runserver
Verification mail after successful login: