 |
VOOZH | about |
|
VOOZH | about |
Role-Based Access Control (RBAC) is a security mechanism that restricts user access based on their roles within an application. Instead of assigning permissions to individual users, RBAC groups users into roles and each role has specific permissions.
For example, in a Flask app, we might have roles like admin, editor and user, where:
This approach improves security, simplifies permission management and ensures users only access what they need.
Note: For storing users' details we are going to use flask-sqlalchemy and db-browser for performing database actions. we can find detailed tutorial here.
To learn how to create and set-up flask app, refer to- Create Flask App
After creating a Flask app, we need to install modules required in this project, to install them execute this command in the terminal-
pip install flask flask-security flask-sqlalchemy flask-login email-validator
It will install these packages:
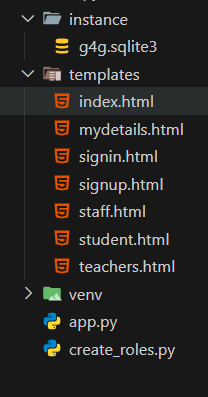
The file structure of this project after completion will look like this:
Configurations are key-value settings that control the app's behavior, such as database connections, security settings and session management. These settings are stored in app.config and help customize the application's functionality. The configurations used in our app are-
This part defines our database models. We create two models User and Role with a many-to-many relationship via an association table. The fs_uniquifier is a required field for Flask-Security.
Explanation
In this section, we define all the routes for our application, such as home, signup, signin, logout and role-protected pages. The routes use Flask-Security decorators to restrict access based on user roles.
Explanation
We have tables but we still don't have roles created. We have to create those roles (Admin, Teacher, Staff, Student). Keep in mind that the id for Admin role must be 1, for Teacher: 2, Staff: 3 and Student: 4.
Create a new file "create_roles.py" in the same folder as app.py and add the below code. Remember to execute this file after the db creation.
Explanation
The following lines of code will be responsible for creating the databse and running the app in debug mode, if the database already exists then it simply connects the app to it
This file uses the Jinja2 templating engine. The current_user variable stores the logged-in user's details. {% if current_user.is_authenticated %} checks if a user is logged in and displays their email ({{ current_user.email }}). Since users can have multiple roles, a loop iterates through them. If no user is logged in, the {% else %} block runs.
Output:
The form's action is #, reloading the current page on submission. It uses the POST method to create a new database entry with fields for email, password and role selection via radio buttons. Jinja2's {% if %} checks if a user is logged in and if not, the form is shown; otherwise, a logged-in message appears.
Output:
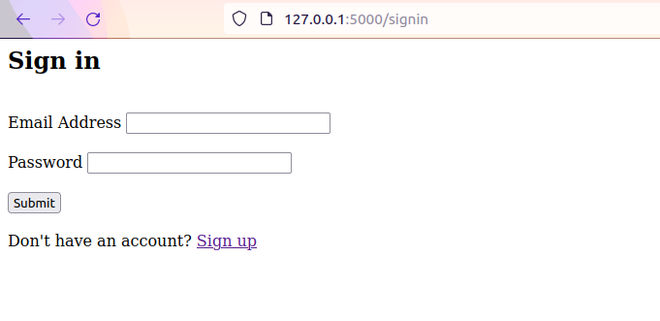
Similar to the signup page, check if a user is already logged in, if not then render the form asking for email and password. The form method should be POST.
Output:
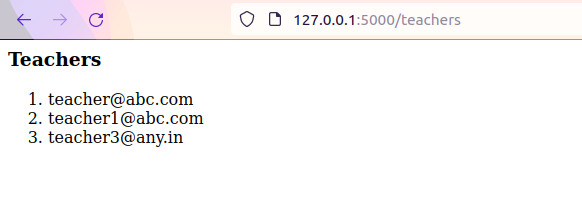
The teachers passed in the render_template is a list of objects, containing all the columns of the user table, so we're using Python for loop in jinja2 to show the elements in the list in HTML ordered list tag.
Output:
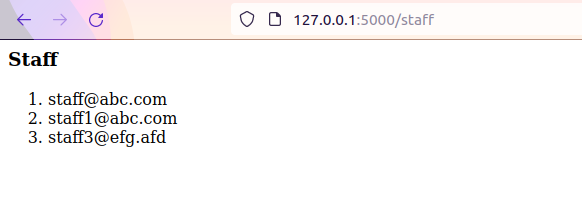
In this file, we are iterating all the staff and extracting their email IDs.
Output:
Iterating all the students and extracting their email IDs.
Output:
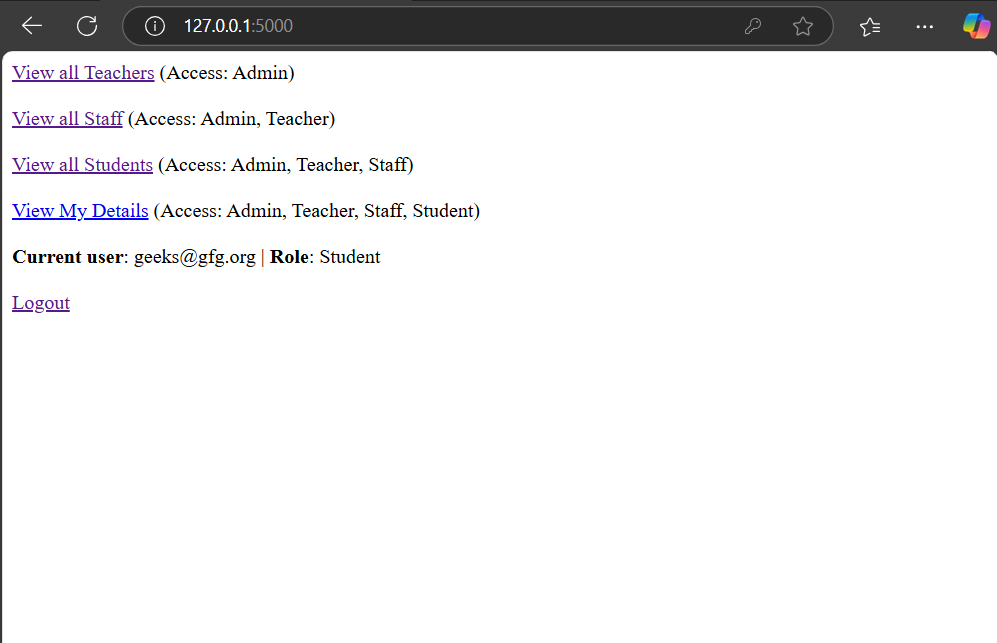
Similar to the index page, to show the role use a for loop from Jinja2, becausea user can have more than one role i.e., current_user.roles is a list of roles that were queried from the database.
Output:
To correctly run the app we need to follow these step:
Step 1: First run the following command in the terminal.
python app.py
It will start the app and create the database "g4g.sqlite3"
Step 2: Then stop the app using CTRL + C and run the create_roles.py file using command-
python create_roles.py
This will create the roles in the database "g4g".
Step 3: Then again run the main flask app using command-
python app.py
Go to:
http://127.0.0.1:5000
To demonstrate the working of app, sign up as a new user "geek" in student role.