 |
VOOZH | about |
|
VOOZH | about |
Unit testing is a practice in software development, ensuring that individual components of an application work correctly. In Spring Boot projects, Mockito and JUnit are used to write clean, maintainable unit tests.
We can create a Spring Boot Project with IntelliJ IDEA or Spring Initializr. Include the following dependencies:
Example: pom.xml File
Create the packages and files as seen in the below image. Below is the complete file structure of this project.
It is done via creating a simple POJO class inside the Person.java file.
Create a simple interface and name the interface as PersonRepo. This interface is going to extend the JpaRepository.
Note: JpaRepository provides built-in CRUD methods.
Inside the service package create one class named as PersonService .
Note: Constructor-based dependency injection is preferred over @Autowired.
Inside the controller package create one class named as PersonController.
Below is the code for the application.properties file
Now your sample spring boot project is ready and we are going to perform unit testing in this sample project.
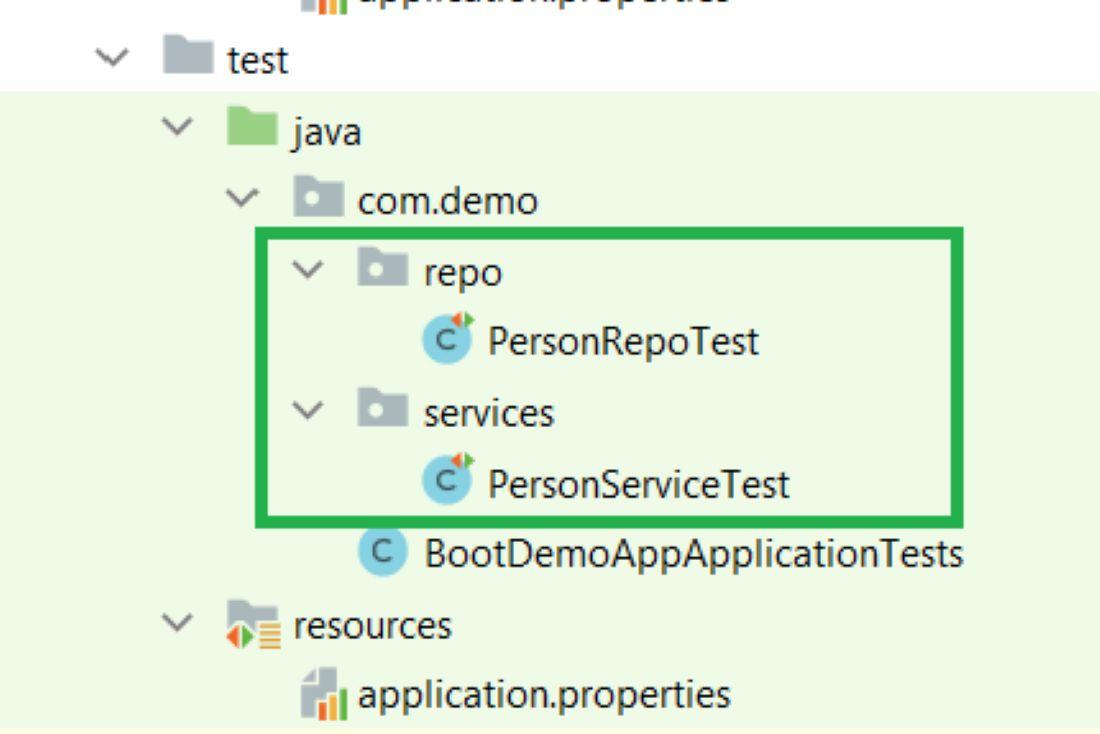
Create the following packages and the classes as shown in the below image. (Inside the green color box)
Inside the test -> repo package creates one class named as PersonRepoTest .
Inside the test -> services package creates one class named as PersonServiceTest .
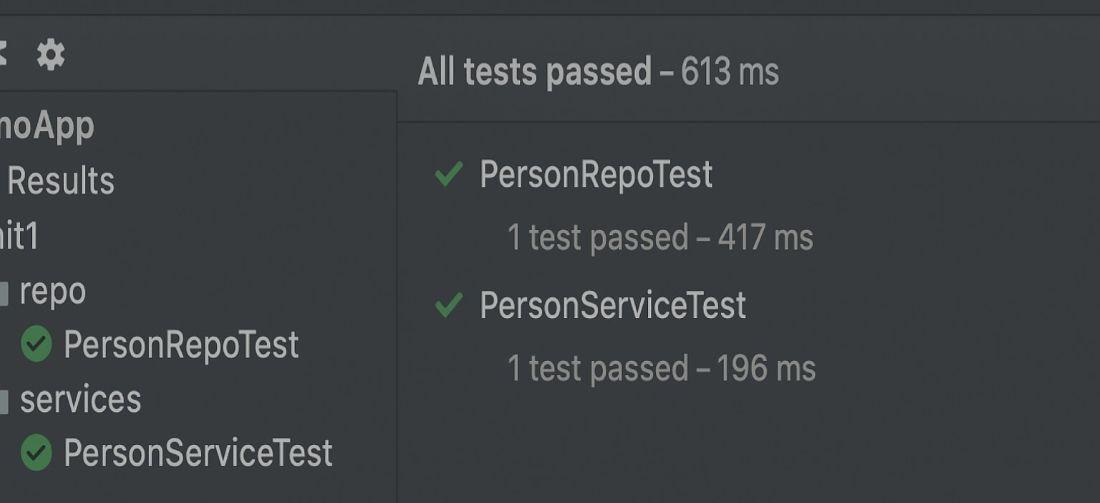
Similarly, we can perform testing of different units of your spring boot project.
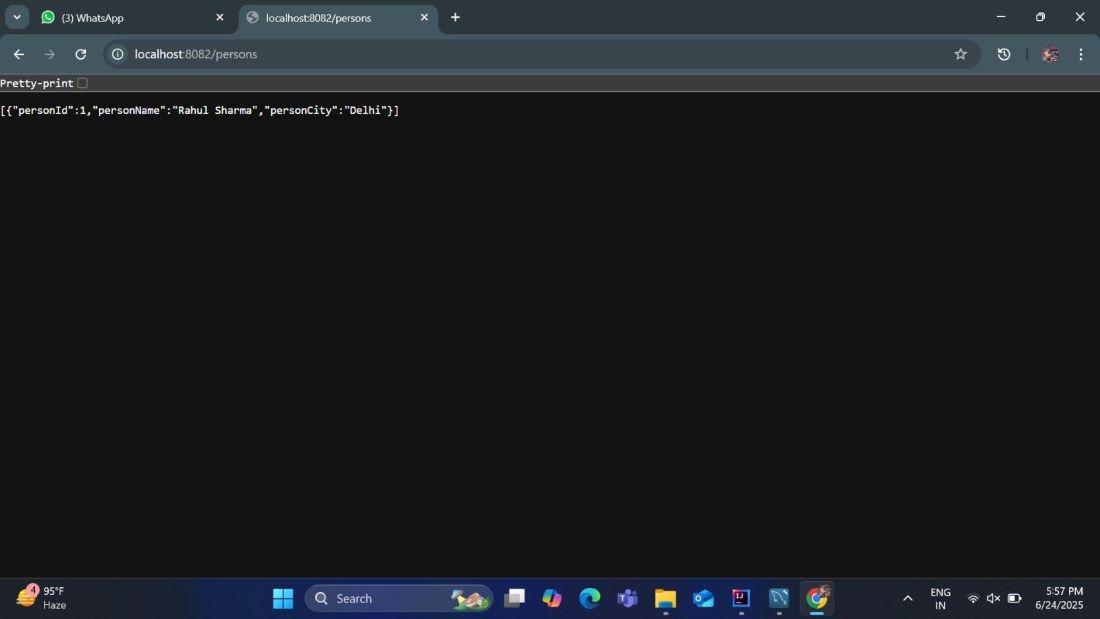
If we run that code on a server using port number 8082, we will get the following output.
Test in the browser:
http://localhost:8082/persons