 |
VOOZH | about |
|
VOOZH | about |
When browsing the web with Microsoft Edge, you might occasionally encounter issues such as websites failing to load, seeing outdated content, or experiencing slow page load times. These problems can sometimes be traced back to your browser’s DNS cache. Microsoft Edge, like other browsers, maintains its cache of DNS (Domain Name System) records to speed up website access. However, if this cache becomes outdated or corrupted, it can lead to connectivity issues.
Clearing the DNS cache is a simple yet effective way to resolve these problems. In this article, we’ll explain what DNS is, why Edge has its DNS cache, and provide a detailed, step-by-step guide on how to clear it.
Consider clearing the DNS cache if you encounter any of the following:
Clearing the cache is a safe troubleshooting step with minimal side effects—though you might notice slightly slower load times for websites on your first visit after clearing, as Edge performs fresh DNS lookups.
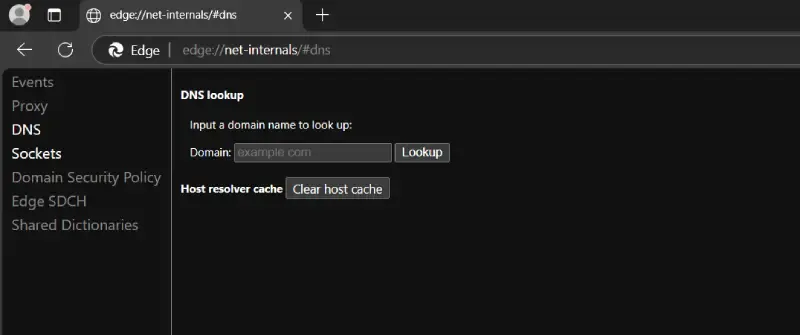
Follow these steps to clear Edge’s DNS cache. The process is straightforward and works on desktop versions of Edge (Windows and macOS). Mobile users can refer to the notes at the end.
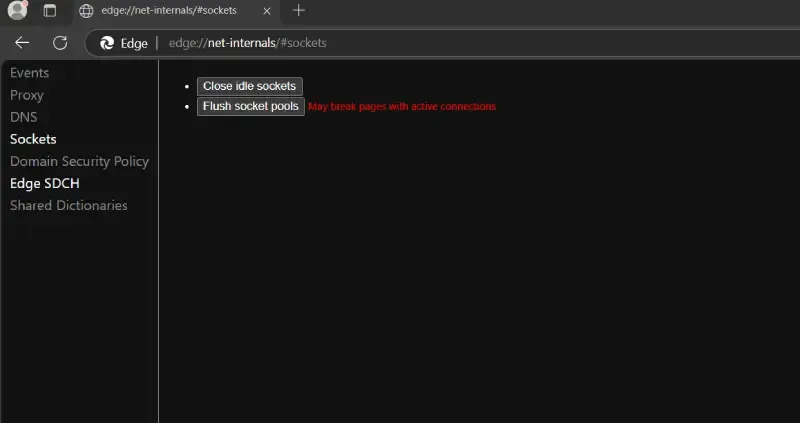
This step closes any idle or active connections, ensuring that no lingering connections rely on outdated DNS information. While not strictly necessary for clearing the DNS cache, it’s a good practice for resolving persistent issues.
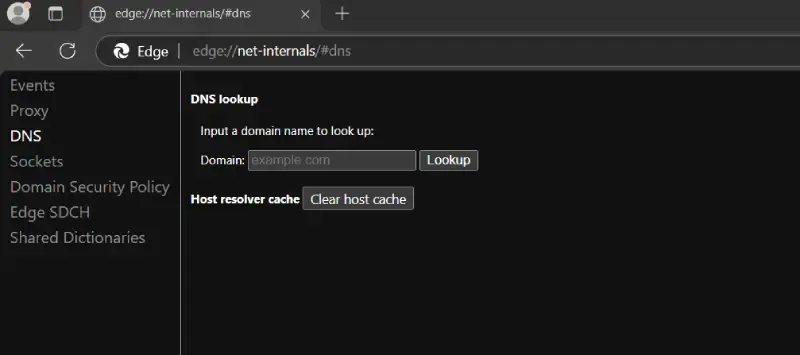
Clearing the DNS cache in Microsoft Edge is a quick and effective way to resolve many common browsing issues, from inaccessible websites to outdated content. By following the steps outlined in this guide—using the net-internals page to clear the host cache and optionally flushing socket pools—you can ensure that Edge uses the most up-to-date DNS information. If problems persist, don’t forget to check your operating system’s DNS cache and other potential culprits like extensions.