Installing Xcode on Windows 11 isn’t straightforward because Xcode is built exclusively for macOS. However, by setting up a macOS virtual machine, you can run Xcode on a Windows PC for iOS or macOS app development.
Xcode officially works only on macOS, so a virtual machine is required on Windows.
VirtualBox (or VMware) allows you to emulate macOS on a Windows 11 PC.
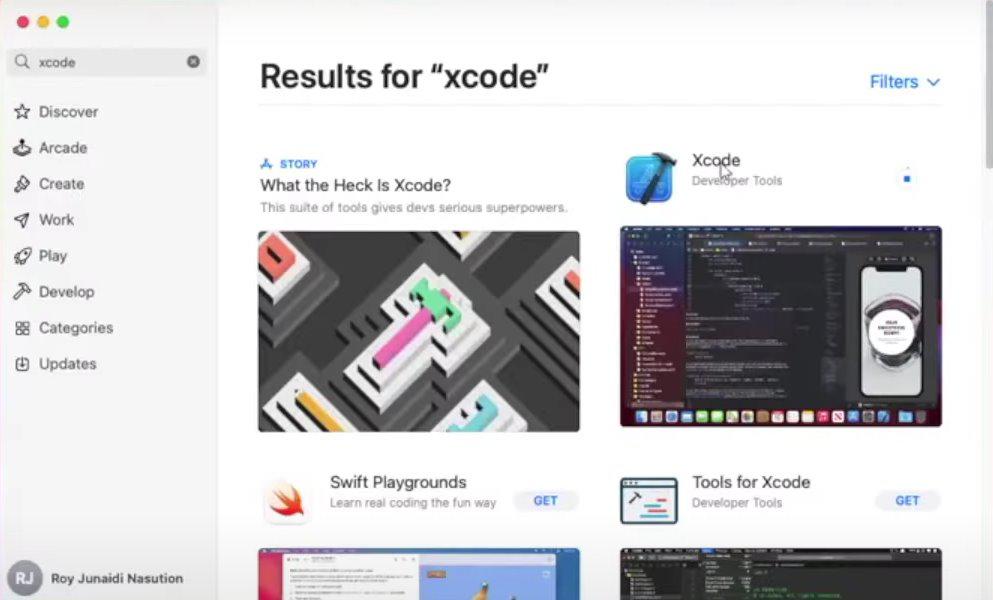
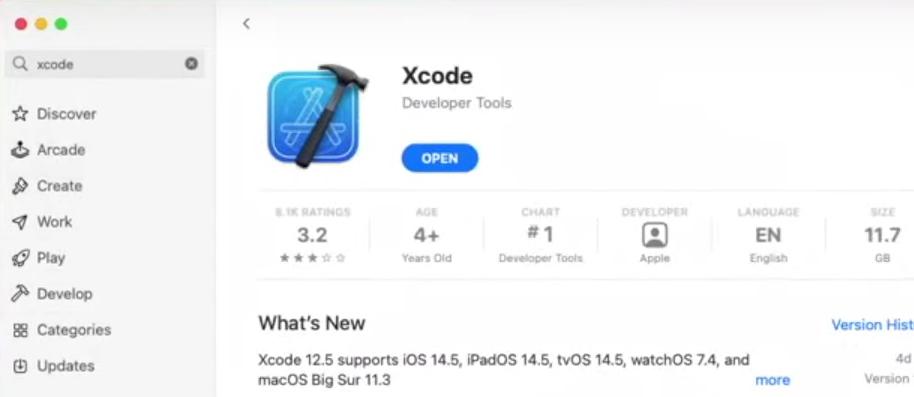
Once macOS is installed, you can download Xcode directly from the Mac App Store.
This method is best for learning and small development tasks, not ideal for heavy production work.
Steps to Install Xcode in Windows 11
Step 1: Download and Install VirtualBox
Visit the official VirtualBox download page and download a VirtualBox for Windows and install it on your Windows system.
