 |
VOOZH | about |
|
VOOZH | about |
Spring MVC is a Web MVC Framework for building web applications. Creating your first view in Spring MVC involves setting up a controller to handle requests and returning a view name that maps to a template (like JSP or Thymeleaf). The framework uses a View Resolver to connect the controller’s response with the actual UI page.
- Eclipse (EE version)/STS IDE
- Spring JAR Files
- Tomcat Apache's latest version
Note: Views are nothing, they are just web pages.
Follow these steps to create and render your first view in Spring MVC by configuring a controller, view resolver, and template page.
spring-webmvc and jakarta.servlet-apipom.xml:
Explanation: The DispatcherServlet is the entry point of the application. We can think of a DispatcherServlet as the gatekepper, it handles all the incoming requests. When a request comes, it passes to the DispatcherServlet and then it decides which controller should handle it.
Explanation: The <context:component-scan> tells the spring to look through the com.demo.controllers package for any classes marked with @Controller. The classes will handle the requests. The <InternalResourceViewResolver> helps Spring find the right JSP file when a view name like "demo" is returned by a controller.
Now let us create a simple method inside the Controller class and use @GetMapping annotation before the method something like this.
// Annotation
@GetMapping("/hello")
// Method
public String helloWorld()
{
return "demo";
}
Now in the return statement, we have to return some views (web pages), so whenever the endpoint '/hello' is invoked we can see our result on the web page. So let's create our first View.
demo.jsp:
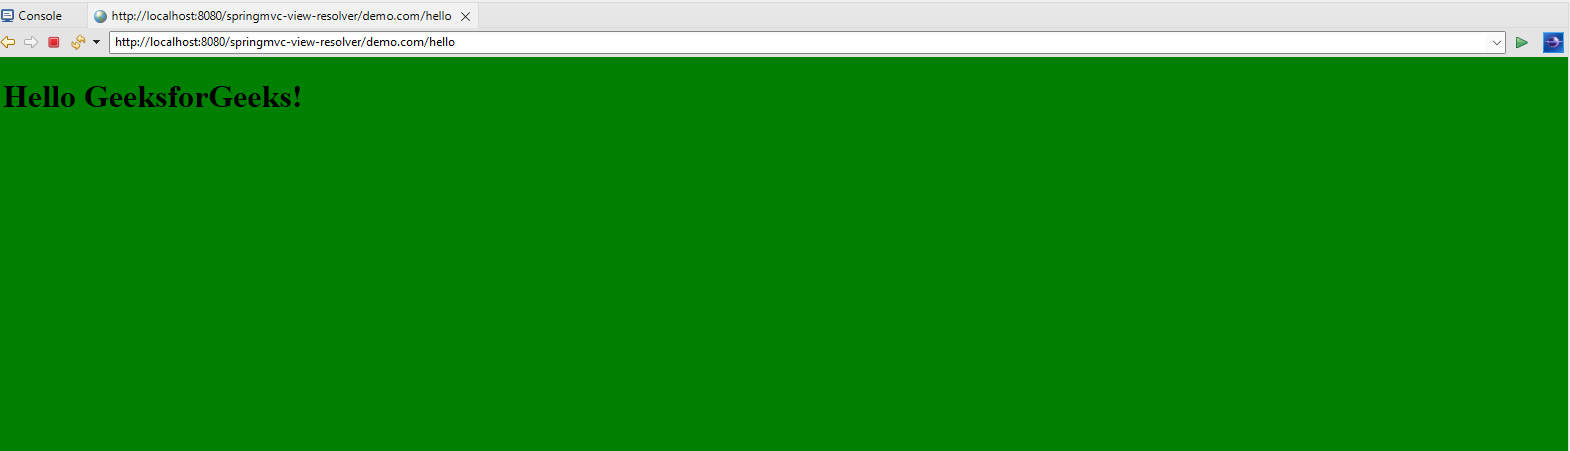
Explanation: Here, we have created a jsp file, which contains a basic html code and outputs "Hello GeeksforGeeks" in the body with the green background.
Now go to the DemoController class and inside the helloWorld() method we have to return a value something like this and we are done.
return "demo";
DemoController.java:
To run your Spring MVC Application right-click on your project > Run As > Run on Server and run your application as shown in the below image.
After that use the following URL to run your controller:
http://localhost:8080/springmvc-view-resolver/hello
Output: