 |
VOOZH | about |
|
VOOZH | about |
OAuth2 is an authorization framework that enables secure and limited access to user resources on HTTP services like Google, GitHub, or Facebook. It allows users to authorize third-party applications to access their data without revealing their credentials.
This guide walks you through integrating OAuth2 with Spring Boot and Spring Security to enable secure login and access through OAuth2 providers such as Google.
OAuth2 (Open Authorization 2.0) is a framework that allows applications to access user data hosted on external services without requiring users to share their passwords. Instead, users authorize access via tokens issued by the service provider.
OAuth2 defines multiple flows depending on the type of application:
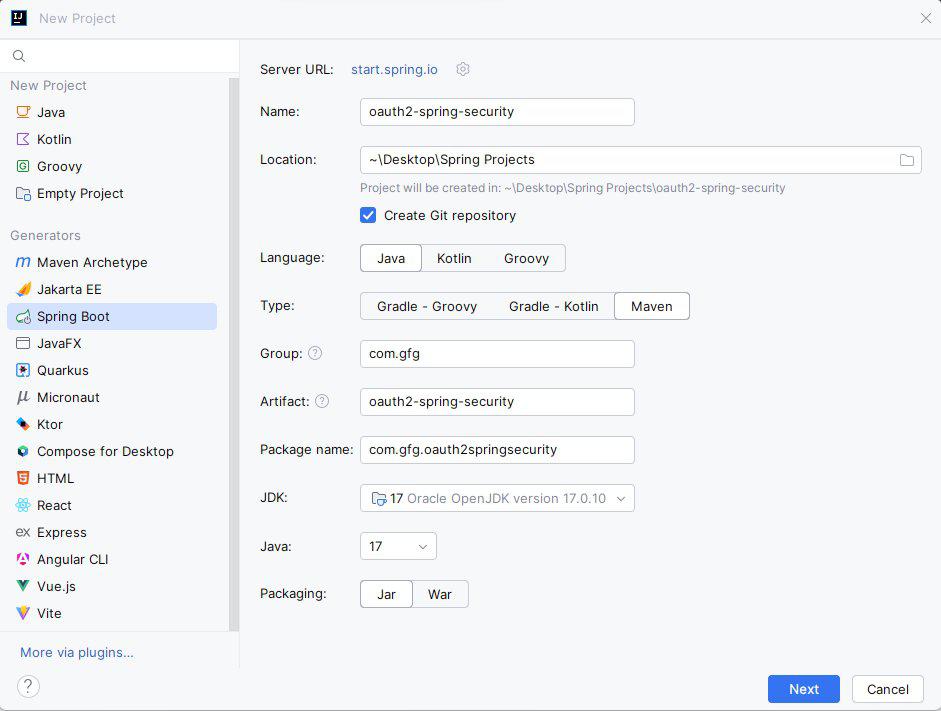
Create a Spring Boot project with the following options:
Add the following dependencies in the pom.xml:
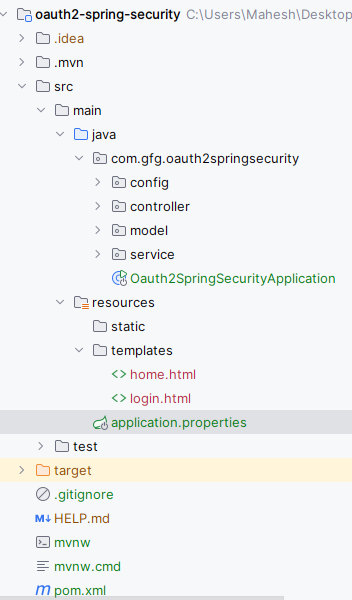
After creating the project, the folder structure in the IDE will be like below image:
Add the following Google OAuth2 configuration:
spring.application.name=oauth2-spring-security
spring.security.oauth2.client.registration.google.client-id=YOUR_GOOGLE_CLIENT_IDspring.security.oauth2.client.registration.google.client-secret=YOUR_GOOGLE_CLIENT_SECRET
spring.security.oauth2.client.registration.google.redirect-uri=http://localhost:8080/login/oauth2/code/{registrationId}
spring.security.oauth2.client.registration.google.scope=profile,email
User.java:
This class defines a user with name and email fields and uses Lombok for boilerplate reduction.
This service class is responsible for creating User objects from OAuth2User data.
UserService.java:
This service converts OAuth2 user data into a local User object.
SecurityConfig.java:
This configuration secures all routes except / and /login and sets up OAuth2 login.
HomeController.java:
The controller handles login and home routes, displaying the user’s name after authentication.
No changes are required in the main class.
This is the entry point for the Spring Boot application.
This HTML file contains the structure and styles for the login page. It includes a button to initiate the OAuth2 login with Google.
Go to src > main > resources > templates > login.html and put the below HTML code.
This HTML file displays the home page after successful login.
Go to src > main > resources > templates > home.html and put the below HTML code.
To test the OAuth2 login, navigate to the following URLs in your web browser:
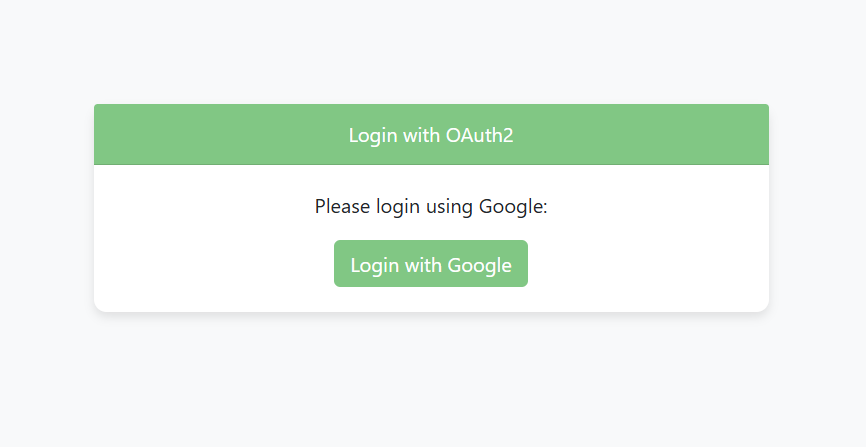
Login Page:
http://localhost:8080/login
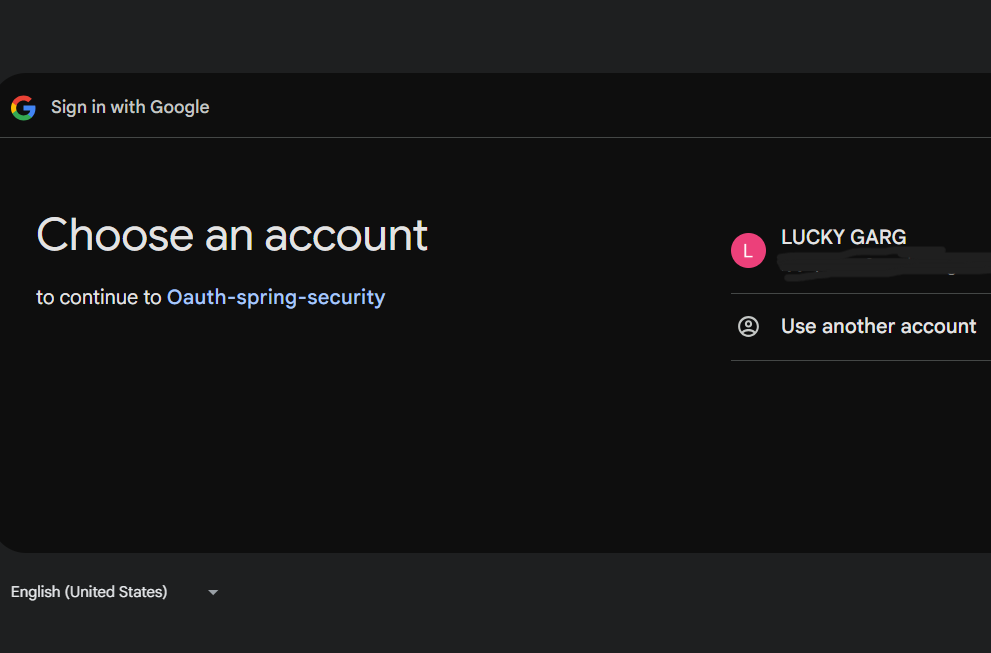
Google OAuth Authentication:
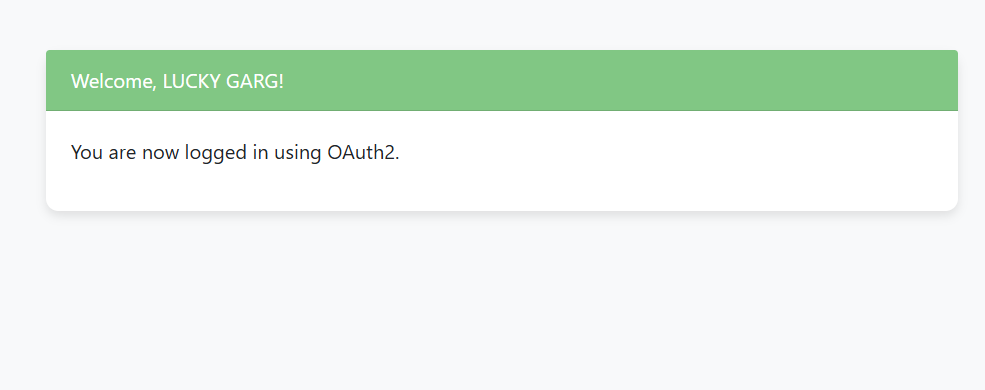
Home Page:
http://localhost:8080/home
You will see the login page, followed by the Google OAuth2 authentication process. Upon successful login, you will be redirected to the home page with a personalized welcome message.