VOOZH about

URL: https://www.geeksforgeeks.org/advance-java/microservices-communication-with-apache-kafka-in-spring-boot/

⇱ Microservices Communication with Apache Kafka in Spring Boot - GeeksforGeeks


  • Courses
  • Tutorials
  • Interview Prep

Microservices Communication with Apache Kafka in Spring Boot

Last Updated : 27 Sep, 2025

Apache Kafka is a distributed streaming platform widely used for real-time data pipelines and streaming applications. It allows services to publish and subscribe to streams of records, store them reliably and process them as they arrive. When combined with Spring Boot, Kafka becomes a powerful solution for microservices communication, enabling scalability, decoupling and fault tolerance.

Why Communication Matters in Microservices

In a microservice architecture, services need to communicate with each other to exchange data and orchestrate workflows. There are two primary communication patterns:

  • Synchronous Communication: Direct calls using HTTP/REST or gRPC.
  • Asynchronous Communication: Message-based communication using systems like Apache Kafka.

Asynchronous communication is often preferred because it provides:

  • Decoupling: Services operate independently, making the system more scalable.
  • Resilience: Messages are stored and retried if a service is temporarily unavailable.
  • Scalability: Kafka efficiently handles large throughput, allowing independent service scaling.

Kafka in the Microservice Architecture

In the microservice architecture, Kafka can be used to:

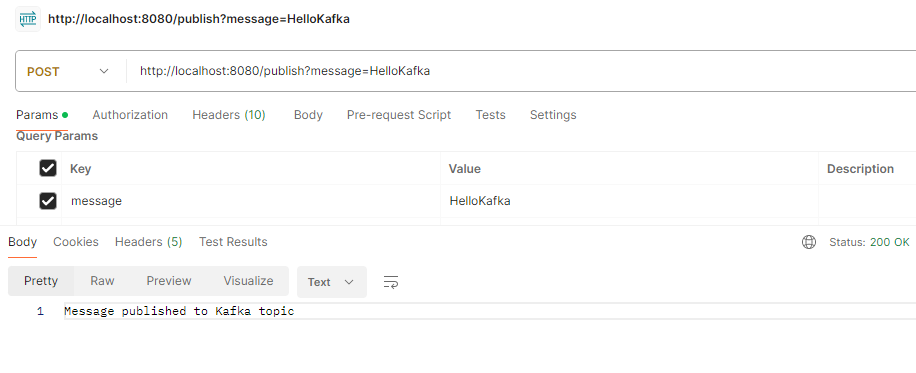
  • Publish events: Services can publish the events or messages to the Kafka topics of the application.
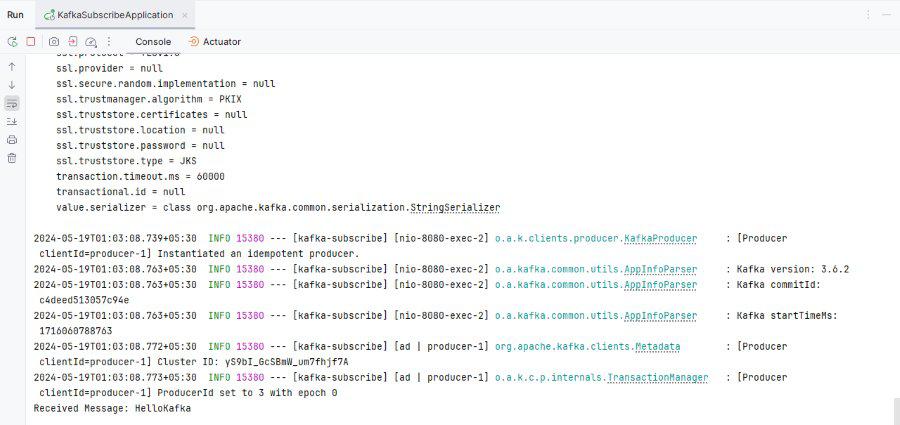
  • Subscribe to events: Services can subscribe to the relevant Kafka topics to receive and process events.

Implementation of Microservices Communication with Apache Kafka in Spring Boot

Now, let's move to the main steps to the Implementation of Microservices Communication with Apache Kafka:

Step 1: Set up the Kafka

Please make sure Kafka is installed and running on your local system as a Kafka server application.”

Step 2: Create the Spring Boot Project

Create a Spring Boot project using the Spring Initializr and add the required dependencies.

  • Spring Web
  • Spring For Apache Kafka
  • Lombok
  • Spring DevTools

After Creating, the project folder structure will be like the below.

👁 Project Structure

Step 3: Configure the application properties

Open the application.properties and add the below code for the configurations of the Apache Kafka of the Spring project.

Step 4: Consumer Kafka Configuration

  • We can create the KafkaConsumerConfig class that can configure the configuration of the Consumer service of the Spring application.
  • Go to src -> main -> java > org.example.kafkasubscribe -> config -> KafkaConsumerConfig and put the below code.

Step 5: Producer Kafka Configuration

  • We will create the KafkaProducerConfig class that can configure the configuration of the producer service of the Spring application.
  • Go to src -> main -> java -> org.example.kafkasubscribe -> config -> KafkaProducerConfig and put the below code.

Step 6: Create the KafkaConsumerService

  • We will create the KafkaConsumerService that provides the service of the Consumer of the application.
  • Go to src -> main -> java > org.example.kafkasubscribe -> service -> KafkaConsumerService and put the below code.

Step 7: Create the KafkaProducerService

  • We will create the KafkaProducerService that provides the service of the Producer of the application.
  • Go to src -> main -> java -> org.example.kafkasubscribe -> service -> KafkaProducerService and put the below code.

Step 8: Create the KafkaController class

  • We will create the KafkaController class that can create the endpoint of the publish message of the application.
  • Go to src -> main -> java -> org.example.kafkasubscribe -> controller -> KafkaController and put the below code.

Step 9: Main Class

Open the main class. No changes are required to be done in main class.


pom.xml:

Step 10: Run the Application

Once complete the application then it will start the application at port 8080.

👁 Application Running

Step 11: Endpoint Testing

Publish the message API:

POST http://localhost:8080/publish?message=HelloKafka

Output:

👁 API Testing

Application Log to print the Kafka Message:

👁 Application Log

By following these steps, we can set up the basic microservices communication system using Apache Kafka and Spring Boot. This setup ensures that the microservices can communicate effectively and it can handle high throughput and provide scalability and fault tolerance.

Comment

Explore