 |
VOOZH | about |
|
VOOZH | about |
Brute force attacks are a common threat where an attacker tries multiple combinations of usernames and passwords to gain authorized access to the system. To protect against such attacks, it is crucial to implement mechanisms that can detect and block repeated failed login attempts. Spring Security can provide robust support to help mitigate these threats. In this article, we will learn how to prevent brute-force authentication attempts using Spring Security.
The main idea is to track the number of failed login attempts and lock the user account temporarily after the predefined number of unsuccessful attempts. We will use the in-memory approach for simplicity but it can extended to use the database for better scalability of the application.
Create a new Spring project using spring Initializr. On creating the project, add the following dependencies.
Dependencies:
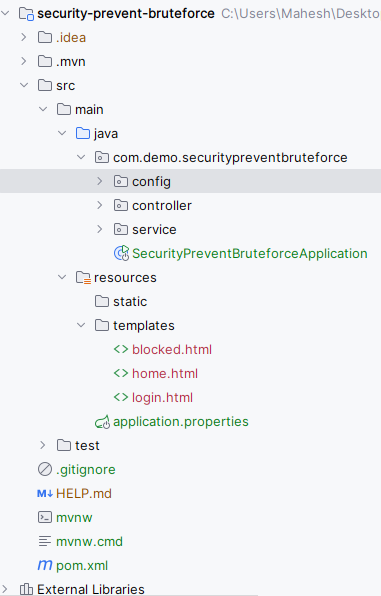
After creating the project, the folder structure will be like below image:
Open the application.properties file and add the configuration for the MySQL database
spring.application.name=security-prevent-bruteforce

MySQL database configuration
spring.datasource.url=jdbc:mysql://localhost:3306/securityUser
spring.datasource.username=root
spring.datasource.password=
spring.datasource.driver-class-name=com.mysql.cj.jdbc.Driver

# Hibernate properties
spring.jpa.hibernate.ddl-auto=update
spring.jpa.show-sql=true
spring.jpa.properties.hibernate.dialect=org.hibernate.dialect.MySQL8Dialect
spring.thymeleaf.cache=false
spring.main.allow-circular-references=true
This configures the MySQL database connection and Hibernate properties.
Create the SecurityConfig class that implements the security configuration of the Spring Boot application.
Go to src > main > java > com.demo.springpreventbruteforce > config > SecurityConfig and enter the below code.
Explanation:
Create the CustomAuthenticationProvider class that implements custom authentication logic.
Go to src > main > java > com.demo.springpreventbruteforce > config > CustomAuthenticationProvider and enter the below code.
Explanation:
Create the BruteForceProtectionService class to handle tracking and blocking of failed login attempts.
Go to src > main > java > com.demo.springpreventbruteforce > service > BruteForceProtectionService and enter the below code.
Explanation:
Create the AuthController class to handle login requests.
Go to src > main > java > com.demo.springpreventbruteforce > controller > AuthController and put the below code.
This controller handles the GET request for the login page.
Create the HomeController class to handle home and blocked pages.
Go to src > main > java > com.demo.springpreventbruteforce > controller > HomeController and enter the below code.
This controller handles the GET requests for the home and blocked pages.
No changes are required in the main class.
This is the main entry point for the Spring Boot application.
Create the login.html page for the login view.
Go to src > main > resources > templates > login.html and enter the below HTML code.
This HTML page creates a simple login form with Bootstrap styling.
Create the home.html page for the home page
Go to src > main > resources > templates > home.html and put the below HTML code.
The home.html page displays a welcome message upon successful login. It uses Bootstrap for styling and includes a card component with a header and body to present the message.
Go to src > main > resources > templates > block.html and put the below HTML code.
The block.html page informs the user that their account has been temporarily locked due to too many failed login attempts. It also uses Bootstrap for styling and displays the message in a card component.
Run the application, which will start on port 8080.
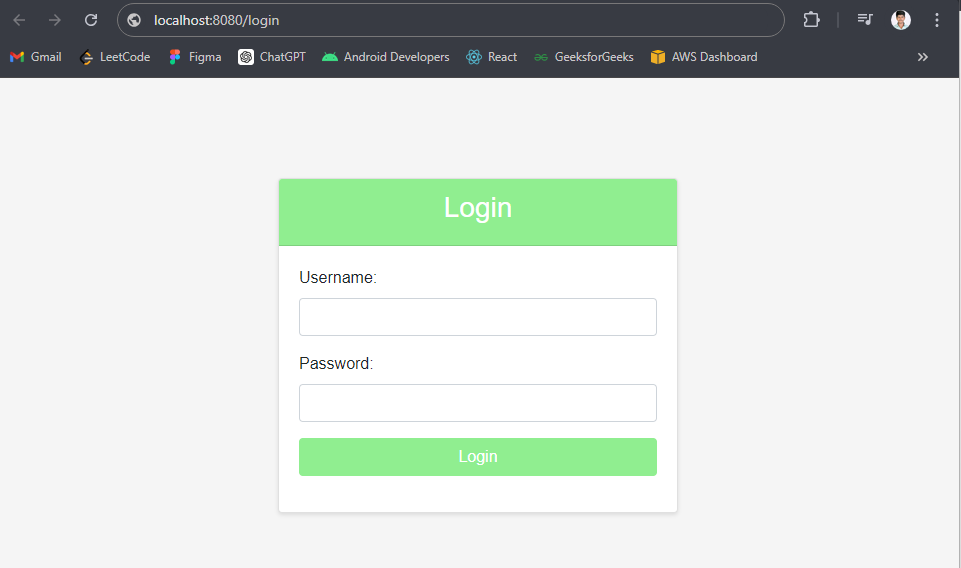
Login Page:
Navigate to http://localhost:8080/login. If the credentials are correct, it will redirect to the home page.
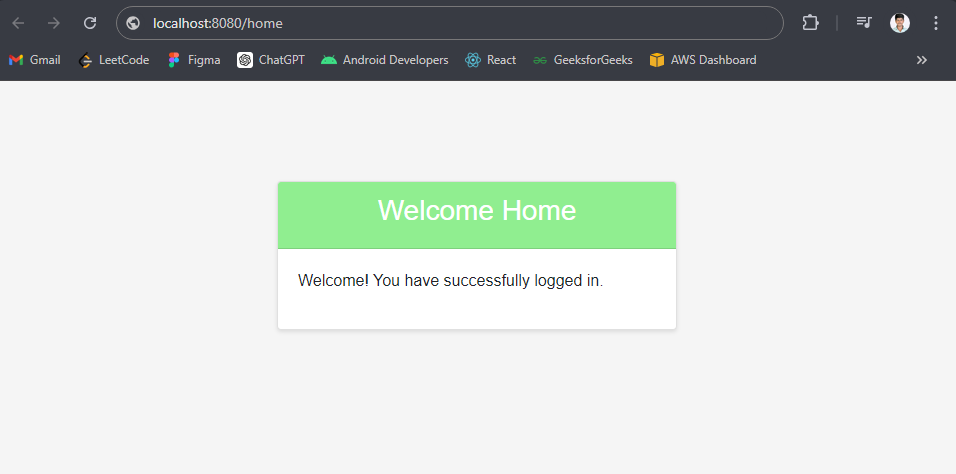
http://localhost:8080/loginHome Page:
Navigate to http://localhost:8080/home to view the home page after successful login.
http://localhost:8080/homeIf you are trying multiple times, then your account will be temporarily blocked.
Blocked Page:
If multiple failed login attempts are made, the account will be temporarily locked, and the user will be redirected to http://localhost:8080/block.
http://localhost:8080/blockWith this setup, we have the Spring Boot application that can protect against brute force attacks by temporarily locking the user accounts after the number of failed login attempts of the application. This basic implementation can be extended to use the database to store user details and failed login attempts for the better scalability of the Spring Boot application.