 |
VOOZH | about |
|
VOOZH | about |
Spring Security allows developers to control authentication and authorization in Spring Boot applications. In many applications, different users need different dashboards after login. It provides role-based redirection using a custom authentication success handler. After successful login, users can be redirected to different pages based on their roles and authorities.
Below are the implementation steps to redirect to different pages after login with spring.
Create a Spring Boot project using Spring Initializr with the following dependencies:
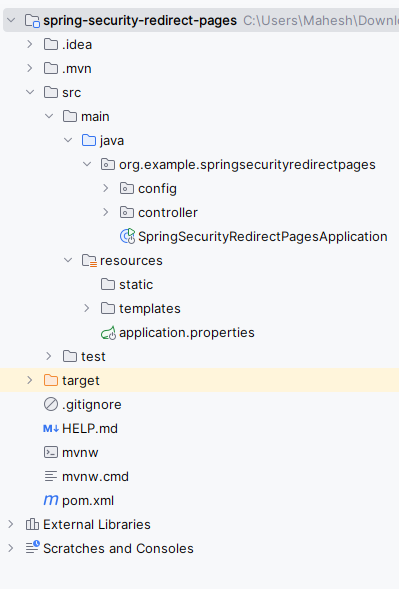
After the project creation done, the folder structure will be like the below image:
Add database and user credentials configuration inside application.properties.
spring.application.name=spring-security-redirect-pages
# Database Configuration
spring.datasource.url=jdbc:mysql://localhost:3306/example
spring.datasource.username=root
spring.datasource.password=
spring.jpa.hibernate.ddl-auto=update
spring.jpa.show-sql=true# User Credentials
spring.security.user.name=user
spring.security.user.password=password
spring.security.user.roles=USER# Admin Credentials
spring.security.admin.name=admin
spring.security.admin.password=password
spring.security.admin.roles=ADMIN
Create SecurityConfig.java inside the config package.
Create CustomAuthenticationSuccessHandler.java inside the config package.
Create AdminController.java.
Create UserController.java.
Open the main class and write the below code. (No change are required)
Create login.html inside templates.
Displayed after successful USER login.
Displayed after successful ADMIN login.
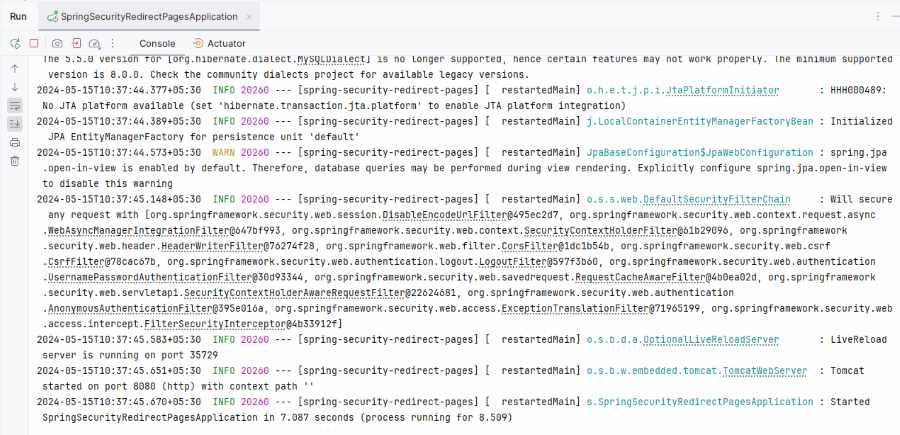
Run the Spring Boot application. After completing the project, it will start at port 8080.
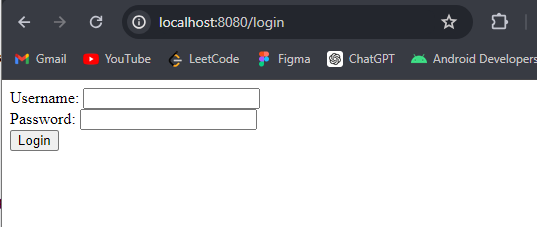
API:
http://localhost:8080/login
If we enter the user credential the it redirects to the user home page.
If we enter the admin credential the it redirects to the user home page.
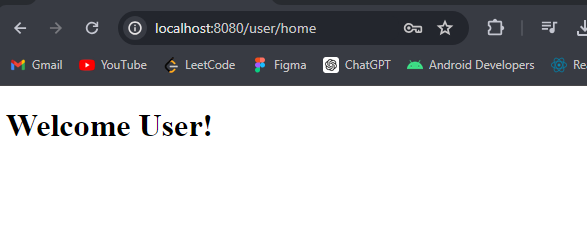
Output:
AdminHome page:
UserHome page:
After hitting the URL, the below page will redirect.