When working with Spring Boot applications using Spring Data JPA and Hibernate, it is often useful to see the actual SQL queries being executed. This helps in debugging, performance tuning, and understanding how JPQL or repository methods are translated into SQL.
- Helps in debugging database interactions and verifying generated queries
- Useful for performance optimization and query analysis
- Provides better understanding of how Hibernate translates Java code into SQL
Steps to Show SQL from Spring Data JPA/Hibernate in Spring Boot
To show the SQL from Spring Data JPA or Hibernate in Spring Boot set the below log level.
1. Set the Logging Level:
- Open application.properties (or application.yml).
- Add the following property:
logging.level.org.hibernate.SQL=DEBUG
This enables Hibernate to log all generated SQL queries.
2. View the Logs
- Check the console or log files.
- You will see: Executed SQL queries and Parameters bound to queries
Step-by-Step Implementation
We have developed a simple spring boot project to show the SQL from JPA/hibernate of the project.
Step 1: Create Spring Boot Project
Create a Spring Boot project using STS/IntelliJ with required dependencies:
- Spring Web
- Spring Data JPA
- MySQL Driver
- Lombok
- Spring DevTools
pom.xml
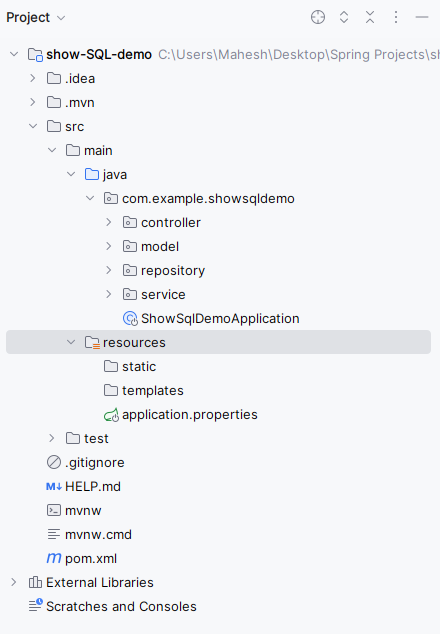
Once the project is created, the file structure looks like the below image.
👁 Project Structure
Step 2: Configure application.properties
Add MySQL database configuration and enable SQL logging:
spring.application.name=show-SQL-demo # Data Source properties spring.datasource.url=jdbc:mysql://localhost:3306/example spring.datasource.username=root spring.datasource.password= spring.datasource.driver-class-name=com.mysql.cj.jdbc.Driver # Hibernate properties spring.jpa.hibernate.ddl-auto=update spring.jpa.properties.hibernate.dialect=org.hibernate.dialect.MySQL8Dialect # Logging level for Hibernate SQL logging.level.org.hibernate.SQL=DEBUG
Step 3: Create Entity Class
- Create the new Java package named as model in that package create the new Java class named as User.
- Go to src > main > java > showsqldemo > model > User and put the code below.
Step 4: Create Repository Layer
- Create the new Java package named as repository in that package create the new Java class named as UserRepository.
- Go to src > main > java > showsqldemo > repository > UserRepository and put the code below.
Step 5: Create Service Layer
- Create the new Java package named as service in that package create the new Java class named as UserService.
- Go to src > main > java > showsqldemo > service > UserService and put the code below.
Step 6: Create Controller Layer
- Create the new Java package named as controller in that package create the new Java class named as UserController.
- Go to src > main > java > showsqldemo > service > UserService and put the code below.
Step 7: Main Class
Open the main class file and put the below code.
Step 8: Run and Observe SQL Logs
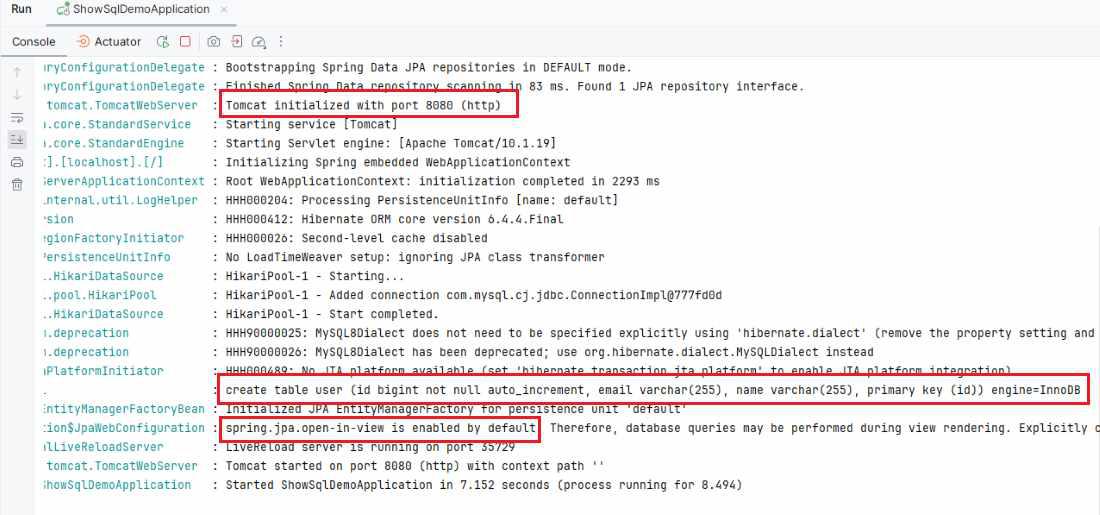
- Once the project completed, then run the application as a spring project then it run at port 8080.
- If we observe the below image, then we can find the logging data of the table creation of the project into the MySQL database.
👁 Application Runs
If we follow the above steps, then we can successfully implement this showing SQL from the Spring Data JPA/hibernate into the project.
